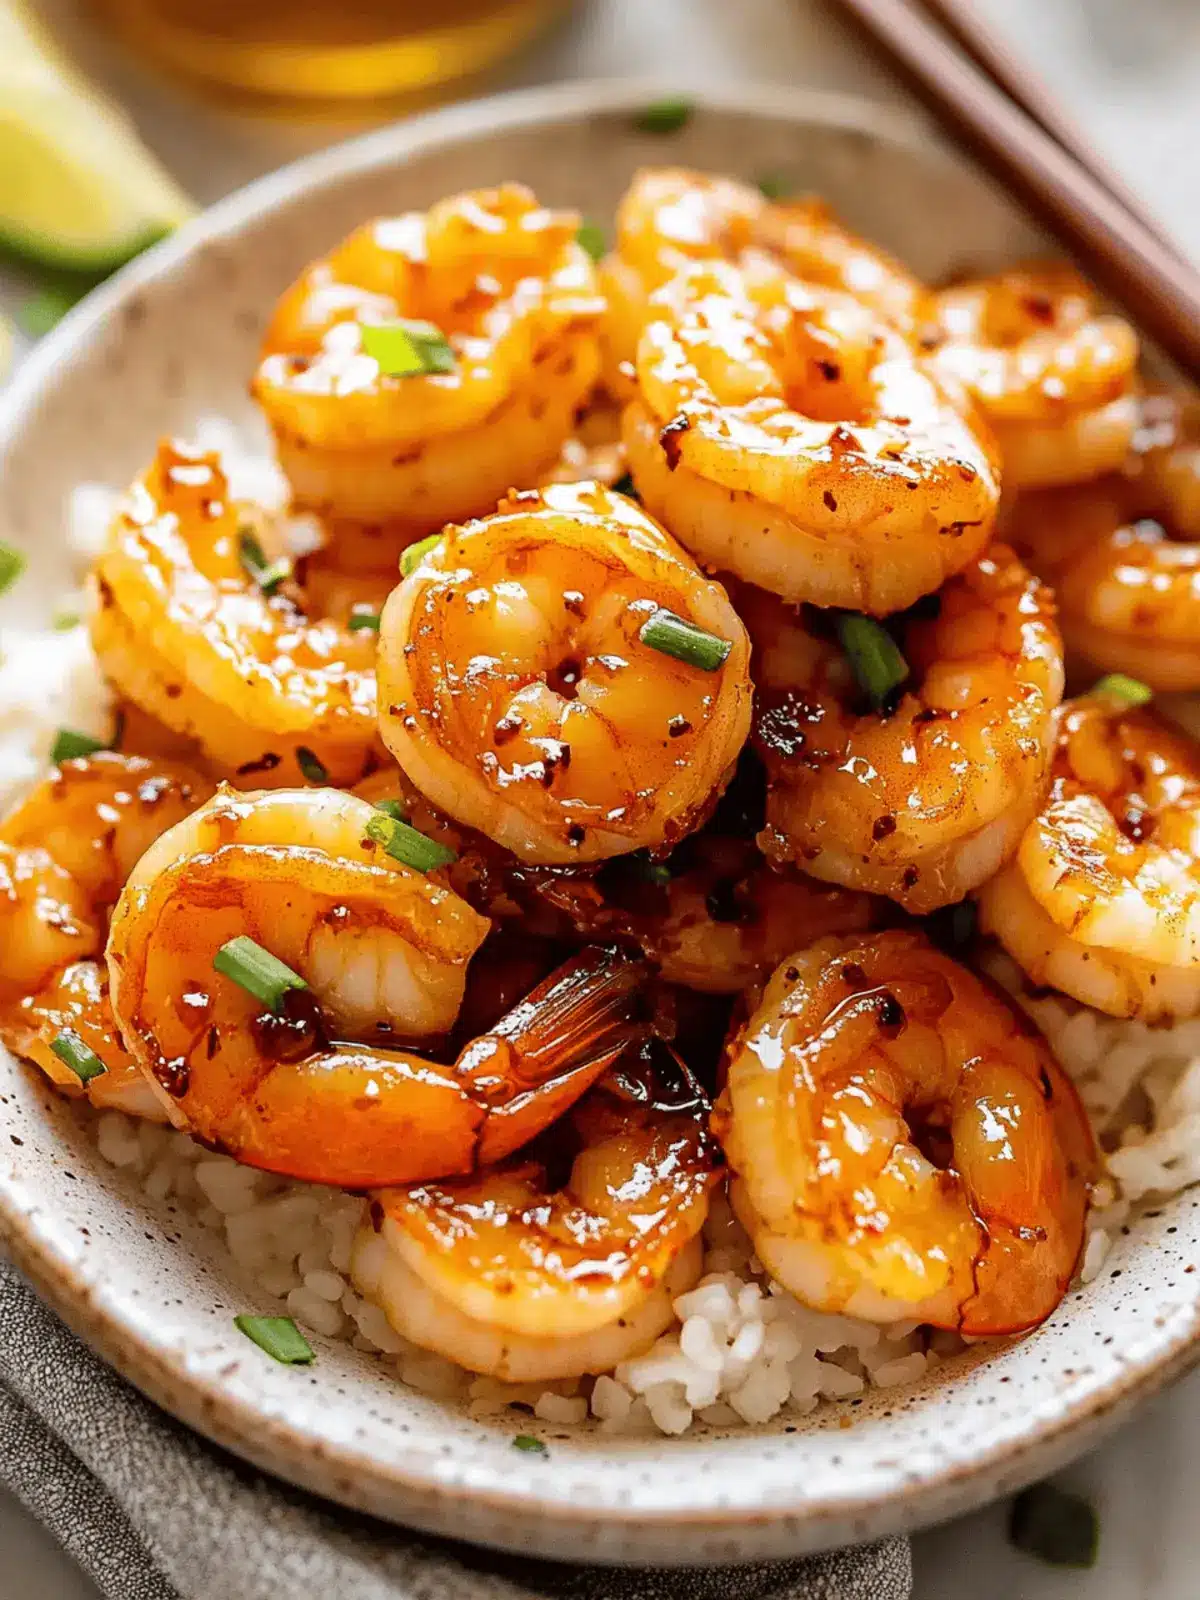
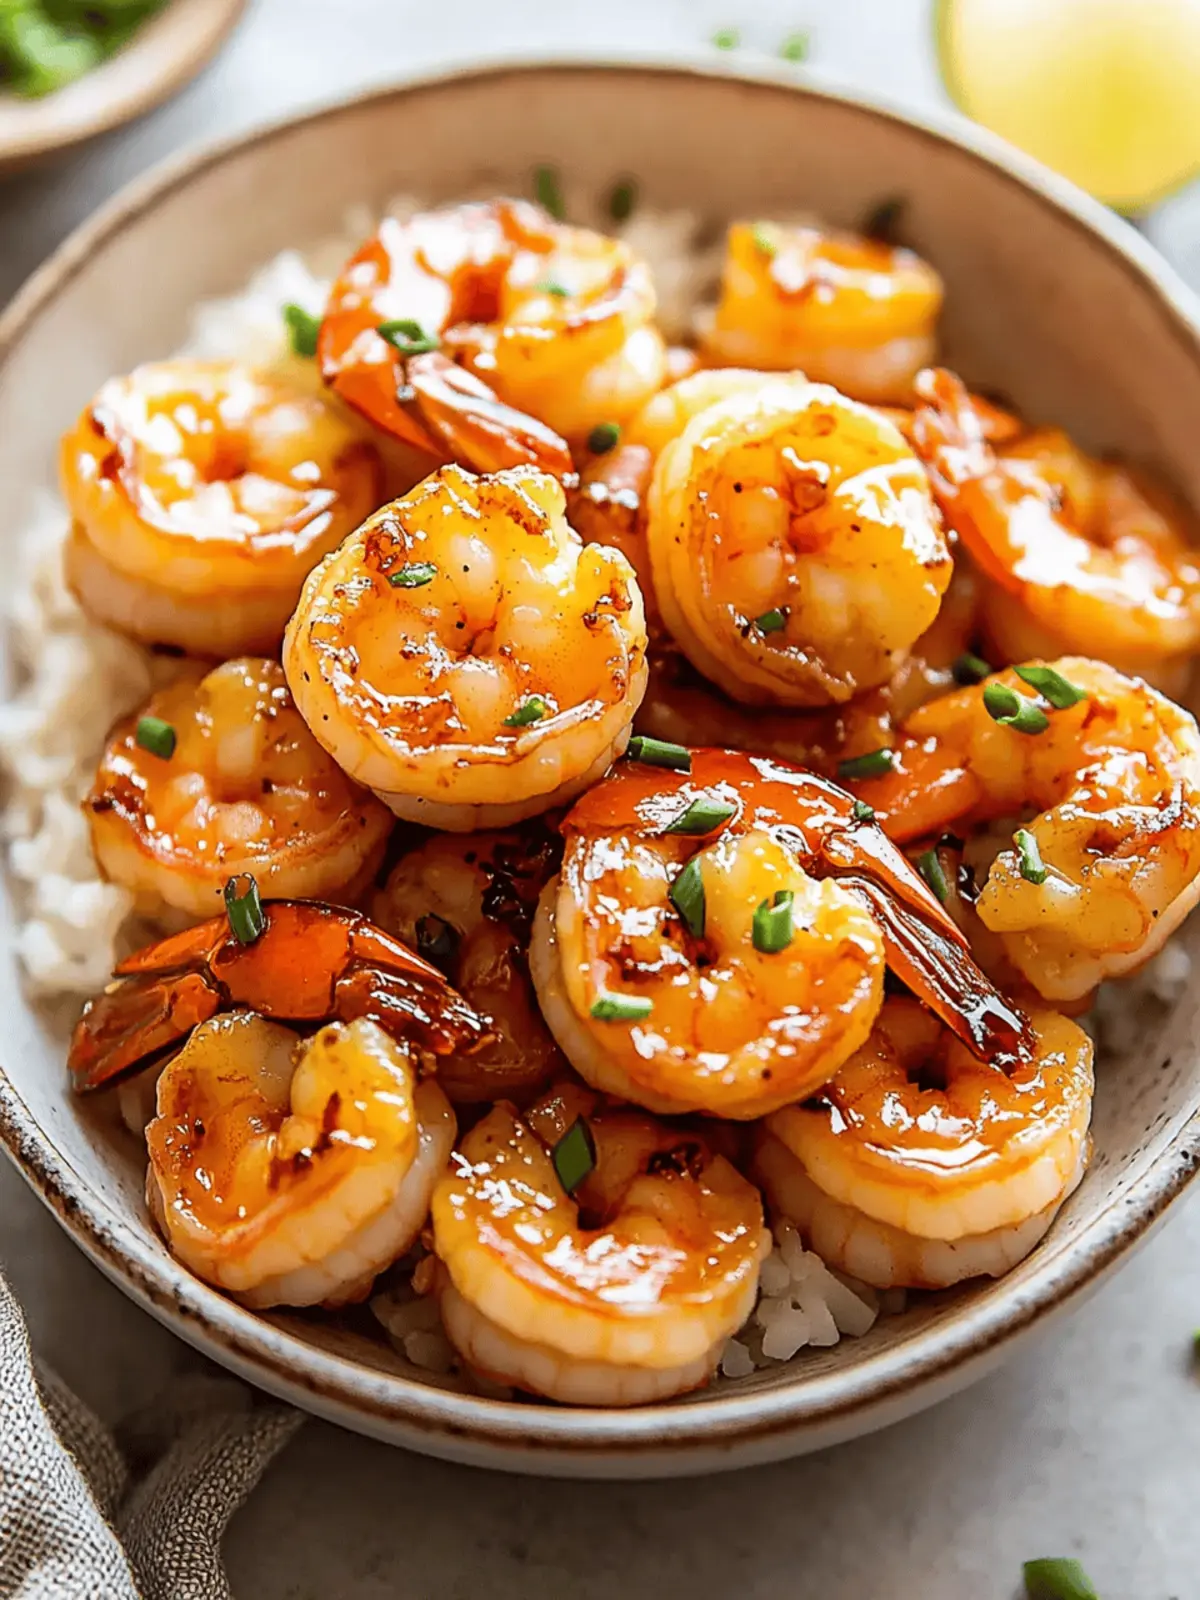
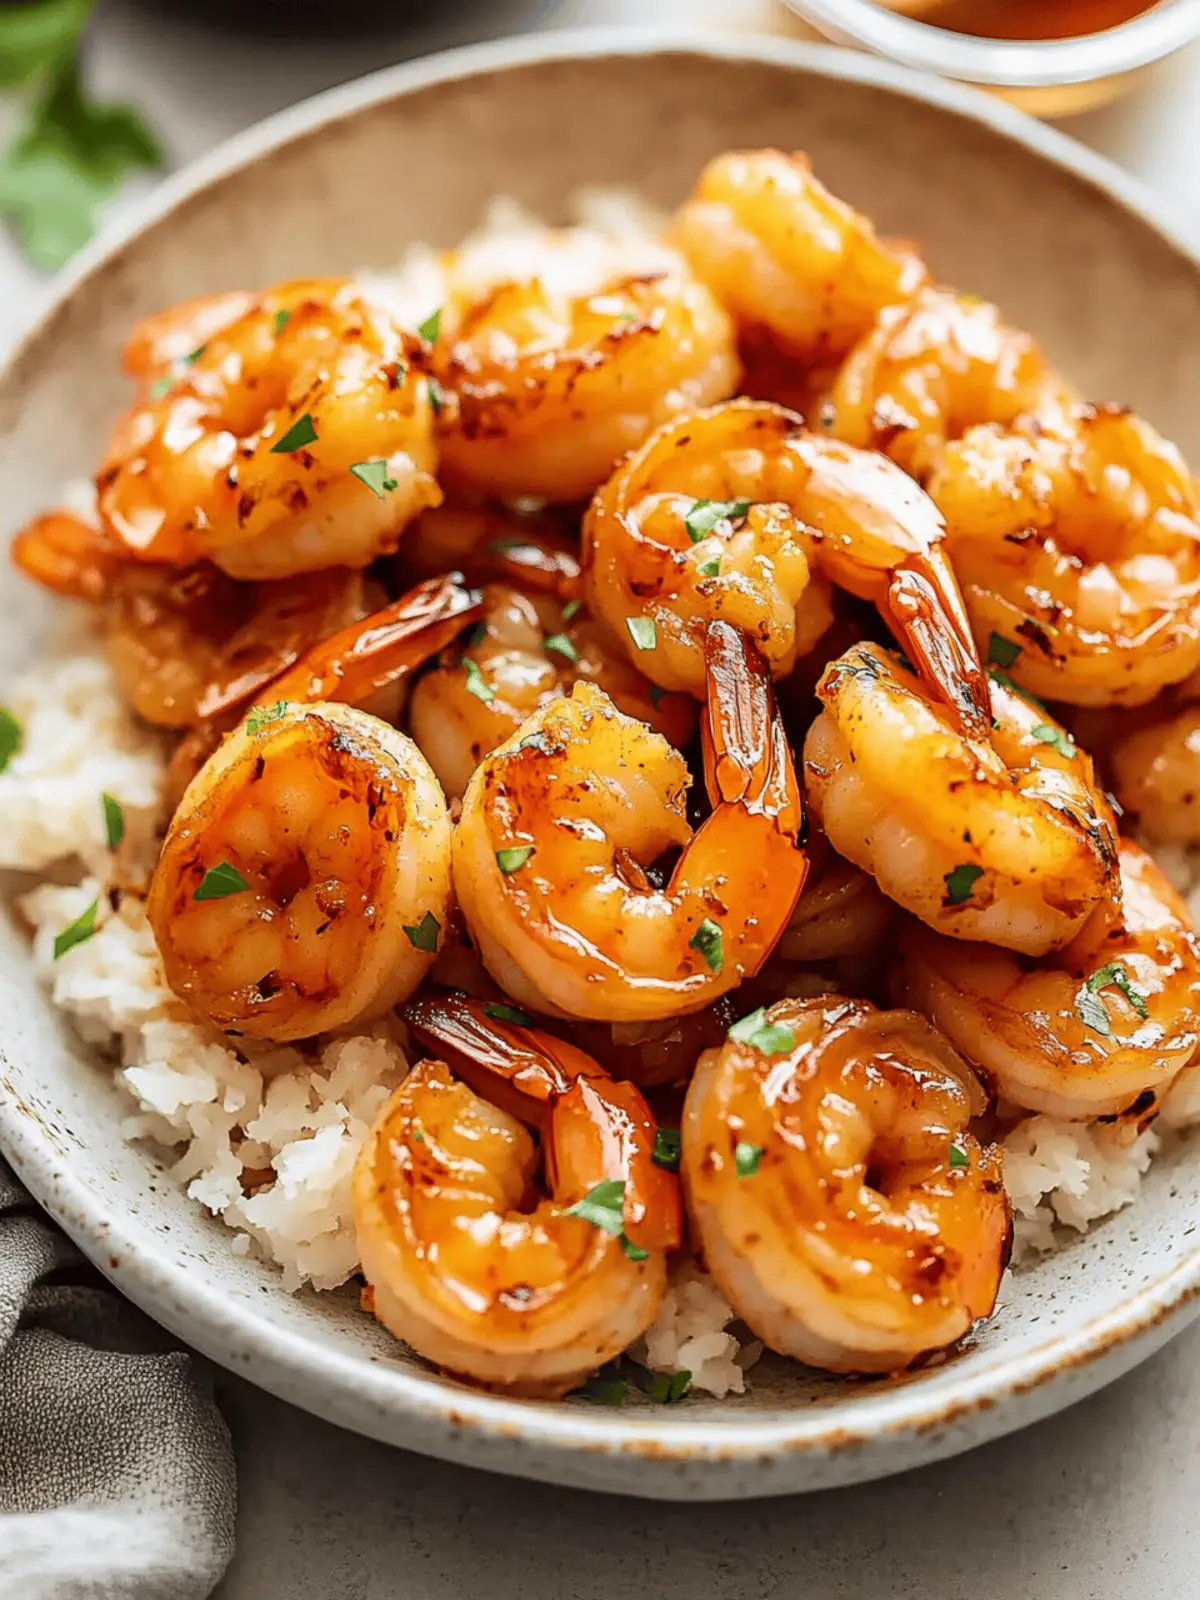
If you’re like me, those busy weeknights often leave you longing for something quick yet delicious. That’s why I can’t wait to share my go-to recipe: 10 Minute Honey Garlic Shrimp. Imagine the sweet aroma of honey mingling with the vibrant notes of garlic, transforming your kitchen into a cozy haven as you whip up this stunning dish.
In just ten minutes, you can serve up succulent shrimp coated in a glossy, sticky glaze that rivals your favorite takeout. Light soy sauce and fresh ginger work their magic in this easy recipe, making it both simple and satisfying. Whether you’re looking to impress dinner guests or want a quick meal after a hectic day, this dish offers versatility and flavor that’s hard to resist. Get ready to trade in that fast food for a homemade feast that’s sure to become a family favorite!
Why Love 10 Minute Honey Garlic Shrimp?
Quick Preparation: With only 10 minutes needed, this dish is perfect for busy evenings when you crave something delicious without spending hours in the kitchen.
Irresistible Flavor: The harmony of honey and garlic creates a rich, savory sauce that elevates your meal, making it a standout choice for any occasion.
Versatile Options: Easily swap shrimp for chicken or tofu, accommodating different dietary preferences while keeping the taste exceptional.
Impressive Presentation: This dish looks as fantastic as it tastes, making it ideal for dinner parties or casual family nights.
Healthy Indulgence: With a light glaze and lean protein, you can indulge guilt-free and enjoy a satisfying meal that won’t derail your healthy eating goals.
10 Minute Honey Garlic Shrimp Ingredients
For the Shrimp
• Shrimp – High-quality, peeled, and deveined shrimp ensure a tender and juicy dish.
• Cornstarch – Used for “velveting” shrimp, it keeps them tender and moist while cooking.
For the Sauce
• Light Soy Sauce – Adds a depth of umami that beautifully enhances the flavor. Tamari can be used for a gluten-free option.
• Garlic – Fresh garlic packs a pungent aroma, essential for that classic flavor in the honey garlic sauce.
• Ginger Paste – Provides warmth and spiciness; fresh grated ginger works wonderfully, too.
• Honey – Balances the savory elements with its sweetness; maple syrup can be a lovely vegan substitute.
• Chili Flakes (Optional) – Add for a gentle kick of heat; feel free to skip for a milder flavor.
For Cooking
• Vegetable Oil – Ideal for sautéing, offering a neutral flavor; sesame oil can add an extra flavor boost if desired.
For Garnish
• Green Onions – Adds freshness and a delightful crunch when sprinkled on top of your finished dish.
How to Make 10 Minute Honey Garlic Shrimp
-
Prepare Shrimp: In a medium bowl, combine light soy sauce and cornstarch. Add the shrimp, tossing until well coated. This step ensures your shrimp will be tender and flavorful.
-
Sauté Aromatics: Heat vegetable oil in a non-stick frying pan over medium heat. Add minced garlic and ginger, sautéing for about 30 seconds until fragrant. The aroma is simply delightful!
-
Cook Shrimp: Add the coated shrimp to the pan, cooking for 1-2 minutes on each side until they turn pink and opaque. Be careful not to overcook, as you want juicy shrimp!
-
Glaze Shrimp: Pour in honey and optional chili flakes, tossing the shrimp to coat them evenly. Let the mixture bubble for just a moment, creating a sticky, gorgeous glaze.
-
Serve: Remove from heat and garnish with sliced green onions. Serve over steamed rice or as an elegant starter and enjoy the compliments that come your way!
Optional: Drizzle with a little extra honey for an added touch of sweetness.
Exact quantities are listed in the recipe card below.
Make Ahead Options
These 10 Minute Honey Garlic Shrimp are perfect for meal prep enthusiasts! You can marinate the shrimp in the soy sauce and cornstarch mixture up to 24 hours in advance, allowing the flavors to meld beautifully. Additionally, you can mince the garlic and ginger, storing them in an airtight container in the refrigerator for up to 3 days, ensuring they stay fresh. To maintain the shrimp’s quality, it’s crucial not to sauté them until you’re ready to serve. When you’re set to enjoy this delightful dish, simply sauté the prepped aromatics and shrimp as detailed in the recipe, and you’ll have a quick and satisfying meal ready without the last-minute rush!
Expert Tips for 10 Minute Honey Garlic Shrimp
-
Perfect Shrimp Texture: Avoid overcooking the shrimp, which should only take 1-2 minutes per side; they should turn pink and opaque for the best result.
-
Prep Ahead: Have all your ingredients ready before starting; this recipe cooks quickly, and preparation will save you from kitchen chaos.
-
Cornstarch Velvet: The cornstarch helps keep the shrimp tender and moist. Don’t skip this step—it’s vital for achieving the desired mouthfeel!
-
Adjust Sweetness: If you prefer a sweeter sauce, feel free to add more honey; just remember it can also reduce the savory balance of your 10 Minute Honey Garlic Shrimp.
-
Customize Heat Levels: Toss in more chili flakes or a splash of Sriracha to suit your spice threshold—play with flavors to make the dish your own!
-
Cooking Oil Choice: Use a neutral vegetable oil for a subtle flavor, but don’t hesitate to switch it up with sesame oil for a richer taste.
What to Serve with 10 Minute Honey Garlic Shrimp?
Transform your quick and easy shrimp dish into a delightful meal by pairing it with these wonderful options.
-
Steamed Jasmine Rice: The fluffy texture of jasmine rice soaks up the sweet and savory sauce, making each bite a flavorful delight.
-
Garlic Broccoli: Crunchy and vibrant, steamed broccoli adds freshness and works beautifully with the rich flavors of the shrimp.
-
Stir-Fried Noodles: A flavorful bed of lo mein complements the honey garlic shrimp while adding a satisfying chew to your plate.
-
Crispy Spring Rolls: These delightful appetizers bring in a crunch and lightness, offering a lovely contrast to the succulent shrimp.
-
Asian Cucumber Salad: A refreshing salad with a kick of sesame dressing cuts through the richness, balancing your meal perfectly.
-
Mango Sticky Rice: For a sweet touch afterward, this classic dessert pairs nicely, as the creamy coconut complements the shrimp’s flavors eloquently.
This combination will surely impress your guests and leave your family asking for seconds!
10 Minute Honey Garlic Shrimp Variations
Feel free to make this recipe your own with these delightful twists!
-
Gluten-Free: Use tamari sauce instead of light soy sauce to create a buddy for your gluten-sensitive friends without losing flavor.
-
Spicy Kick: Add a tablespoon of Sriracha or a sprinkle of cayenne pepper for a fiery bite that balances the sweetness beautifully.
-
Vegetable Boost: Toss in quickly steamed snow peas or bell peppers right before glazing the shrimp for added color and nutrition.
-
Zesty Addition: Incorporate a splash of lime juice right before serving for a bright, tangy twist that rounds out the flavors perfectly.
-
Coconut Flavor: Replace half the vegetable oil with coconut oil for a lovely tropical hint that pairs wonderfully with the honey.
-
Crispy Texture: After coating the shrimp with cornstarch, flash fry them for a minute longer to achieve a crispy exterior that adds delightful crunch.
-
Switch Proteins: Substitute shrimp with chicken breast or firm tofu to cater to different dietary needs while maintaining the dish’s essence.
-
Sweetness Variation: For a unique flavor combo, try using agave syrup or maple syrup in place of honey, lending your dish a slightly different sweetness.
How to Store and Freeze 10 Minute Honey Garlic Shrimp
Fridge: Store leftover honey garlic shrimp in an airtight container for up to 3-4 days. This will help maintain its juicy texture and prevent any unpleasant odors from the fridge.
Freezer: Freeze any uneaten shrimp for up to 3 months. Place in a freezer-safe container or bag, making sure to remove excess air to prevent freezer burn.
Reheating: When ready to enjoy again, thaw in the refrigerator overnight. Heat gently in a pan over low heat, adding a splash of water or oil if needed to keep the shrimp moist.
Serving: Reheat until the shrimp are warmed through, and they will taste just as delightful as when they were freshly made.
10 Minute Honey Garlic Shrimp Recipe FAQs
How do I select the best shrimp for this recipe?
Absolutely! When picking shrimp, choose high-quality, peeled, and deveined options for the best flavor and tenderness. Look for shrimp that are firm, with a slight sheen and no black spots. Fresh shrimp often have a mild ocean scent. If you’re buying frozen, ensure they are flash-frozen for peak freshness.
How should I store leftover honey garlic shrimp?
Very! Store any leftovers in an airtight container in the refrigerator for up to 3-4 days. This keeps the shrimp juicy and flavorful. To enjoy, you can reheat them gently on the stovetop or in the microwave, adding a little water to maintain moisture.
Can I freeze honey garlic shrimp?
Certainly! To freeze, place leftover shrimp in a freezer-safe container or a zip-lock bag. Remove as much excess air as possible to prevent freezer burn. Your honey garlic shrimp can be frozen for up to 3 months. When ready to use, thaw in the refrigerator overnight and reheat as needed.
What can I do if my shrimp are tough or overcooked?
Oh no! If your shrimp end up tough, it’s likely they were cooked too long. For next time, keep a close eye on the cooking time, as shrimp only need 1-2 minutes per side. If you have leftovers that are already tough, consider using them in a stir-fry or a soup where the other ingredients can help soften their texture.
Are there any dietary considerations for this dish?
Yes! This 10 Minute Honey Garlic Shrimp recipe is primarily gluten-free if you use tamari instead of regular soy sauce. However, always double-check packaging for allergens. If serving to pets, shrimp can be okay in small amounts, but make sure to remove any seasoning and avoid ingredients like garlic and onion, which are harmful to them.
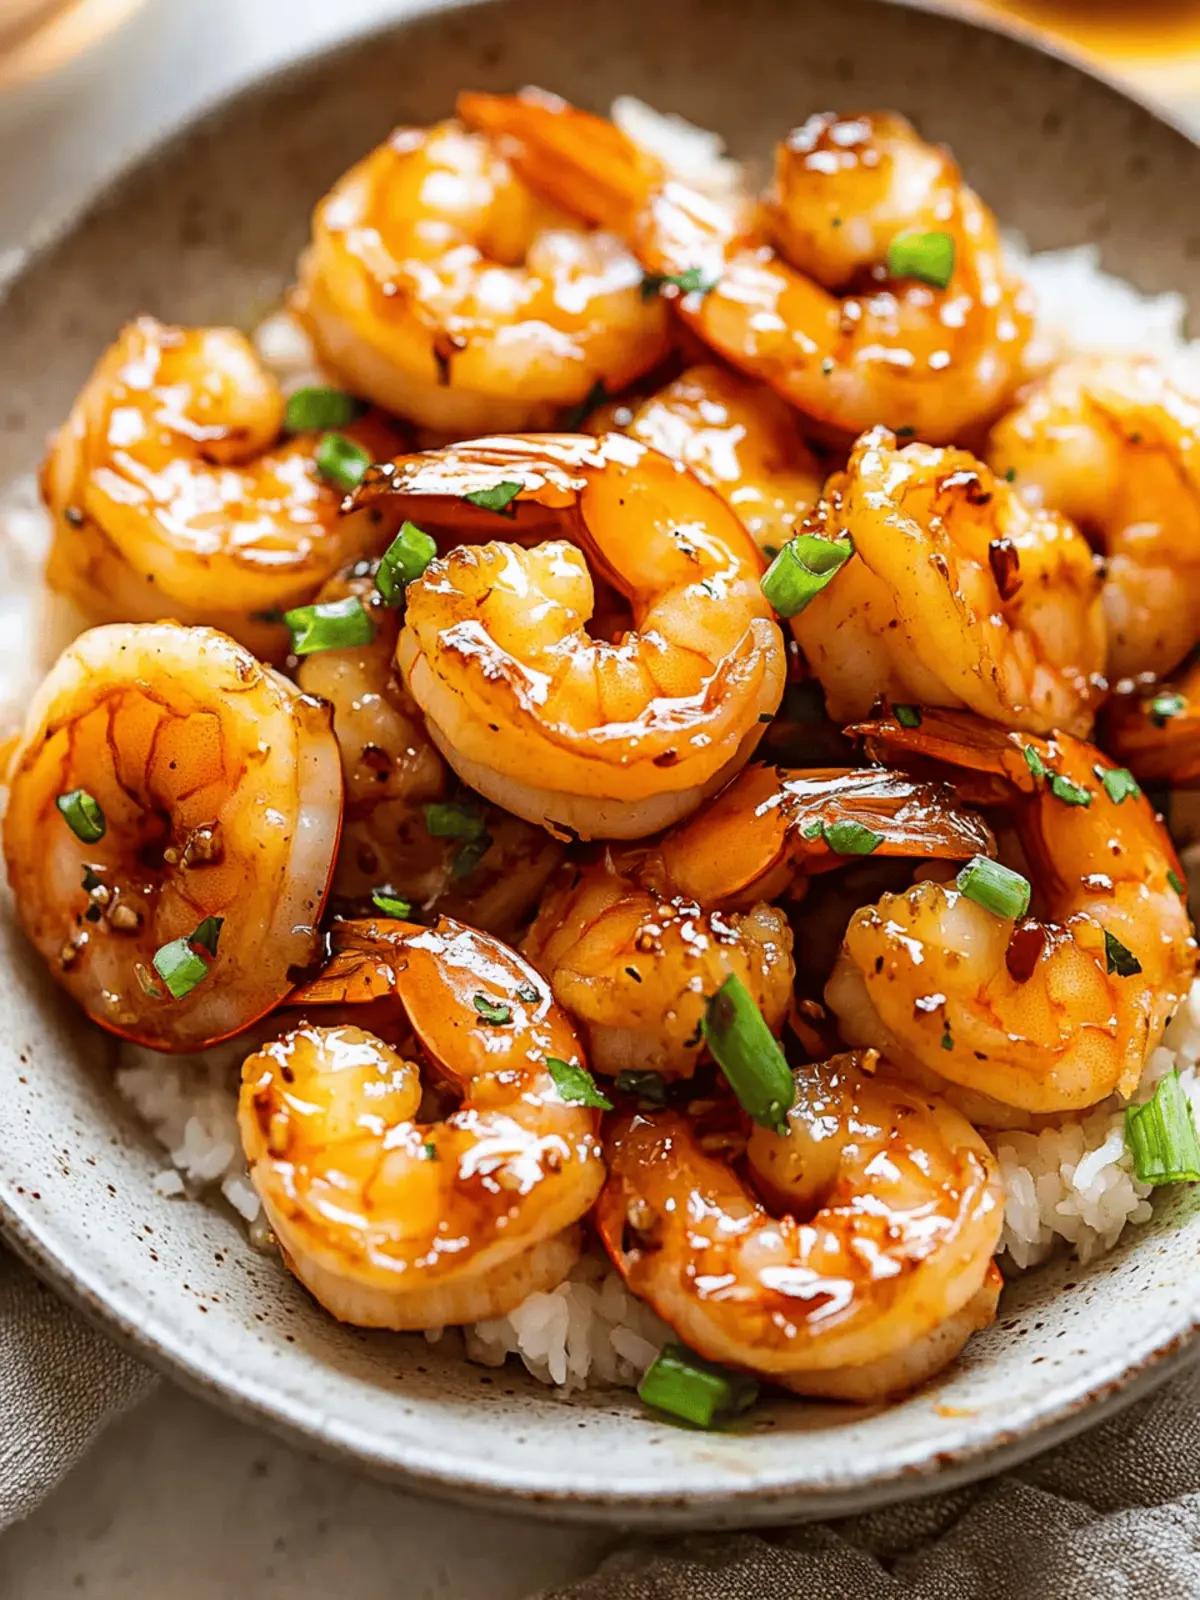
10 Minute Honey Garlic Shrimp That'll Wow Your Taste Buds
Ingredients
Equipment
Method
- In a medium bowl, combine light soy sauce and cornstarch. Add the shrimp, tossing until well coated.
- Heat vegetable oil in a non-stick frying pan over medium heat. Add minced garlic and ginger, sautéing for about 30 seconds until fragrant.
- Add the coated shrimp to the pan, cooking for 1-2 minutes on each side until they turn pink and opaque.
- Pour in honey and optional chili flakes, tossing the shrimp to coat them evenly. Let the mixture bubble for just a moment.
- Remove from heat and garnish with sliced green onions. Serve over steamed rice or as an elegant starter.
