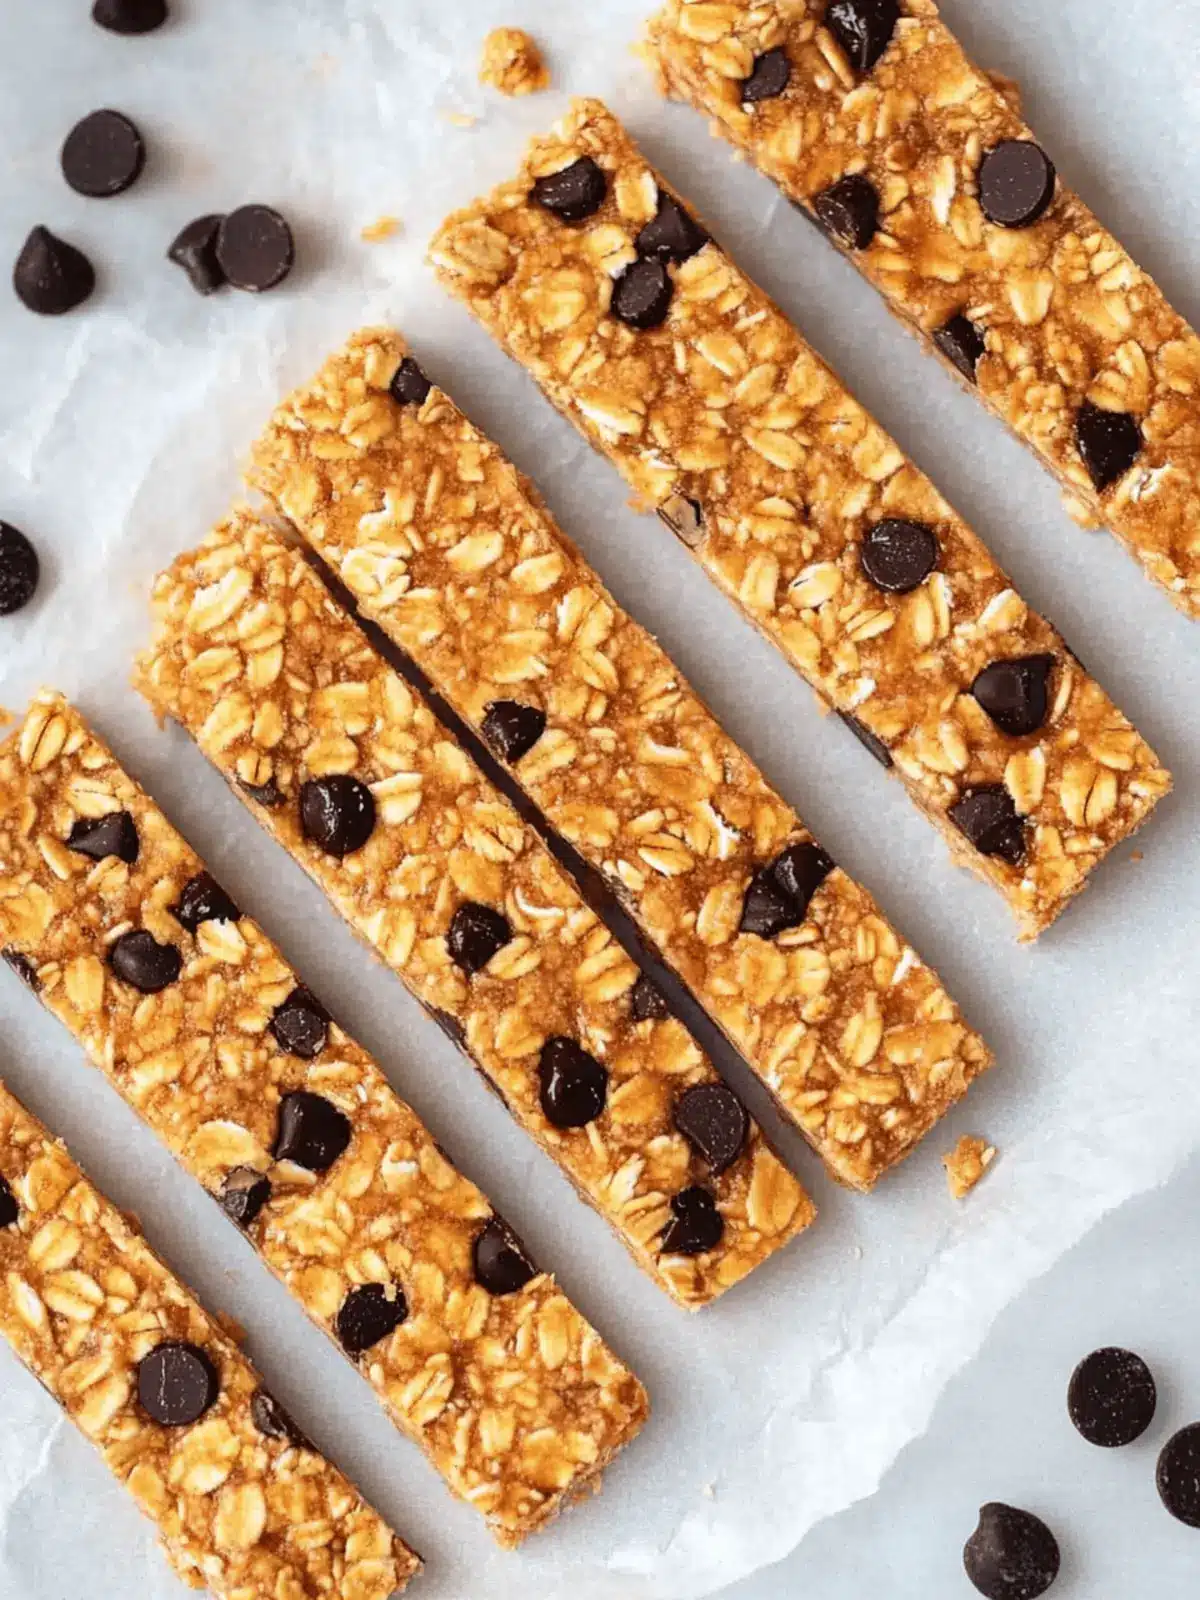
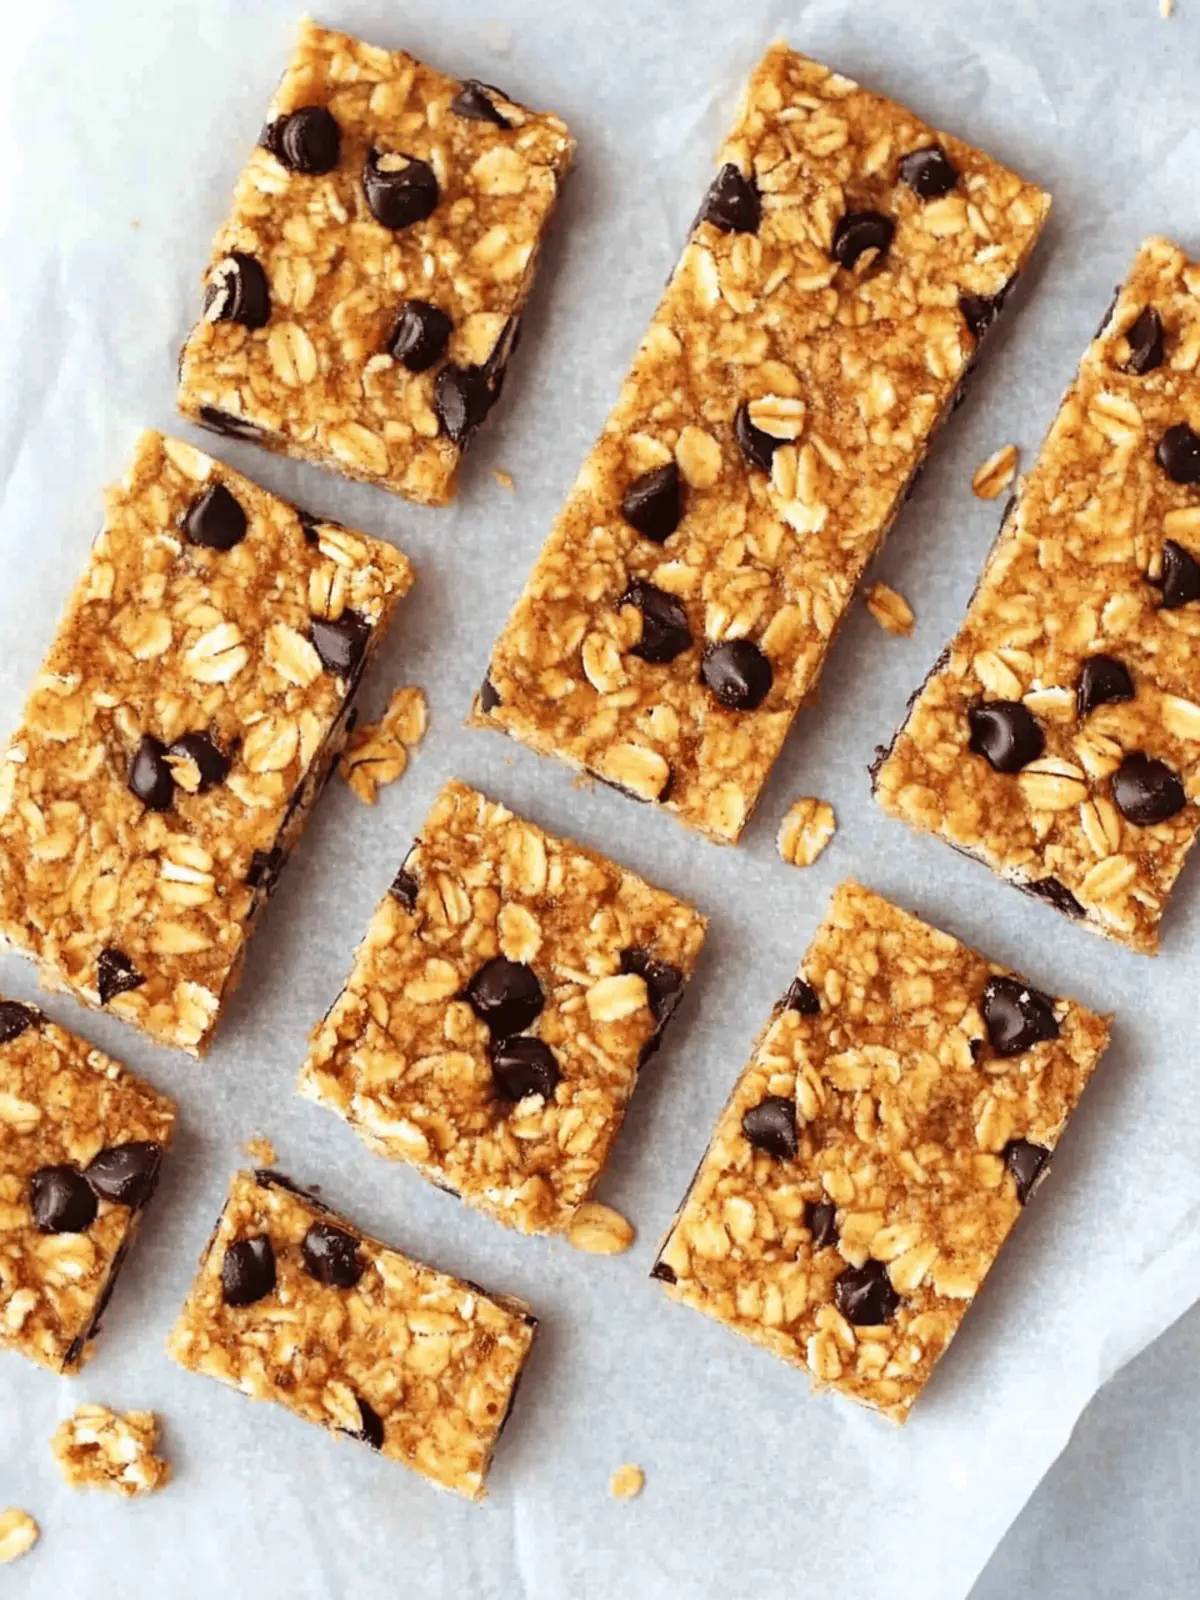
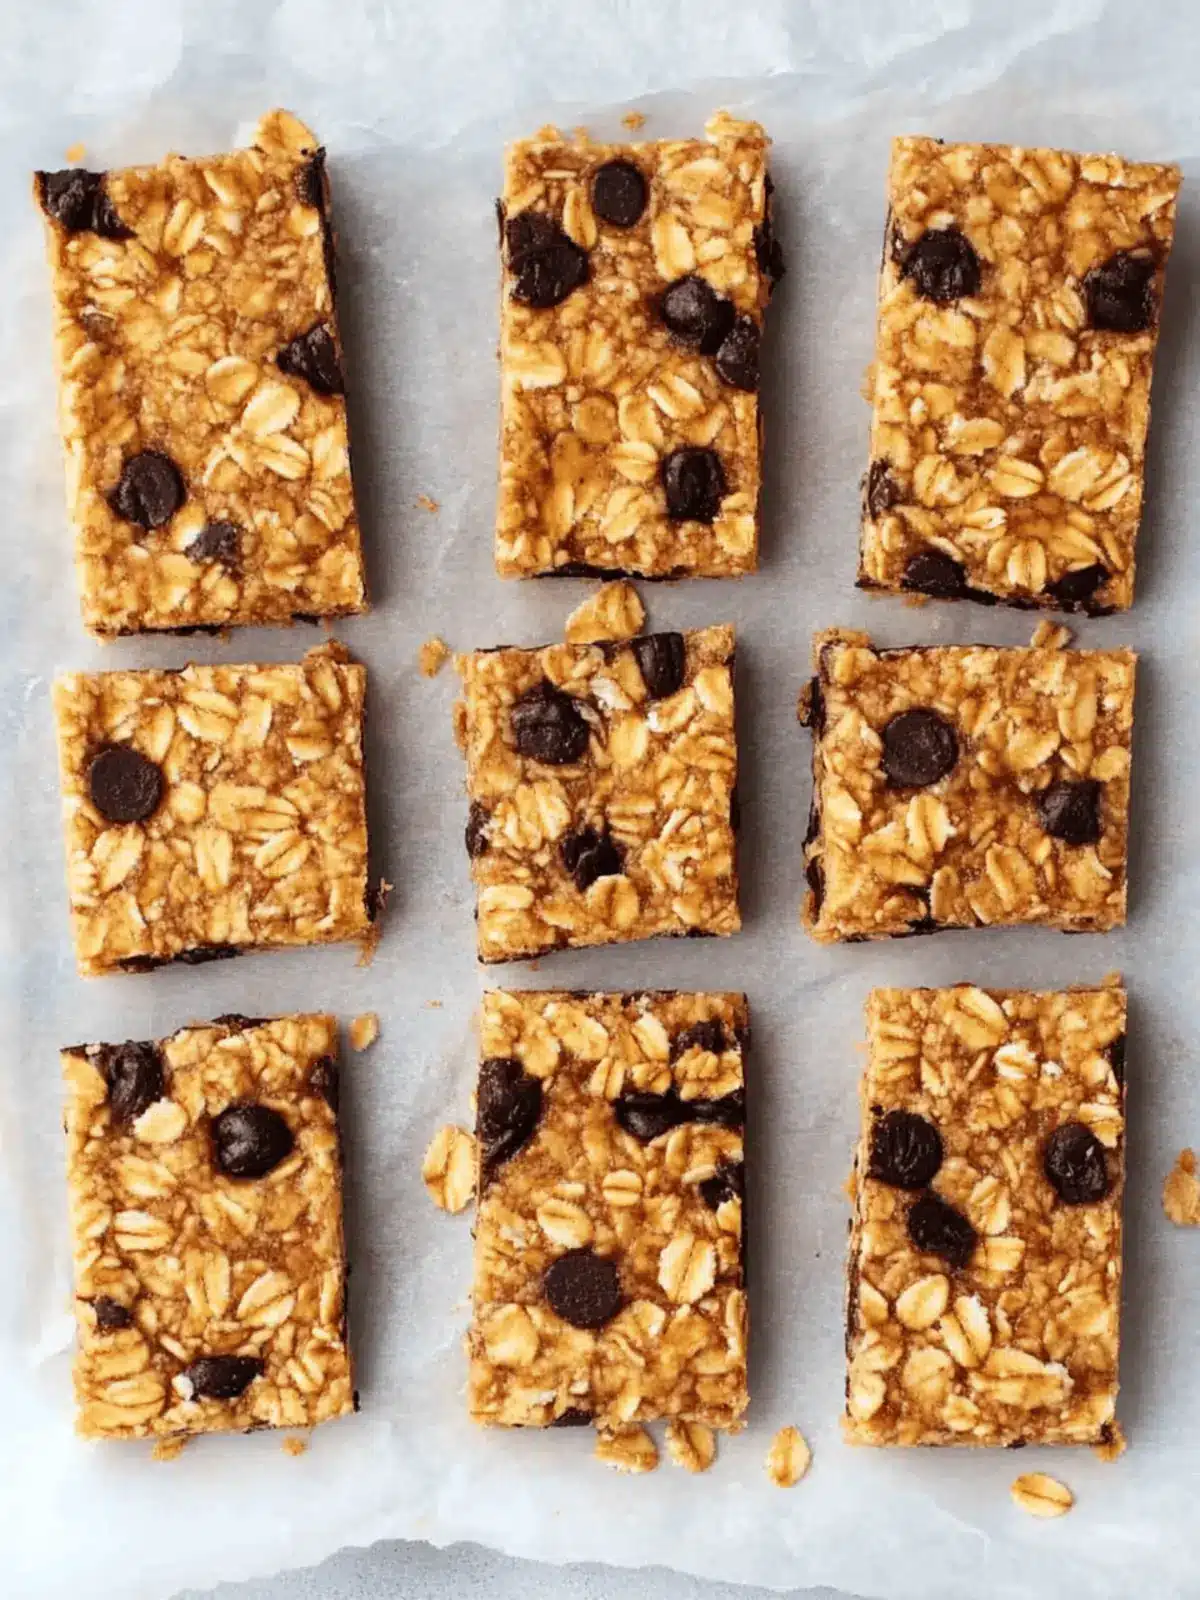
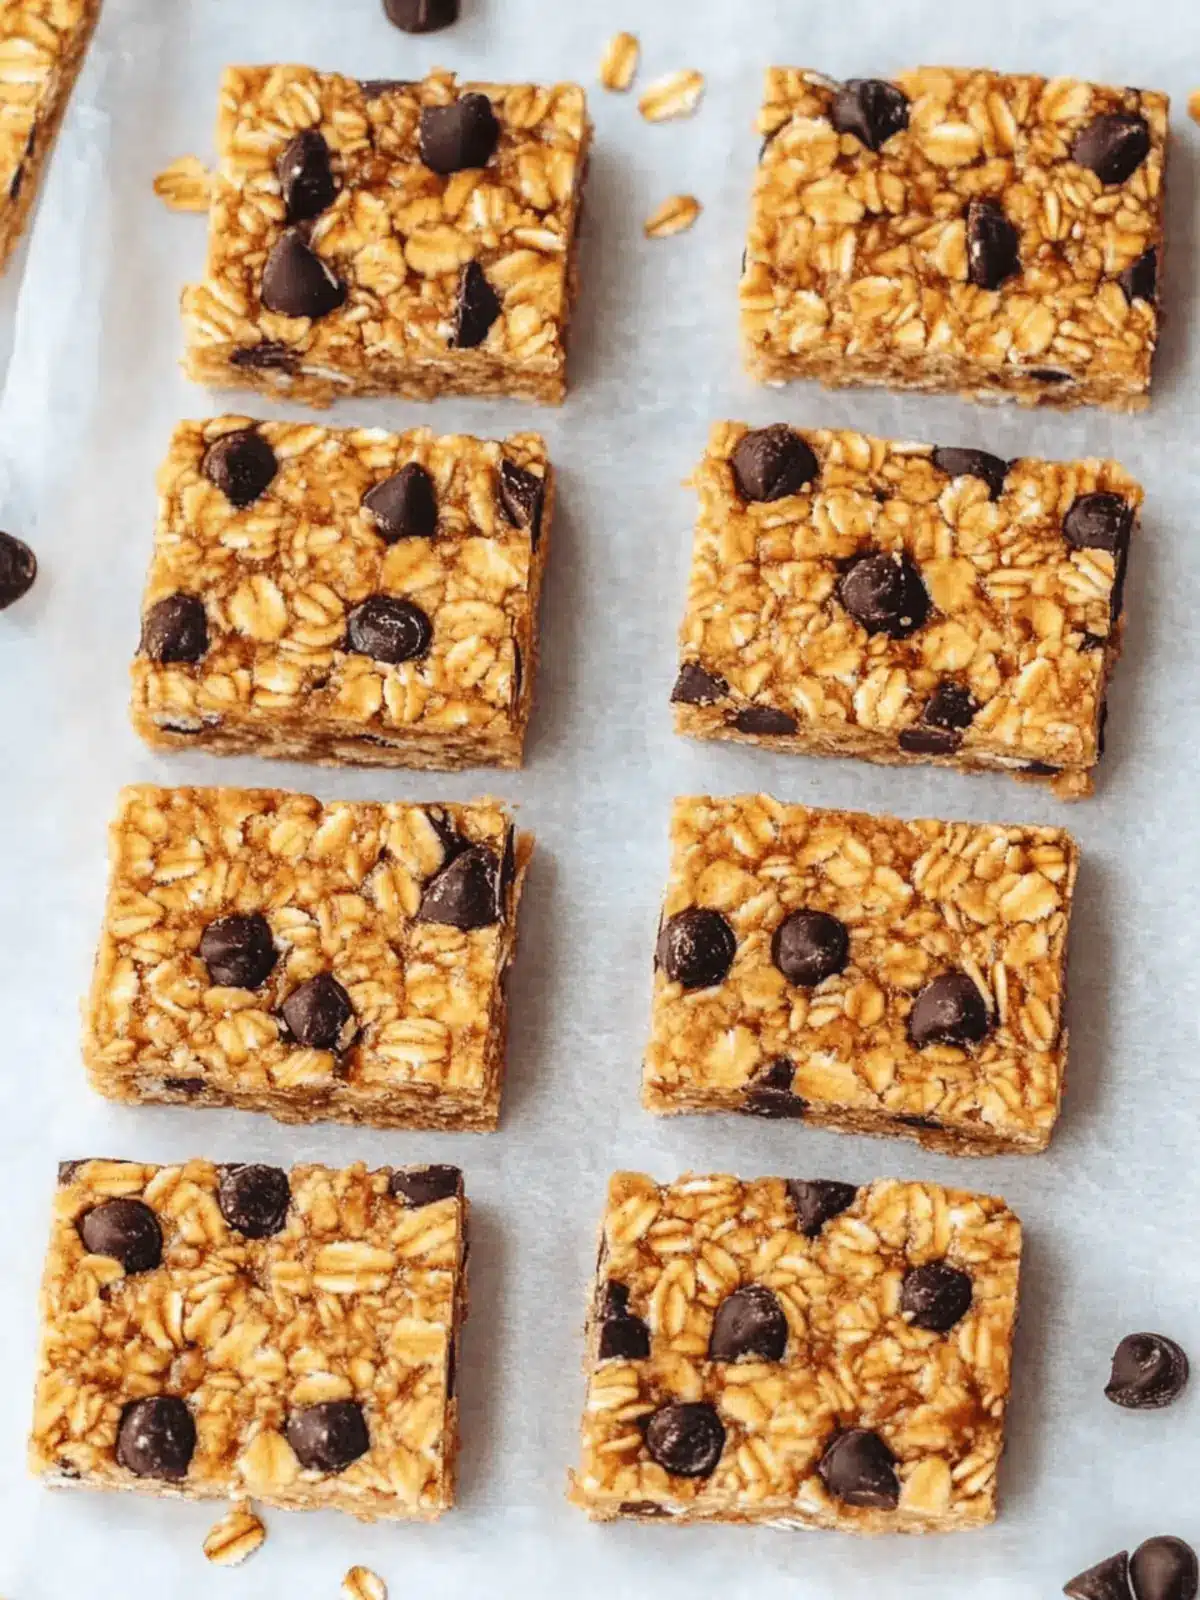
There’s nothing quite like the satisfying crunch of homemade granola bars, especially when they’re filled with your favorite mix-ins. Picture this: a cozy afternoon, you’ve just wrapped up a busy day, and the aroma of freshly baked goods fills your kitchen. That’s the moment I first realized just how easy it is to whip up a batch of chewy chocolate chip granola bars right at home.
These bars combine the wholesome goodness of rolled oats, the rich flavor of creamy nut butter, and the delightful sweetness of honey. Not only do they evoke nostalgic memories of childhood snacks, but they also serve as a perfect way to break free from the fast food rut. What makes them even better? They’re incredibly customizable! Whether you’re a fan of dried fruits, seeds, or even a sprinkle of coconut, the possibilities are endless.
With just a handful of ingredients, you can create a delicious, guilt-free snack that’s both satisfying and energizing—ideal for breakfast on the go or a midday treat. Ready to dive into this quick and rewarding recipe for homemade granola bars? Let’s get started!
Why Choose Homemade Granola Bars?
Homemade Granola Bars are a game-changer for your snack routine!
- Simplicity: With just a few easy-to-find ingredients, you can whip these up in no time.
- Customizable: Adjust the mix-ins to fit your taste or dietary needs—science proves it’s better to customize!
- Healthy Snacking: Packed with wholesome ingredients, they offer the perfect balance of energy and satisfaction.
- Crowd-Pleaser: Both kids and adults adore them—snack time just got a whole lot tastier!
- Budget-Friendly: Say goodbye to overpriced store-bought bars and hello to savings with your homemade version!
These granola bars not only bring joy but also create a delicious alternative to fast food, making healthy eating fun and delightful!
Homemade Granola Bars Ingredients
• Discover the key components for perfect bars!
For the Base
- Peanut Butter or Cashew Butter – Provides healthy fats and binds the bars together; use creamy varieties for best results.
- Honey – Acts as a natural sweetener and adhesive; brown rice syrup can be used for a vegan option.
- Vanilla Extract – Adds depth of flavor; no substitutions recommended for this good taste!
- Sea Salt – Enhances the overall flavor balance; use only a heaping ½ teaspoon for optimal taste.
For the Main Structure
- Whole Rolled Oats – The primary structure and fiber source; ensure oats are certified gluten-free for gluten-sensitive individuals.
- Mini Chocolate Chips – Add sweetness and indulgence; regular-sized chips can be used, but they may result in less cohesive bars.
- Pepitas or Other Nuts – Contribute crunch and nutritional value; substitute with crushed peanuts or cashews as desired.
Whether you indulge in these bars as a snack or a quick breakfast, these homemade granola bars guarantee a delightful and nutritious treat every time!
How to Make Homemade Granola Bars
-
Prepare Pan: Line an 8×8 baking pan with parchment paper, allowing some overhang for easy removal later. This step makes cleanup a breeze!
-
Mix Wet Ingredients: In a large bowl, combine your choice of peanut or cashew butter, honey, vanilla extract, and sea salt. Stir until the mixture is smooth and well blended.
-
Combine Dry Ingredients: Gently fold in the rolled oats, mini chocolate chips, and pepitas. The mixture might seem a bit dry at first, but don’t worry—keep mixing until all ingredients are evenly distributed.
-
Press into Pan: Transfer the mixture into the prepared baking pan. Use your hands or the bottom of a measuring cup to press it firmly down for an even layer. This will help the bars hold together once chilled.
-
Chill: Place the pan in the refrigerator and let it chill for at least 1 hour. This step is crucial for the bars to firm up perfectly before slicing.
Optional: Drizzle with melted dark chocolate for an extra indulgent touch!
Exact quantities are listed in the recipe card below.
Expert Tips for Homemade Granola Bars
-
Ingredient Quality: Use high-quality nut butter and honey for maximum flavor. The better your ingredients, the tastier the homemade granola bars will be!
-
Mix-In Magic: Feel free to experiment with different add-ins, like seeds or dried fruits. Just ensure the total dry ingredients remain balanced to maintain texture.
-
Press Firmly: When transferring the mixture to the pan, make sure to press it down firmly. This helps the bars hold together better when sliced.
-
Chill Time: Don’t skip the chilling step! Proper refrigeration is essential for firm, cohesive bars—your patience will pay off.
-
Portion Control: Cut your bars into uniform pieces for even serving sizes. Consider wrapping them individually for a convenient grab-and-go snack.
With these expert tips, your journey to crafting irresistible homemade granola bars will be a joyful one!
How to Store and Freeze Homemade Granola Bars
-
Room Temperature: Homemade granola bars can be kept at room temperature for up to 3 days. Store them in an airtight container to maintain freshness and prevent them from becoming too chewy.
-
Fridge: For longer shelf life, keep your bars in the refrigerator for up to 2 weeks. Using an airtight container ensures they stay delicious and retain their chewy texture.
-
Freezer: To freeze, wrap individual bars in plastic wrap and then place them in a freezer-safe bag. They can be frozen for up to 3 months; simply thaw them in the fridge or at room temperature when you’re ready to enjoy!
-
Reheating: If you prefer them warm, reheat the bars in the microwave for about 10-15 seconds. This will give them that fresh-baked softness without losing any flavor!
Make Ahead Options
These Homemade Granola Bars are perfect for meal prep enthusiasts! You can mix the wet ingredients and dry ingredients, then refrigerate the mixture for up to 24 hours before pressing it into the pan. To maintain their delightful texture, be sure to press the mixture down firmly into the baking pan after it’s chilled. When you’re ready to enjoy your granola bars, simply cut them into squares and store them in an airtight container in the fridge for up to 3 days. This way, you can have a healthy snack on hand for those busy afternoons without sacrificing quality or flavor!
Homemade Granola Bars Variations
Feel free to make these delightful bars your own by trying out different twists and substitutions!
- Nut-Free: Replace nut butter with sun butter to create a delicious, allergen-friendly option.
- Vegan: Substitute honey with maple syrup or agave nectar for a sweet, plant-based alternative.
- Fruit-Loaded: Add ½ cup of your favorite dried fruits like raisins or dates for natural sweetness and chewy texture.
- Crispy Finish: Fold in a ¼ cup of crisped rice cereal for a delightful crunch that takes these bars to the next level.
- Chocolate Lovers: Mix in chocolate-covered almonds or additional chocolate chips for a rich, indulgent treat.
- Spiced Up: Sprinkle in cinnamon or a dash of nutmeg to warm up the flavor profile; it pairs beautifully with oats and chocolate.
- Tropical Twist: Incorporate unsweetened coconut flakes and chopped dried mango for a taste of the tropics!
- Spicy Kick: Add a pinch of cayenne pepper or red pepper flakes for an unexpected spicy note that contrasts the sweetness beautifully.
These variations can transform your homemade granola bars into endless combinations and flavors, ensuring there’s always something new to enjoy!
What to Serve with Chewy Chocolate Chip Granola Bars?
Enjoy your homemade granola bars with delightful pairings that elevate every bite into a nourishing experience.
-
Greek Yogurt: Creamy and tangy, yogurt adds a rich contrast that balances the sweetness of the bars perfectly.
-
Fresh Fruit Salad: A medley of seasonal fruits brightens the palate and adds refreshing juiciness to your snack time.
-
Nut Butter Dip: Pair your bars with a side of almond or cashew butter for the ultimate nutty flavor explosion in every bite.
-
Coconut Chia Pudding: This creamy, textural duo of chewy bars and pudding makes for a whimsical snack or breakfast.
-
Milk or Dairy Alternative: Sip a glass of dairy or plant-based milk for a comforting beverage that complements the chewy granola bars beautifully.
-
Smoothie Bowl: A vibrant smoothie bowl loaded with berries is both energizing and fulfilling—a great way to start or end the day.
These pairings not only enhance flavors but also create a satisfying meal experience that breaks free from the fast-food cycle!
Homemade Granola Bars Recipe FAQs
How do I choose the right ingredients for homemade granola bars?
Absolutely! When selecting your ingredients, choose creamy nut butters for better binding, and use certified gluten-free oats if you have dietary sensitivities. Aim for fresh honey and high-quality chocolate chips; this ensures maximum flavor and satisfaction in every bite.
How should I store homemade granola bars?
To keep your homemade granola bars fresh, store them in an airtight container at room temperature for up to 3 days. If you want them to last longer, pop them in the fridge where they can stay good for up to 2 weeks. Just ensure they’re sealed tightly to maintain their chewy texture!
Can I freeze homemade granola bars?
Very! To freeze, individually wrap each homemade granola bar in plastic wrap and then place them in a freezer-safe bag. They’ll keep well for up to 3 months. Whenever you’re ready to enjoy one, just thaw it in the fridge overnight or leave it at room temperature for a few hours.
What if my granola bar mixture seems too dry?
Don’t worry, it happens! If your mixture feels overly dry before pressing it into the pan, you can add a little more honey or nut butter to help bind the ingredients better. Just smear it in gradually until the right consistency is achieved. Don’t forget, thorough mixing is key!
Are these bars safe for kids and pet allergies?
Absolutely! Most of the ingredients are quite safe for kids. However, always keep in mind any nut allergies. For pets, it’s best to avoid giving them these bars, especially since honey can be a concern for dogs. Always consult your vet if you’re unsure about specific ingredients with regard to your furry companions.
Is it possible to customize my granola bar recipe?
Very much so! The beauty of homemade granola bars lies in their versatility. Feel free to add nuts, seeds, or even dried fruits to enhance flavors. Just be mindful of the total dry ingredients to keep a good texture, and remember, as the saying goes, the more, the merrier in this delicious mix!

Homemade Granola Bars: Chewy, Healthy Bliss You’ll Love
Ingredients
Equipment
Method
- Prepare Pan: Line an 8x8 baking pan with parchment paper, allowing some overhang for easy removal later.
- Mix Wet Ingredients: In a large bowl, combine your choice of peanut or cashew butter, honey, vanilla extract, and sea salt. Stir until smooth.
- Combine Dry Ingredients: Gently fold in the rolled oats, mini chocolate chips, and pepitas until evenly distributed.
- Press into Pan: Transfer the mixture to the prepared pan and press down firmly for an even layer.
- Chill: Place the pan in the refrigerator and let it chill for at least 1 hour.


