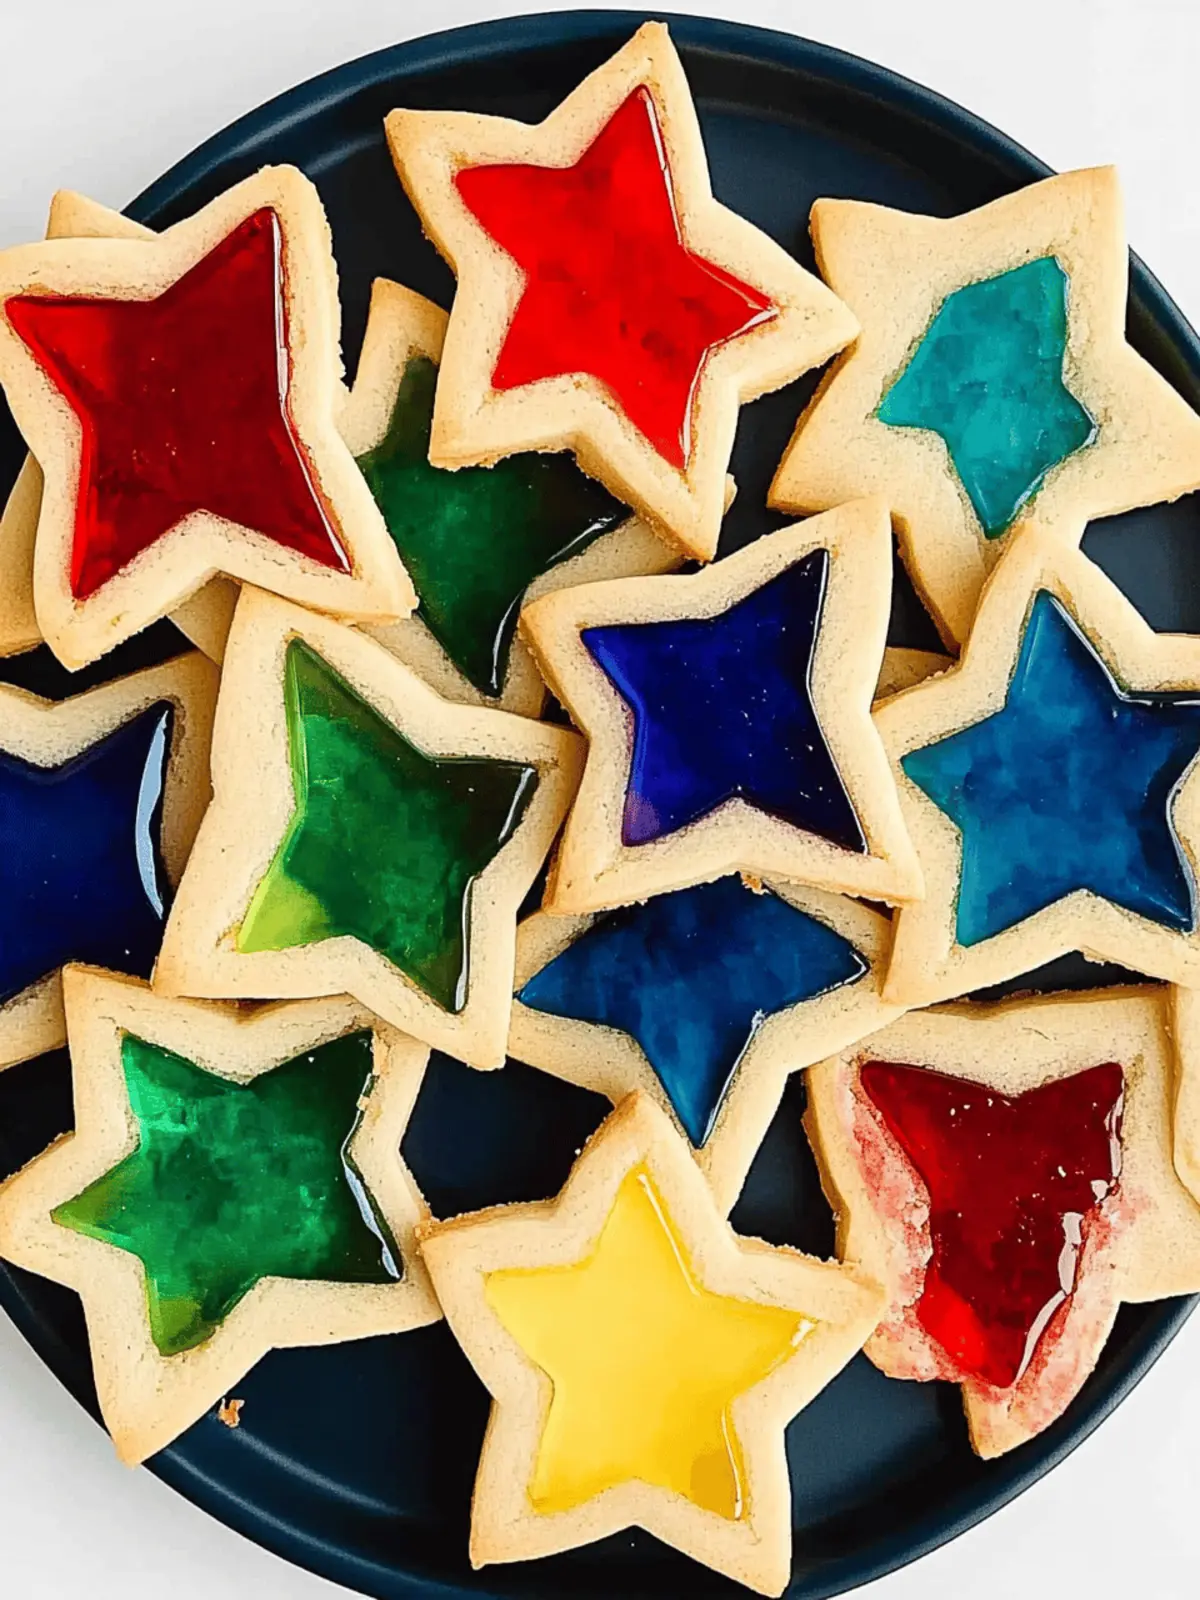
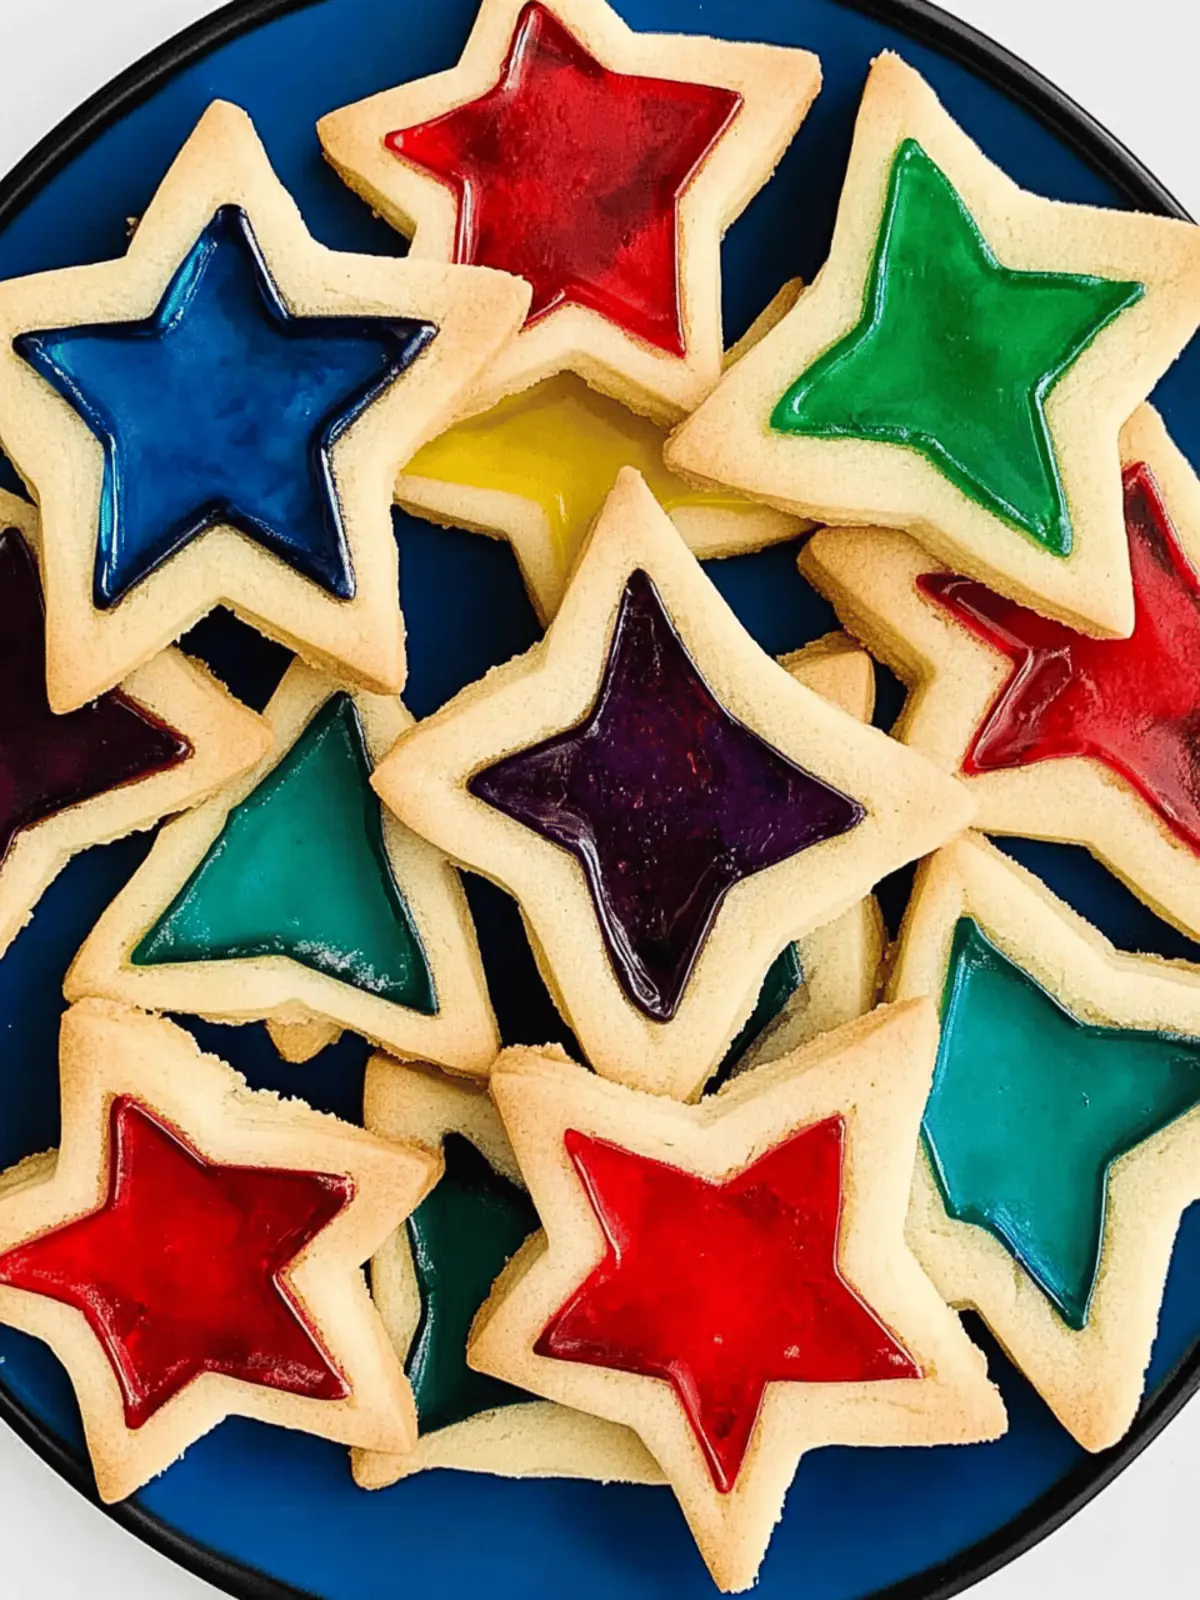
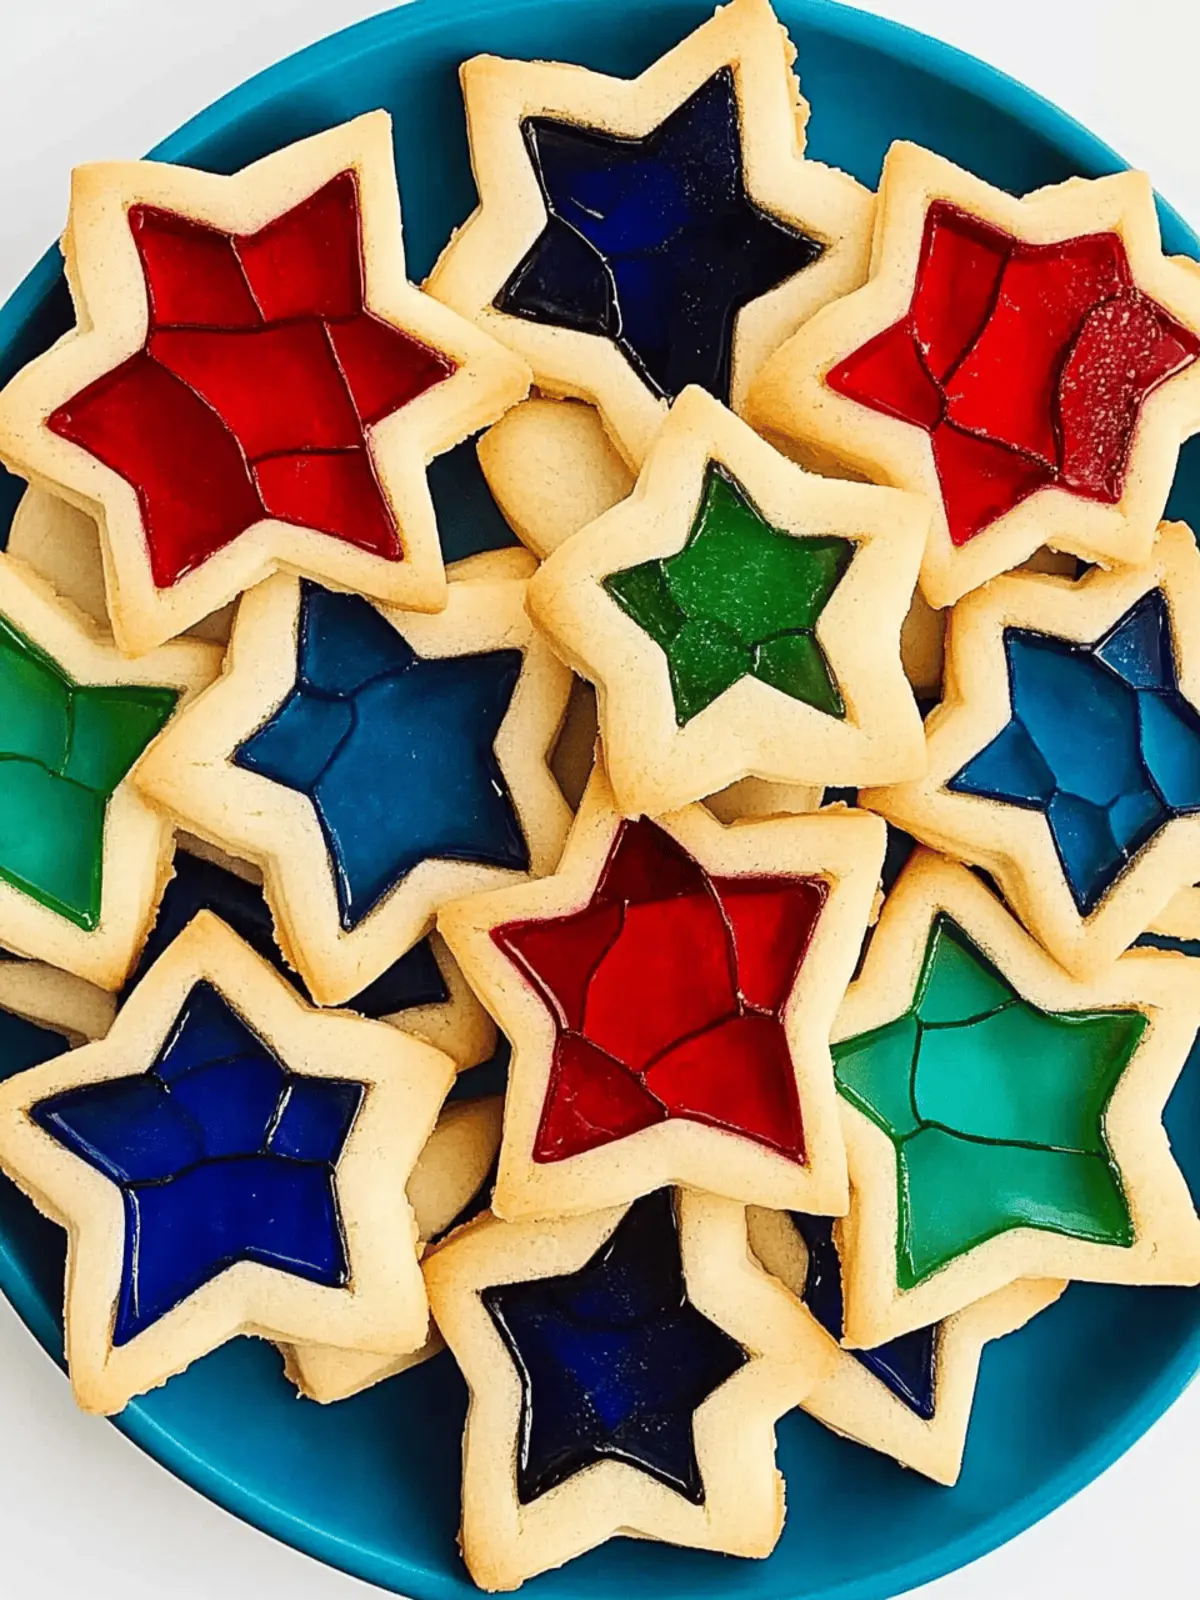
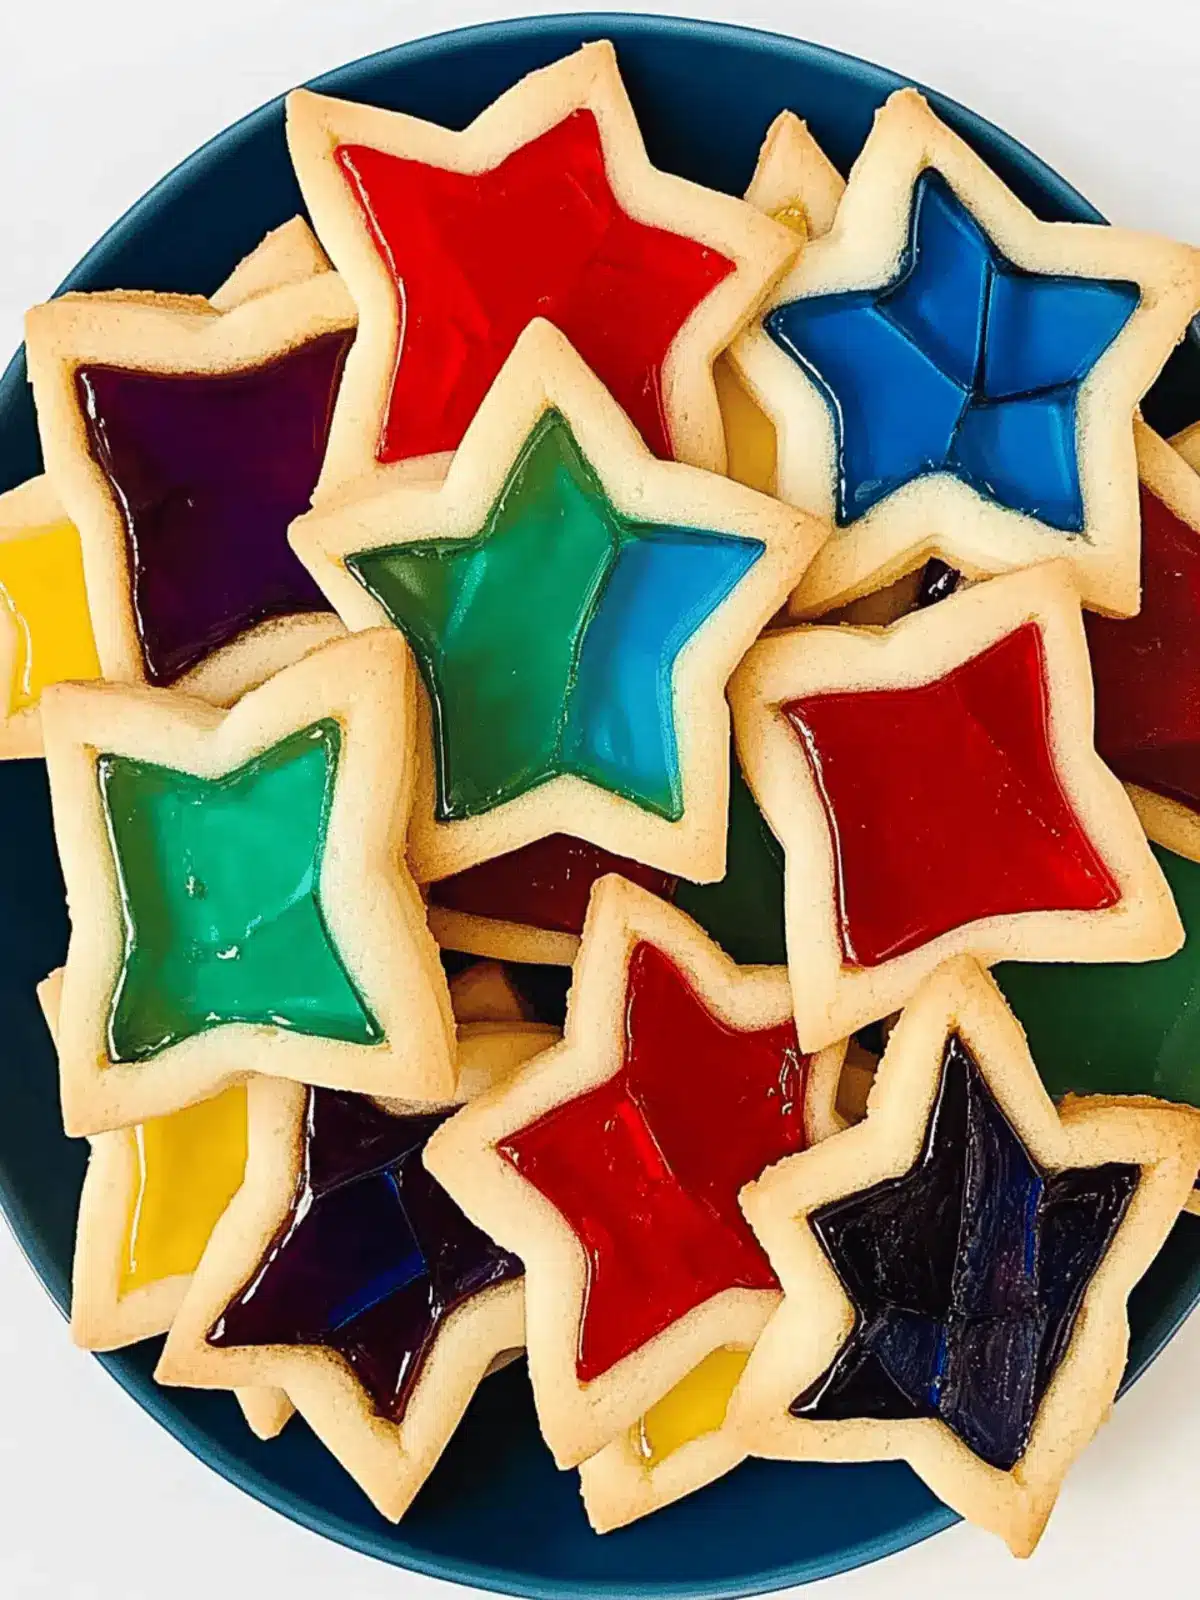
When the holiday season rolls around, my kitchen transforms into a bustling workshop filled with laughter, flour, and a marvelous array of treats. That’s when I found myself experimenting with something truly special: Amazing Stained Glass Cookies. The vibrant colors of crushed candy dancing in the sunny afternoon light turned my simple sugar cookies into edible masterpieces that tempt the eye first, and then delight the taste buds.
This recipe isn’t just about baking; it’s about making memories with family and friends. The joy of rolling out dough, cutting out festive shapes, and watching the candy melt into shimmering “glass” captivates the kids and rekindles the child in all of us. Perfect for Christmas gatherings or any festive occasion, these cookies are not only visually stunning but also incredibly easy to whip up. Ready to give it a try? Let’s dive into the delightful world of stained glass cookies, where each bite is as spectacular as it is sweet.
Why You’ll Love These Amazing Stained Glass Cookies
Visual Delight: These cookies are nothing short of a holiday masterpiece, showcasing vibrant colors and festive shapes that bring cheer to any occasion.
Easy-to-Make: With simple ingredients and straightforward steps, you’ll be amazed at how quickly you can create these stunning treats.
Kid-Friendly Fun: Baking them together creates cherished moments, making it a fun and engaging activity for the whole family.
Versatile Options: Customize shapes and colors for all holidays, not just Christmas, ensuring year-round enjoyment.
Impressive Gift: Packaged in cellophane or a decorative box, they make thoughtful gifts that your friends and family will adore.
Sweet Satisfaction: The combination of a chewy cookie with a crisp candy “glass” center offers a unique contrast that keeps everyone coming back for more!
Amazing Stained Glass Cookies Ingredients
For the Dough
• All-Purpose Flour – Provides the main structure of the cookie; no direct substitutions, but gluten-free flour works for gluten-free versions.
• Unsalted Softened Butter – Adds richness and moisture; can be swapped with margarine or plant-based butter for dairy-free options.
• Sugar – Sweetens the cookies and contributes to their structure; use brown sugar for a deeper flavor or coconut sugar for a healthier alternative.
• Kosher Diamond Salt – Enhances the sweetness of the cookies; regular salt can substitute, but reduce the amount used.
For the Candy Center
• Colored Candy (Jolly Ranchers recommended) – Creates the stunning stained glass effect; feel free to explore other candies, but this may alter both color and flavor.
These Amazing Stained Glass Cookies will truly brighten your holiday gatherings with their vibrant hues and delightful flavors!
How to Make Amazing Stained Glass Cookies
- Prepare the Candy: Unwrap your colorful candies and place them in zip bags. Use a rolling pin to gently crush them into tiny crystal-like pieces, which will create a beautiful stained glass effect.
- Cream the Butter and Sugar: In a mixing bowl, cream together the unsalted butter and sugar until fluffy, about 5-6 minutes. Don’t forget to scrape down the sides of the bowl to incorporate all the sweetness!
- Combine Dry Ingredients: In a separate bowl, whisk together the all-purpose flour and kosher salt. Gradually mix this into the butter mixture on low speed until a soft dough forms.
- Chill the Dough: Divide the dough into two equal balls and place them under parchment paper. Chill for 15-20 minutes while preheating your oven to 350°F, ensuring they’re easier to roll out later.
- Roll and Cut the Dough: Roll out each dough ball to about 3/8-inch thickness. Cut out large shapes, like stars, and then create smaller inner shapes for the centers. Arrange them on lined baking pans.
- Fill with Candy: Carefully fill the cut-out centers with your crushed candy, making sure to cover evenly for that gorgeous stained glass look.
- Bake to Perfection: Bake the cookies in the preheated oven for about 15 minutes, rotating the trays halfway through. Remove them when the edges are barely brown and cool for about 10 minutes before transferring to a wire rack.
- Bake Smaller Shapes: If you’ve made smaller shapes, bake them for about 10 minutes, and remember to re-roll any leftover dough to create more cookies!
Optional: Add a sprinkle of edible glitter while the cookies cool for an extra festive touch!
Exact quantities are listed in the recipe card below.
Make Ahead Options
These Amazing Stained Glass Cookies are perfect for meal prep, allowing you to enjoy the festive fun without the last-minute rush! You can prepare the dough up to 24 hours in advance by wrapping it tightly in plastic wrap and refrigerating it; this helps the flavors meld beautifully. Additionally, you can crush the candies and store them in an airtight container for up to 3 days. When you’re ready to bake, simply roll out the dough and fill it with the prepped candy before popping them into the oven. This method not only saves you time but ensures that your cookies are just as delicious and vibrant when you finally bake them!
Expert Tips for Amazing Stained Glass Cookies
- Crush Wisely: Aim for small crystal-like pieces when crushing your candy; powdery candy can melt improperly and create a less appealing result.
- Chill the Dough: Keeping the dough cold while you work prevents it from becoming sticky, making it easier to roll out and cut without fuss.
- Monitor Baking Closely: The candy center can harden quickly after baking; watching closely ensures you don’t overbake your delicate cookies.
- Experiment with Shapes: Get creative! Use cookie cutters of various shapes beyond stars—hearts, trees, or even animals—to make your amazing stained glass cookies festive for any occasion.
- Don’t Skip the Sprinkles: Adding edible glitter or festive sprinkles while cooling gives your cookies that extra sparkly touch, perfect for holiday cheer!
Amazing Stained Glass Cookies Variations
Get ready to put your personal twist on these delightful cookies and make them truly yours!
- Gluten-Free: Use a cup-for-cup gluten-free flour blend to maintain the delicious texture while catering to gluten sensitivities.
- Flavorful Twist: Add a teaspoon of vanilla or almond extract to the dough for a subtle burst of extra flavor that complements the sweetness beautifully.
- Dye-Free Option: For a natural approach, use freeze-dried fruits to color your candy centers instead of traditional candies for a healthier alternative.
- Nutty Addition: Incorporate finely chopped nuts, such as almonds or pecans, into the dough for added texture and richness that pairs wonderfully with the sweet candy.
- Citrusy Brightness: Grate some lemon or orange zest into the dough to add a fresh, zesty flavor that brightens up every cookie.
- Festive Sprinkles: Before baking, sprinkle some festive nonpareils or colored sugar on top for a cheerful finish that’s perfect for any holiday gathering.
- Chocolate Drizzle: After cooling, drizzle melted chocolate over your cookies for an indulgent flair that will satisfy chocoholics and enhance the sweetness.
- Spicy Kick: For those who enjoy warmth, add a pinch of cinnamon or nutmeg to the dough for a cozy, seasonal spice that brings a new level of warmth to every bite.
How to Store and Freeze Amazing Stained Glass Cookies
Airtight Container: Store your cookies in an airtight container at room temperature for up to 7 days to maintain their freshness and vibrant colors.
Fridge: If you live in a warmer climate, keep cookies in the fridge for up to 10 days; simply let them return to room temperature before serving.
Freezer: For longer preservation, freeze the cookies in a single layer for up to 3 months. Wrap them tightly and store in a freezer-safe bag.
Reheating: To enjoy your cookies warm, microwave them for about 10-15 seconds or place them in a preheated oven at 350°F for a few minutes. Enjoy your Amazing Stained Glass Cookies!
What to Serve with Amazing Stained Glass Cookies?
The vibrant colors and delightful flavors of these cookies create the perfect opportunity to build a festive meal that excites the senses.
- Hot Chocolate: The creamy warmth of hot chocolate complements the sweetness of the cookies, creating a cozy atmosphere for holiday gatherings.
- Eggnog: For a traditional touch, pair your cookies with rich, spiced eggnog that enhances the festive spirit with every sip.
- Vanilla Ice Cream: A scoop of vanilla ice cream adds a refreshing contrast, balancing the chewy texture of the cookies with creamy coolness.
- Christmas Fruitcake: The rich, spiced flavor of fruitcake works well alongside the colorful cookies, offering a classic holiday pairing that everyone can enjoy.
- Gingerbread Cookies: Mix and match with gingerbread cookies—they share a warm spice profile that harmonizes beautifully with the bright flavors of stained glass cookies.
- Sparkling Cider: This festive drink adds a bubbly element that lifts the mood, making each bite of the delicious cookies even more delightful.
- Peppermint Bark: For an extra seasonal treat, peppermint bark provides a refreshing crunch that complements the sweet, chewy center of your stained glass cookies.
Creating a lovely spread with these delightful accompaniments will ensure the joy of Christmas stays alive long after the cookies are enjoyed!
Amazing Stained Glass Cookies Recipe FAQs
How do I select the right candies for the stained glass effect?
Absolutely! For the best results, use transparent hard candies like Jolly Ranchers or Lifesavers. These candies create the beautiful stained glass look when they melt. Be sure to avoid candies with fillings or that are too soft, as they might not provide the same vibrant colors or structure.
How should I store Amazing Stained Glass Cookies?
To keep your cookies fresh, store them in an airtight container at room temperature for up to 7 days. If you’re worried about the weather being warm, you can refrigerate them for 10 days. Just remember to bring them back to room temperature before serving for the best flavor and texture!
Can I freeze my Amazing Stained Glass Cookies?
Yes, you can! To freeze, place your cookies in a single layer on a baking sheet until solid, then wrap them tightly in plastic wrap and place them in a freezer-safe bag. They’ll keep well for up to 3 months. When you’re ready to enjoy them, thaw them at room temperature, or warm them up in the oven for that freshly-baked taste.
What if my candy melts too much during baking?
Very! If your candy melts too much, it might overflow from the cookie. To avoid this, crush your candies into small crystal-like pieces rather than a fine powder. Also, keep an eye on the baking time; remove them as soon as the edges start to brown to prevent overcooking.
Are there any allergy considerations for Amazing Stained Glass Cookies?
For sure! Be mindful of allergies, particularly with butter and certain candies. If you’re making these cookies for someone with dietary restrictions, consider using plant-based butter and check candy ingredient labels for common allergens like nuts or gluten. You can also explore gluten-free flour options for the dough.
Amazing Stained Glass Cookies to Brighten Your Holidays
Ingredients
Equipment
Method
- Unwrap the colorful candies and place them in zip bags. Use a rolling pin to crush them into tiny crystal-like pieces.
- In a mixing bowl, cream together the unsalted butter and sugar until fluffy, about 5-6 minutes.
- In a separate bowl, whisk together the all-purpose flour and kosher salt. Gradually mix this into the butter mixture on low speed.
- Divide the dough into two equal balls and chill for 15-20 minutes while preheating your oven to 350°F.
- Roll out each dough ball to about 3/8-inch thickness. Cut out large shapes, like stars, and small inner shapes for the centers.
- Fill the cut-out centers with your crushed candy evenly.
- Bake the cookies for about 15 minutes, rotating trays halfway through. Cool for 10 minutes before transferring.
- If smaller shapes are made, bake them for about 10 minutes and re-roll any leftover dough.

