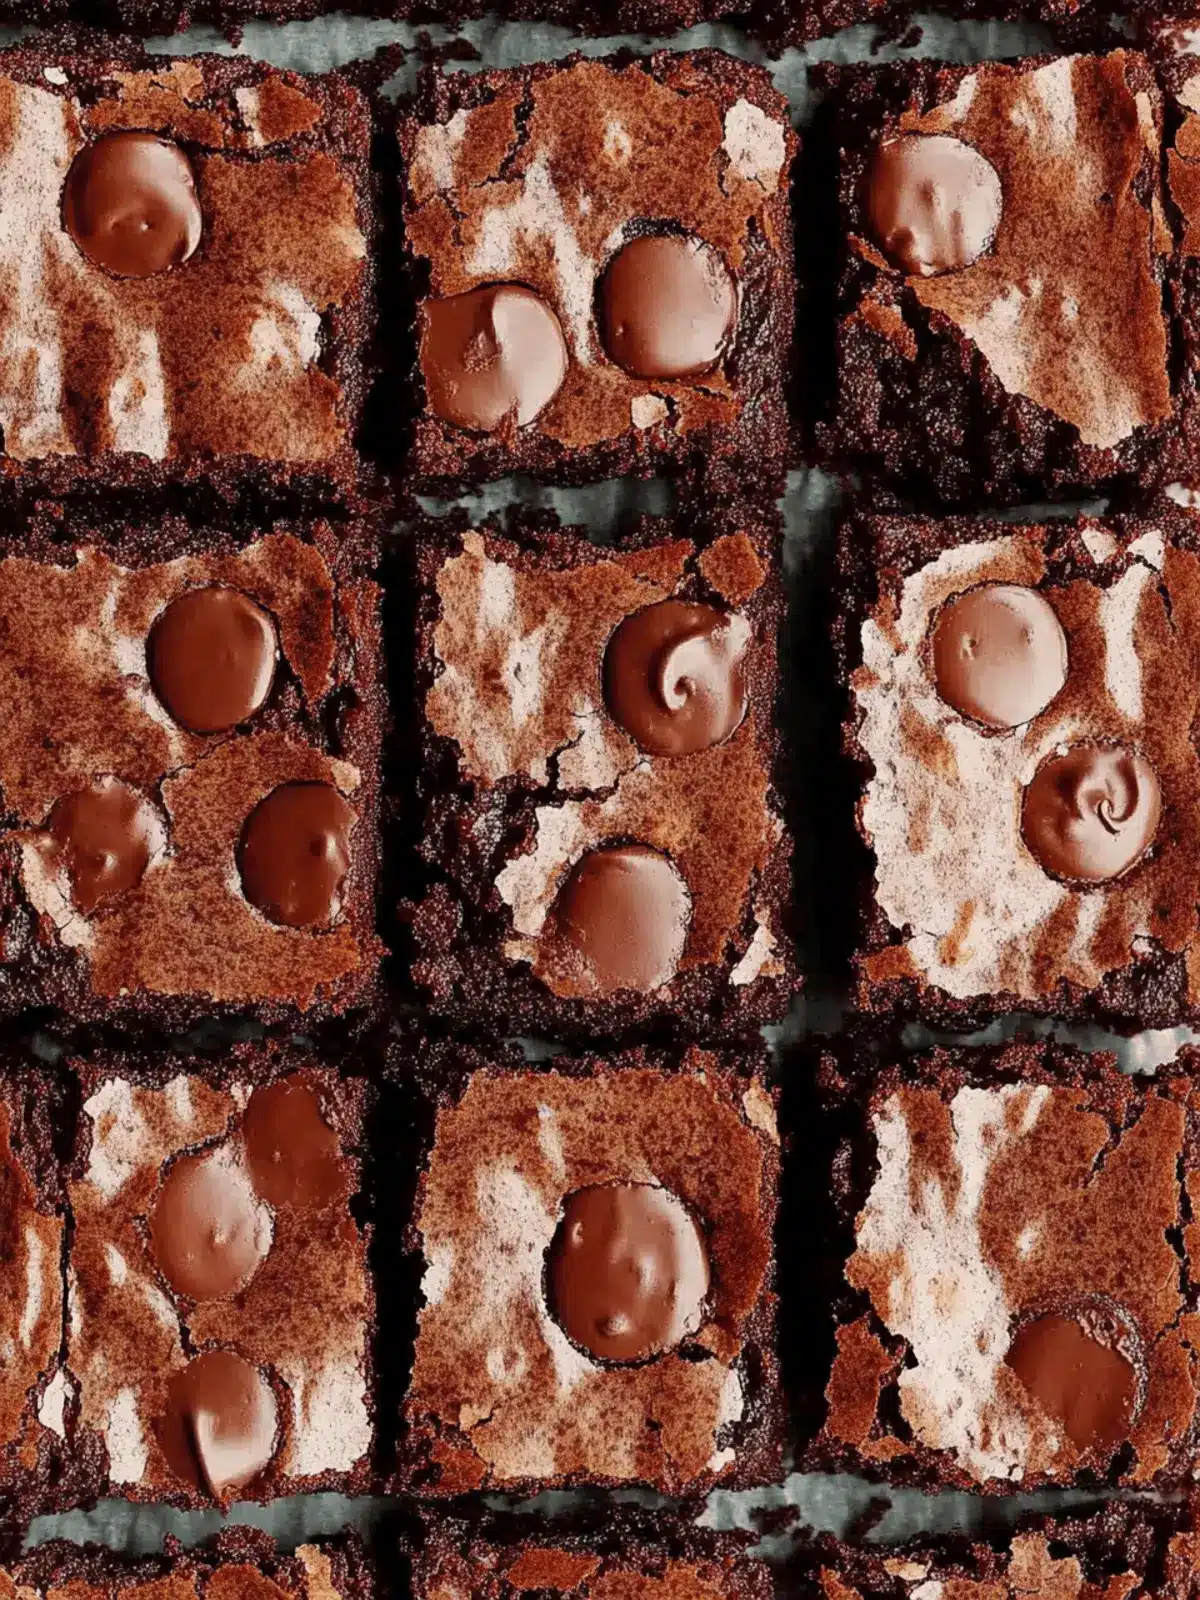
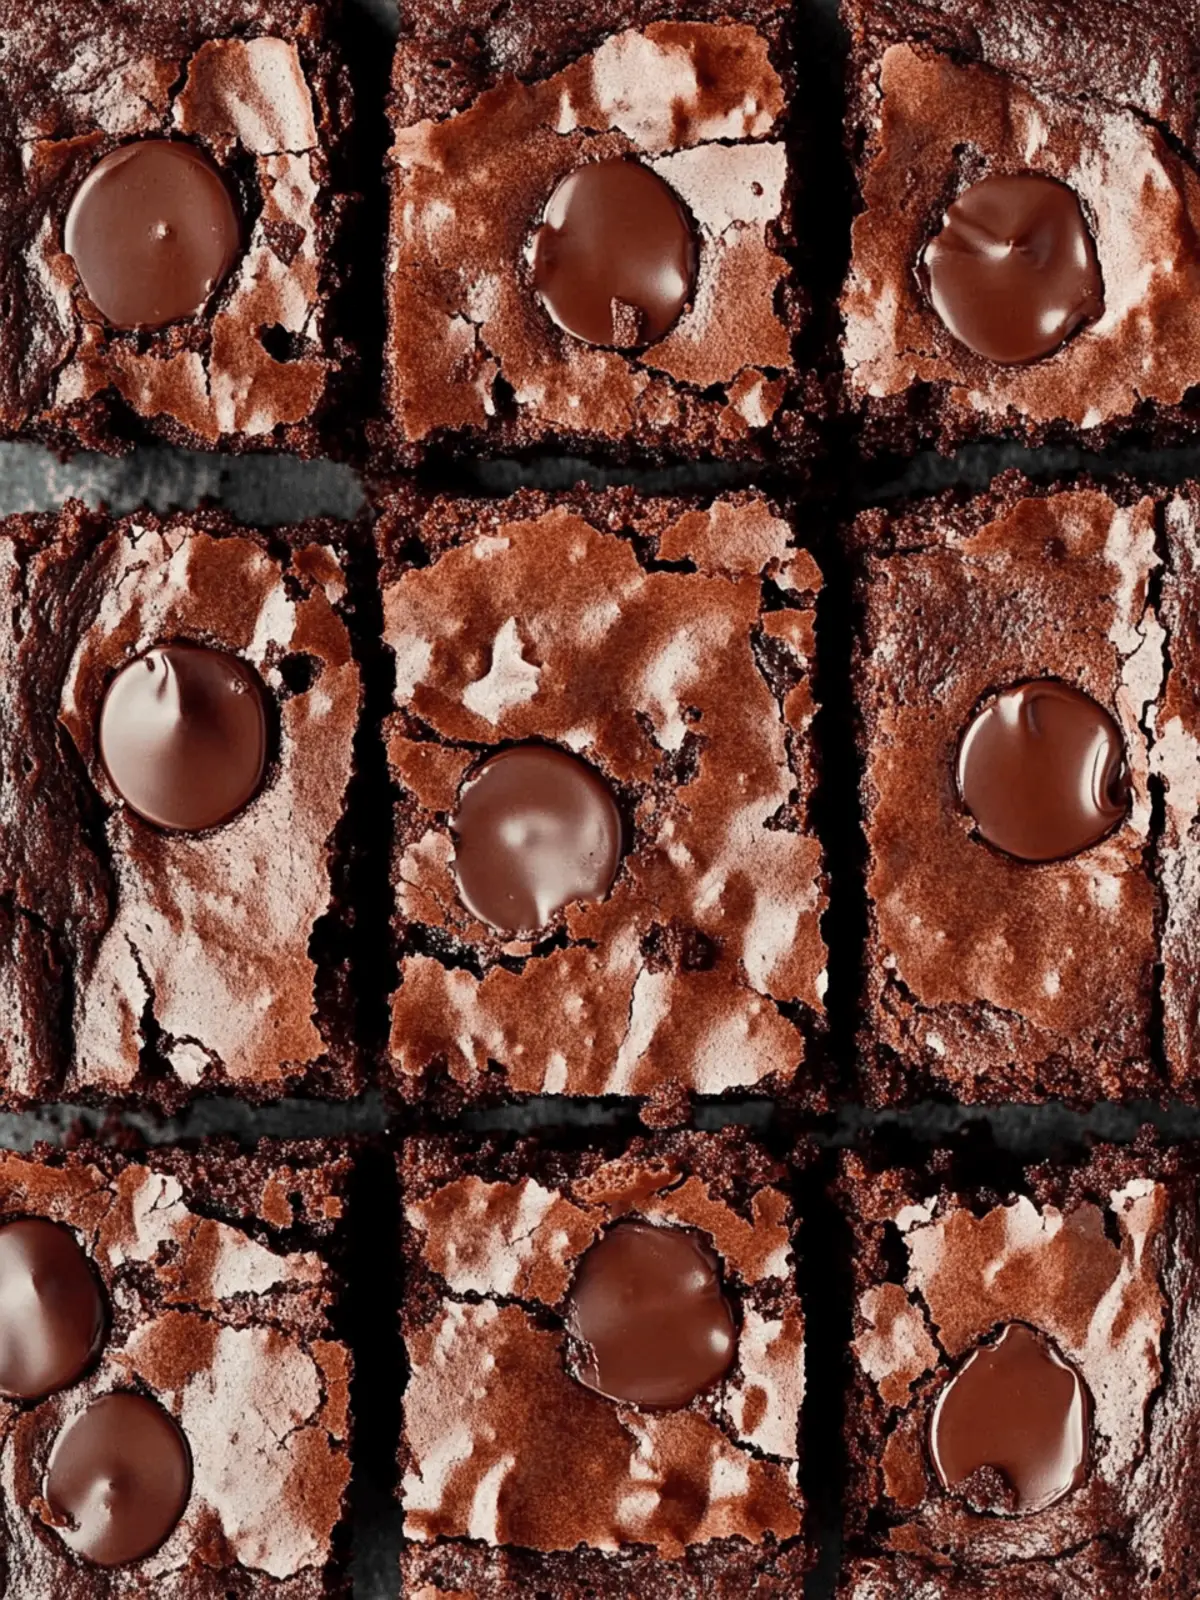
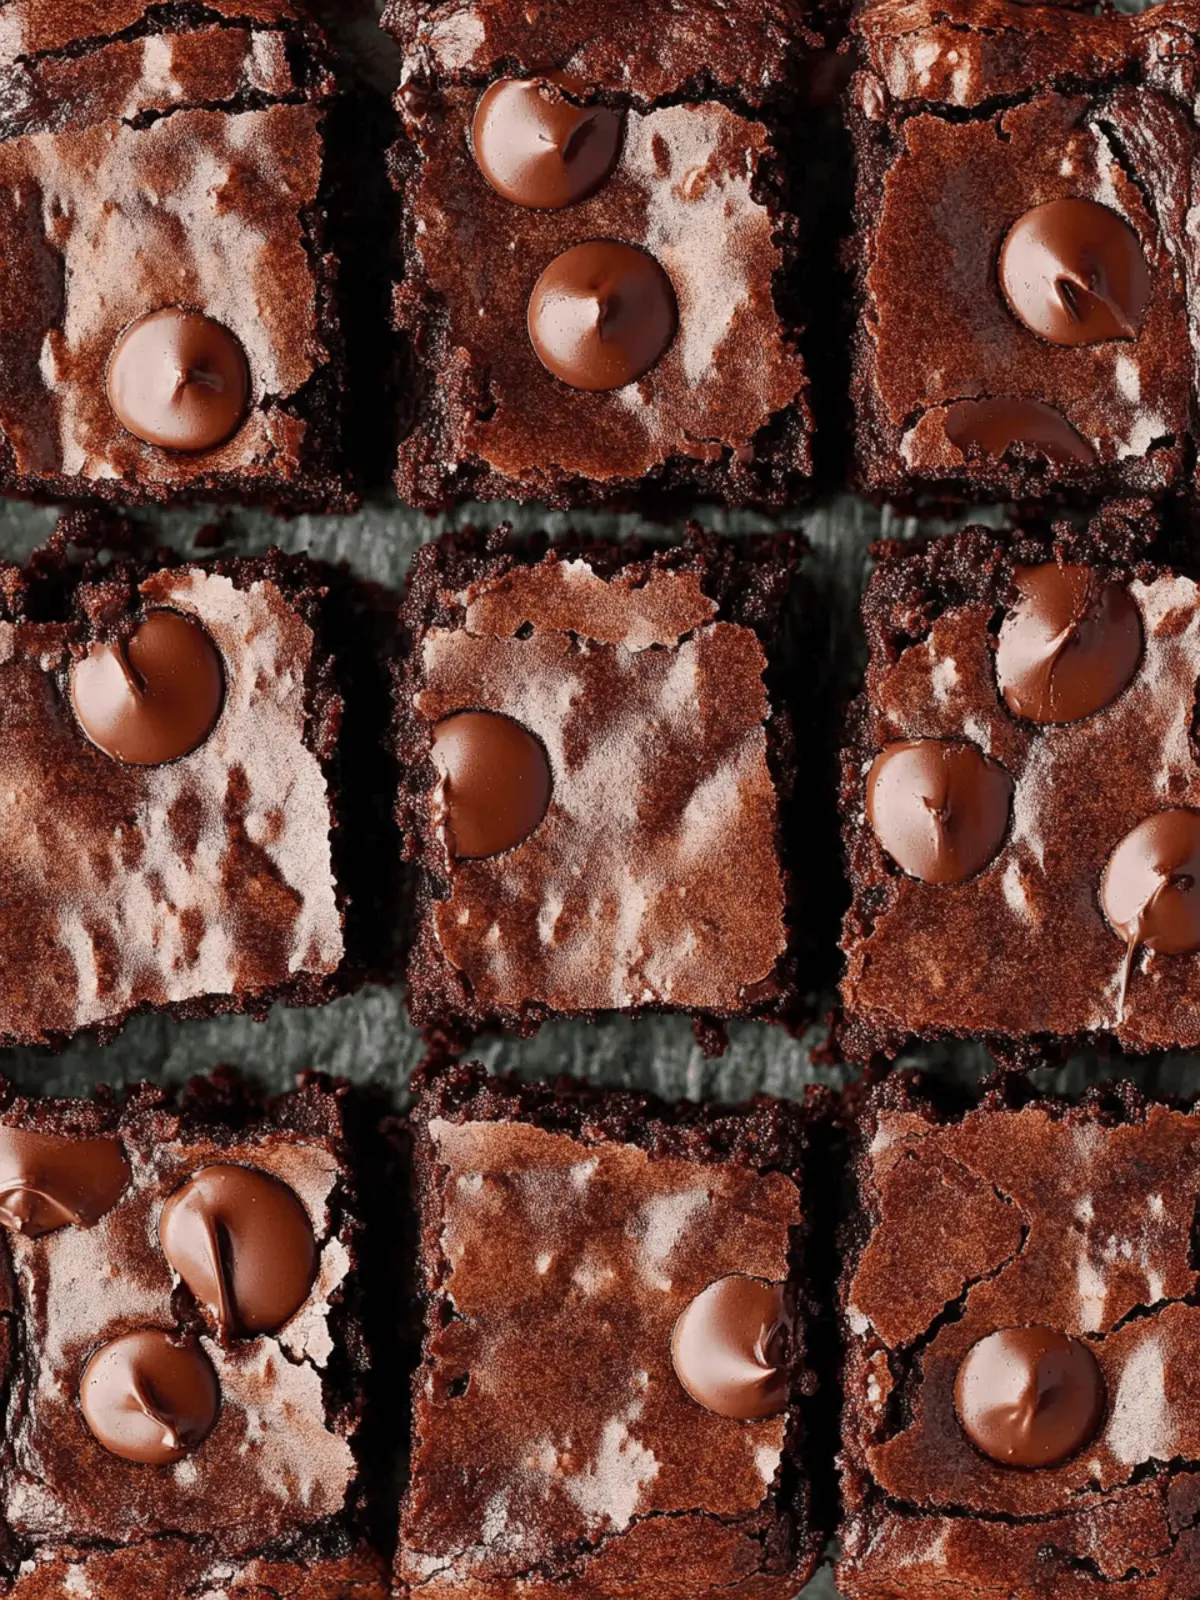
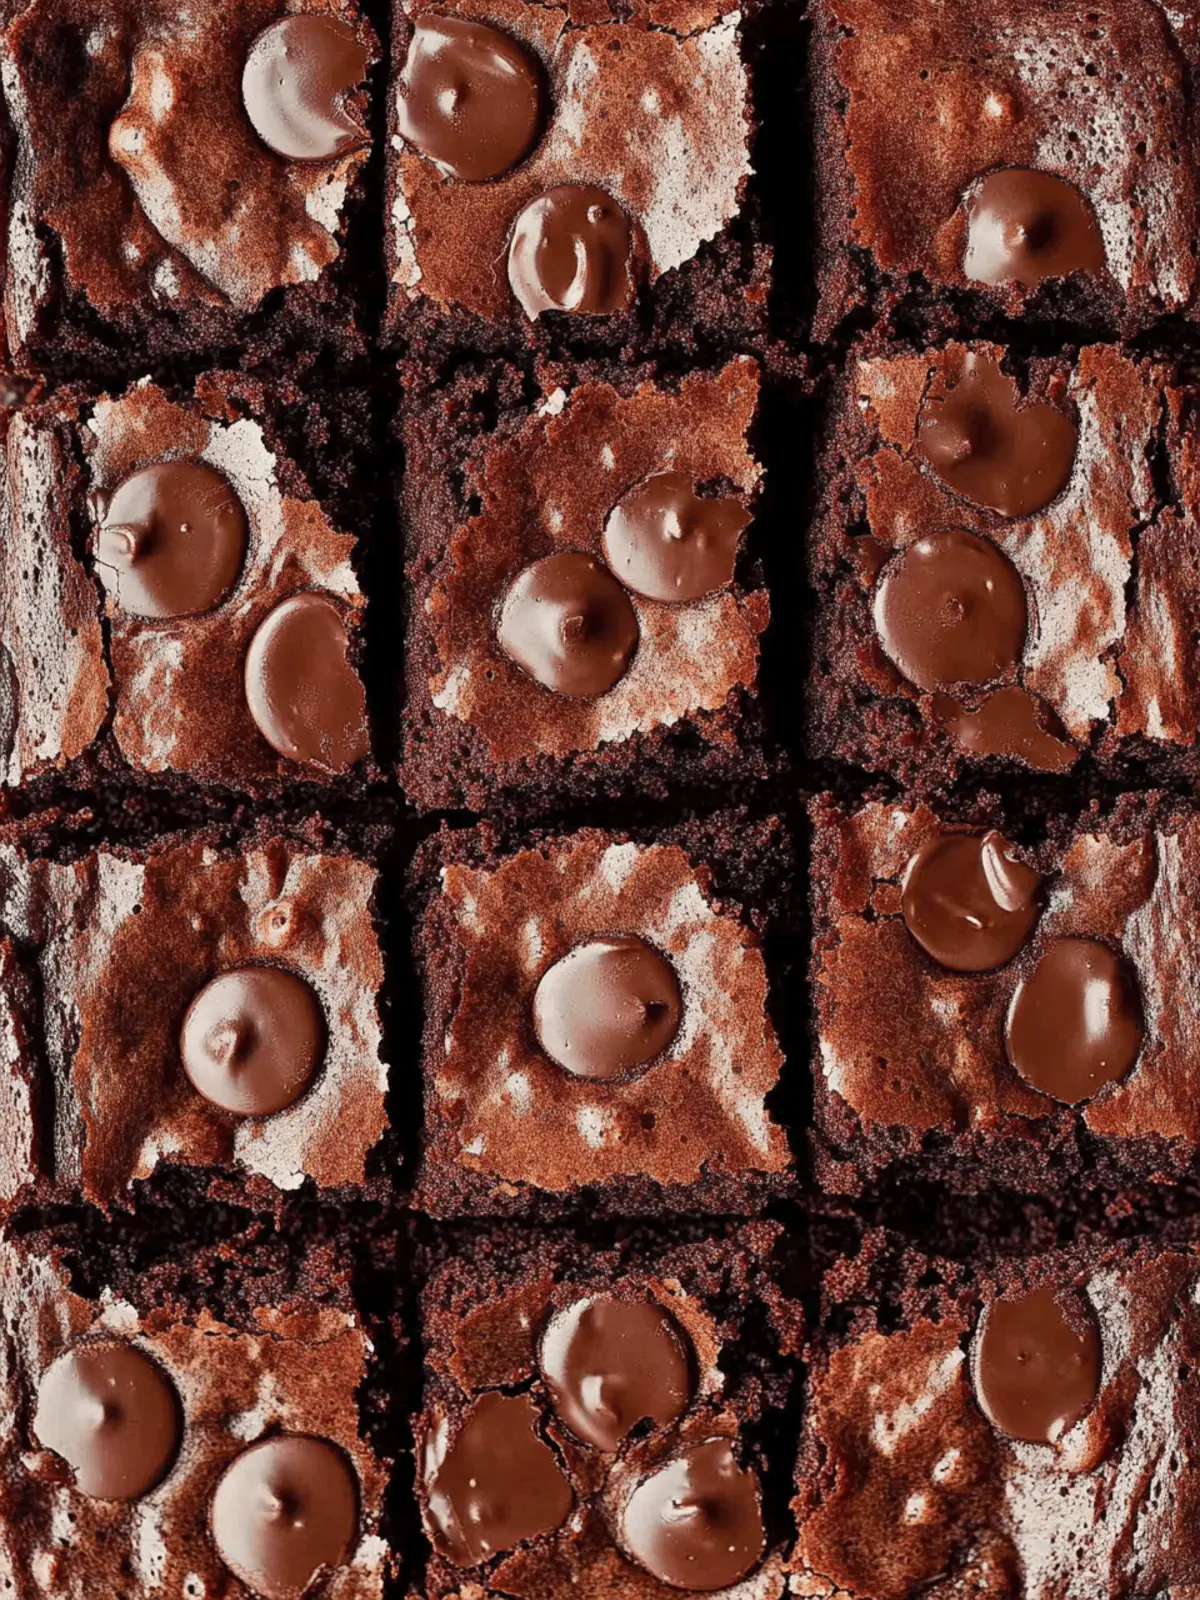
The first whiff of chocolate as these fudgy brownies come out of the oven is enough to make anyone weak in the knees. There’s something soul-soothing about the combination of crisp edges and a gooey center that takes me back to my childhood—when life was simpler, and dessert was the highlight of every day. I found myself yearning for that nostalgic indulgence, so I decided to whip up a batch at home. Using just a handful of pantry staples, this recipe not only brings joy but also allows for creative freedom. Whether you’re a seasoned home chef or just someone looking to escape the mundane fast-food routine, these brownies are sure to impress. With the power to customize the flavors and textures to suit your palate, there’s no reason not to dive into the delightful world of homemade decadence. Ready to get started? Let’s make the best homemade brownies you’ll ever taste!
Why Are Best Homemade Brownies a Must-Try?
Irresistible chocolate aroma: The moment these brownies hit the oven, you’ll be enveloped in a rich, mouthwatering scent that no store-bought dessert can replicate.
Childhood nostalgia: Each bite transports you back to simpler times, with that perfect blend of crispy edges and a gooey center.
Endless customization: Feel free to experiment with ingredients, whether swapping oils or adding nuts—make them uniquely yours!
Quick and easy: With just a few pantry staples, you can whip these up in no time—ideal for those busy days!
Perfect for gatherings: These fudgy delights are always a hit, guaranteed to disappear quickly at any event—watch your friends’ faces light up!
Best Homemade Brownies Ingredients
Discover the key ingredients that make these best homemade brownies a delightful treat!
For the Batter
- Granulated Sugar – Adds the essential sweetness and moisture; feel free to reduce to 1 cup for a less sweet version.
- All-Purpose Flour – Provides the necessary structure for your fudgy brownies.
- Cocoa Powder – Delivers rich chocolate flavor; remember to sift if lumpy for a smoother batter.
- Powdered Sugar – Grants additional sweetness and lightness; sift it for best results.
- Dark Chocolate Chips – Bursts of chocolate flavor throughout the brownie; choose your favorite type!
- Sea Salt – Balances and enhances the sweetness for a more sophisticated taste.
- Large Eggs – Critical for binding the ingredients together and adding moisture; use room-temperature eggs for optimal mixing.
- Canola Oil or Extra-Virgin Olive Oil – Adds moisture; use canola for a neutral taste or olive oil for a unique flavor profile.
- Water – Helps to hydrate the batter; adjust depending on your modifications.
- Vanilla Extract – A must for depth of flavor; enriches your homemade brownies with a warm essence.
Feel ready to create a batch of irresistible fudgy brownies? Let’s move on to the baking process next!
How to Make Fudgy Brownies
-
Preheat your oven to 325°F (163°C). This ensures an even bake for your brownies. Prepare an 8×8 baking dish by greasing it with cooking spray and lining it with parchment paper to prevent sticking.
-
Combine the dry ingredients. In a medium bowl, whisk together granulated sugar, all-purpose flour, cocoa powder, powdered sugar, chocolate chips, and sea salt until well mixed. This step sets the foundation for the rich chocolate flavor.
-
Whisk the wet ingredients. In a large bowl, beat together the eggs, olive oil, water, and vanilla extract until fully combined. The mixture should be smooth and slightly frothy, ensuring good integration of flavors.
-
Fold the dry ingredients into the wet ingredients. Gently combine until you see no dry flour; be careful not to overmix! This helps maintain that luscious, fudgy texture we all crave.
-
Spread the thick batter into your prepared baking dish. Use a spatula to evenly distribute the batter, ensuring every corner gets that heavenly chocolaty goodness.
-
Bake your brownies for 40-45 minutes. Check doneness using a toothpick; aim for a few moist crumbs clinging to it. This ensures a fudgy center while avoiding a dry texture.
-
Cool completely in the pan before slicing. Allow the brownies to sit for about 2 hours; this patient waiting game rewards you with clean cuts and the best texture!
Optional: Serve with a scoop of vanilla ice cream for an extra indulgent treat!
Exact quantities are listed in the recipe card below.
Expert Tips for Best Homemade Brownies
- Proper Baking Time: Start checking at 40 minutes; a slightly under-baked brownie maintains that rich, fudgy center that makes these the best homemade brownies.
- Cool Before Slicing: For the cleanest cuts and best texture, allow your brownies to cool completely in the pan for about 2 hours.
- Avoid Overmixing: Gently fold together the wet and dry ingredients until just combined to keep your brownies delightfully tender—overmixing can lead to a cakey texture.
- Ingredient Temperature: Ensure your eggs are at room temperature for easier incorporation and a smooth batter. This tiny detail can elevate your brownies!
- Experiment Wisely: Don’t hesitate to customize with nuts or different chocolate chips; just be cautious not to alter the key ingredients significantly to maintain that fudgy goodness.
How to Store and Freeze Fudgy Brownies
Room Temperature: Store brownies in an airtight container at room temperature for up to 3 days to maintain their fudgy texture and flavor.
Fridge: If you prefer a chilled treat, you can refrigerate your fudgy brownies for up to a week in an airtight container. Just allow them to come to room temperature before serving for the best experience!
Freezer: You can freeze brownies for up to a month. Cut them into squares, wrap individually in plastic wrap, and place in an airtight freezer bag. Thaw in the fridge overnight before enjoying.
Reheating: For a gooey warm treat, warm individual brownies in the microwave for about 10-15 seconds. This brings back that fresh-out-of-the-oven fudgy goodness you love!
Make Ahead Options
These fudgy brownies are perfect for meal prep enthusiasts! You can mix the dry ingredients and store them in an airtight container for up to 3 days to save time during your busy week. Additionally, you can whisk together the wet ingredients and refrigerate them for up to 24 hours; just remember to let them come to room temperature before mixing. When you’re ready to bake, simply combine the wet and dry ingredients, spread the batter in your prepared dish, and bake as directed. This method ensures your brownies come out just as delicious while saving you precious time—ideal for those hectic weeknight cravings!
What to Serve with Fudgy Brownies?
The warmth of freshly baked fudgy brownies calls for the perfect accompaniments to elevate your dessert experience.
- Vanilla Ice Cream: The classic pairing that adds creaminess, creating a delightful contrast to the fudgy texture of the brownies.
- Fresh Berries: Tart raspberries or strawberries brighten the dish, bringing a pop of freshness that balances the richness of the brownies.
- Chocolate Sauce: Drizzle some warm chocolate sauce on top for an extra chocolaty delight—because who could resist more chocolate?
- Whipped Cream: Light and airy, whipped cream complements the dense brownies, making each bite feel indulgent yet light.
- Coffee: A bold cup of coffee enhances the chocolate flavor, and sipping it alongside the brownies creates a comforting experience.
- Nuts: To add a satisfying crunch, serve with chopped walnuts or pecans sprinkled on top or alongside for an extra layer of flavor.
- Mint Leaves: Fresh mint leaves can elevate the dessert with a refreshing twist, cutting through the richness of the chocolate.
- Caramel Sauce: Drizzling warm caramel sauce over your brownies creates a luscious, sweet experience that elevates each bite.
Fudgy Brownie Variations
Feel free to let your creativity shine as you explore delightful twists on these fudgy brownies!
-
Nutty Crunch: Add 1 cup of chopped walnuts or pecans for a satisfying crunch that complements the fudgy texture beautifully. The added richness will elevate each bite!
-
Brown Sugar Swap: Substitute half of the granulated sugar with brown sugar for deeper flavor and extra moisture that enhances that classic fudginess.
-
Choco-Lover’s Delight: Experiment with different chocolate chips—white, milk, or even flavored varieties—for a personalized brownie experience that caters to your chocolate cravings.
-
Minty Fresh: Incorporate 1 teaspoon of peppermint extract into your wet ingredients for a refreshing twist that pairs perfectly with rich chocolate.
-
Spicy Kick: Add 1/4 teaspoon of cayenne pepper or a dash of chili powder to the batter for an unexpected warmth that tantalizes your taste buds.
-
Dairy-Free Option: Swap the eggs for a flaxseed meal (1 tablespoon of flaxseed mixed with 2.5 tablespoons of water) and use dairy-free chocolate chips for a rich, fudgy treat that’s completely plant-based!
-
Fruit Fusion: Fold in 1/2 cup of chopped strawberries or raspberries into the batter for a fruity burst of flavor that contrasts delightfully with the chocolate.
-
Coffee Boost: Mix in 1 tablespoon of espresso powder with the dry ingredients to intensify the chocolate flavor, making your brownies utterly irresistible!
Unleash your inner chef and transform these brownies into something uniquely yours with ease!
Best Homemade Brownies Recipe FAQs
What type of cocoa powder should I use for the best homemade brownies?
I recommend using unsweetened cocoa powder for the richest flavor. Look for brands that list “Dutch process” on the label, as these tend to provide a deeper chocolate taste. Sifting the cocoa powder before use is a great tip if you notice any lumps; this ensures smooth incorporation into the batter.
How should I store any leftover brownies?
Absolutely! Store your fudgy brownies in an airtight container at room temperature for up to 3 days to keep them soft and delicious. If you’d prefer them chilled, they can last up to a week in the refrigerator. Just be sure to allow them to come back to room temperature before serving so you can enjoy that fabulous fudgy texture!
Can I freeze brownies, and if so, how?
Yes, you can freeze brownies with ease! For best results, cut them into squares first, then wrap each piece individually in plastic wrap. Place the wrapped brownies in an airtight freezer bag, and they will be good for up to a month. When you’re ready to enjoy, simply thaw them in the fridge overnight or let them sit at room temperature for a couple of hours.
What if my brownies turn out too cakey?
If your brownies end up too cakey, it’s likely due to overmixing or using too much flour. To spot the problem, look for dryness or a spongy texture rather than the desired fudgy finish. For the next batch, mix the wet and dry ingredients until just combined, and consider reducing the flour slightly. Remember, a fudgy brownie needs just the right touch!
Are there any dietary considerations I should keep in mind with this brownie recipe?
Certainly! If you’re baking for someone with allergies, remember that this recipe contains common allergens like eggs and wheat. You could try substituting the eggs with a flaxseed mixture (1 tablespoon ground flaxseed mixed with 3 tablespoons of water per egg) to make the brownies vegan. For gluten-free options, use a gluten-free flour blend and make sure all other ingredients are certified gluten-free.
Can I substitute different types of oils in this brownie recipe?
Very! You can use various oils, including canola oil, vegetable oil, or even coconut oil for a unique flavor twist. Just know that olive oil might impart a more distinctive taste, while canola oil will keep the flavor neutral. If you’re experimenting with alternatives, ensure they are mild so they won’t overpower the rich chocolate flavor!

Best Homemade Brownies: Fudgy Bliss in Every Bite
Ingredients
Equipment
Method
- Preheat your oven to 325°F (163°C) and prepare an 8x8 baking dish by greasing it and lining with parchment.
- Combine the dry ingredients: whisk together granulated sugar, flour, cocoa powder, powdered sugar, chocolate chips, and sea salt.
- Whisk the wet ingredients: beat together eggs, olive oil, water, and vanilla extract until smooth.
- Fold the dry ingredients into the wet ingredients until no dry flour remains; be careful not to overmix.
- Spread the thick batter into your prepared baking dish evenly.
- Bake for 40-45 minutes, checking doneness with a toothpick for moist crumbs.
- Cool completely in the pan for about 2 hours before slicing.


