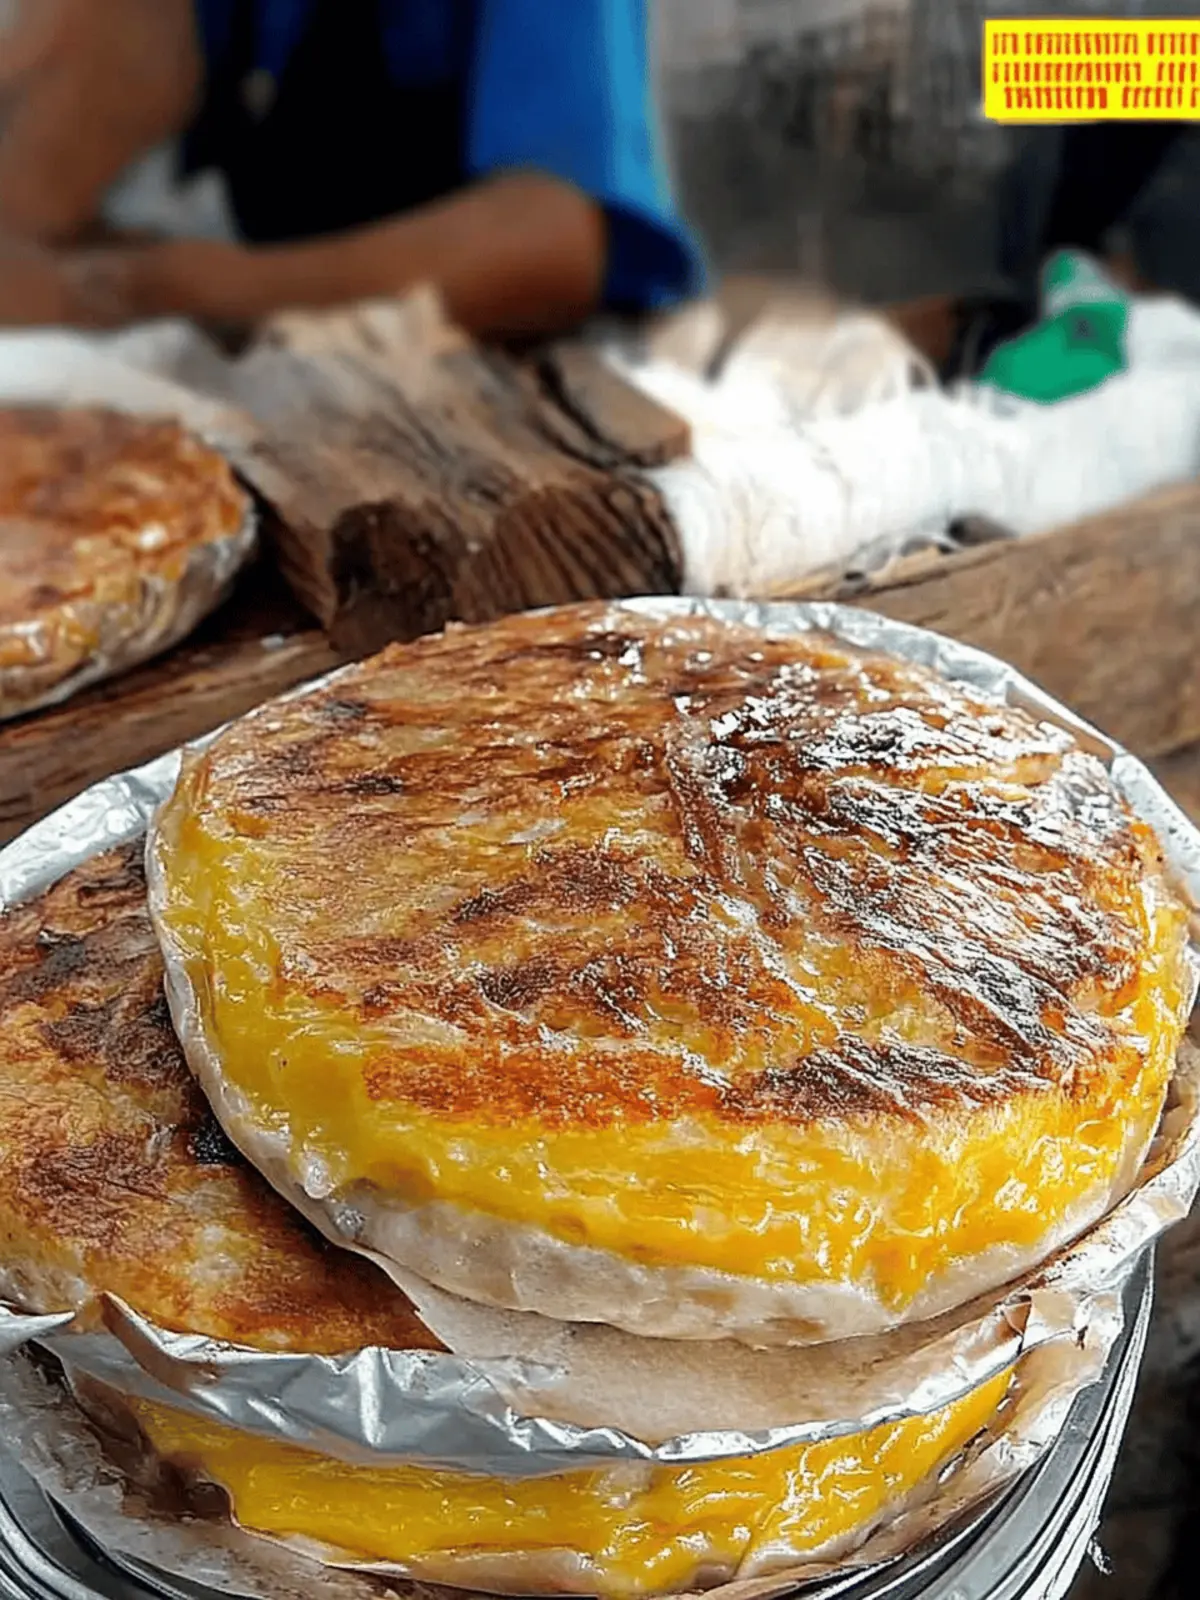
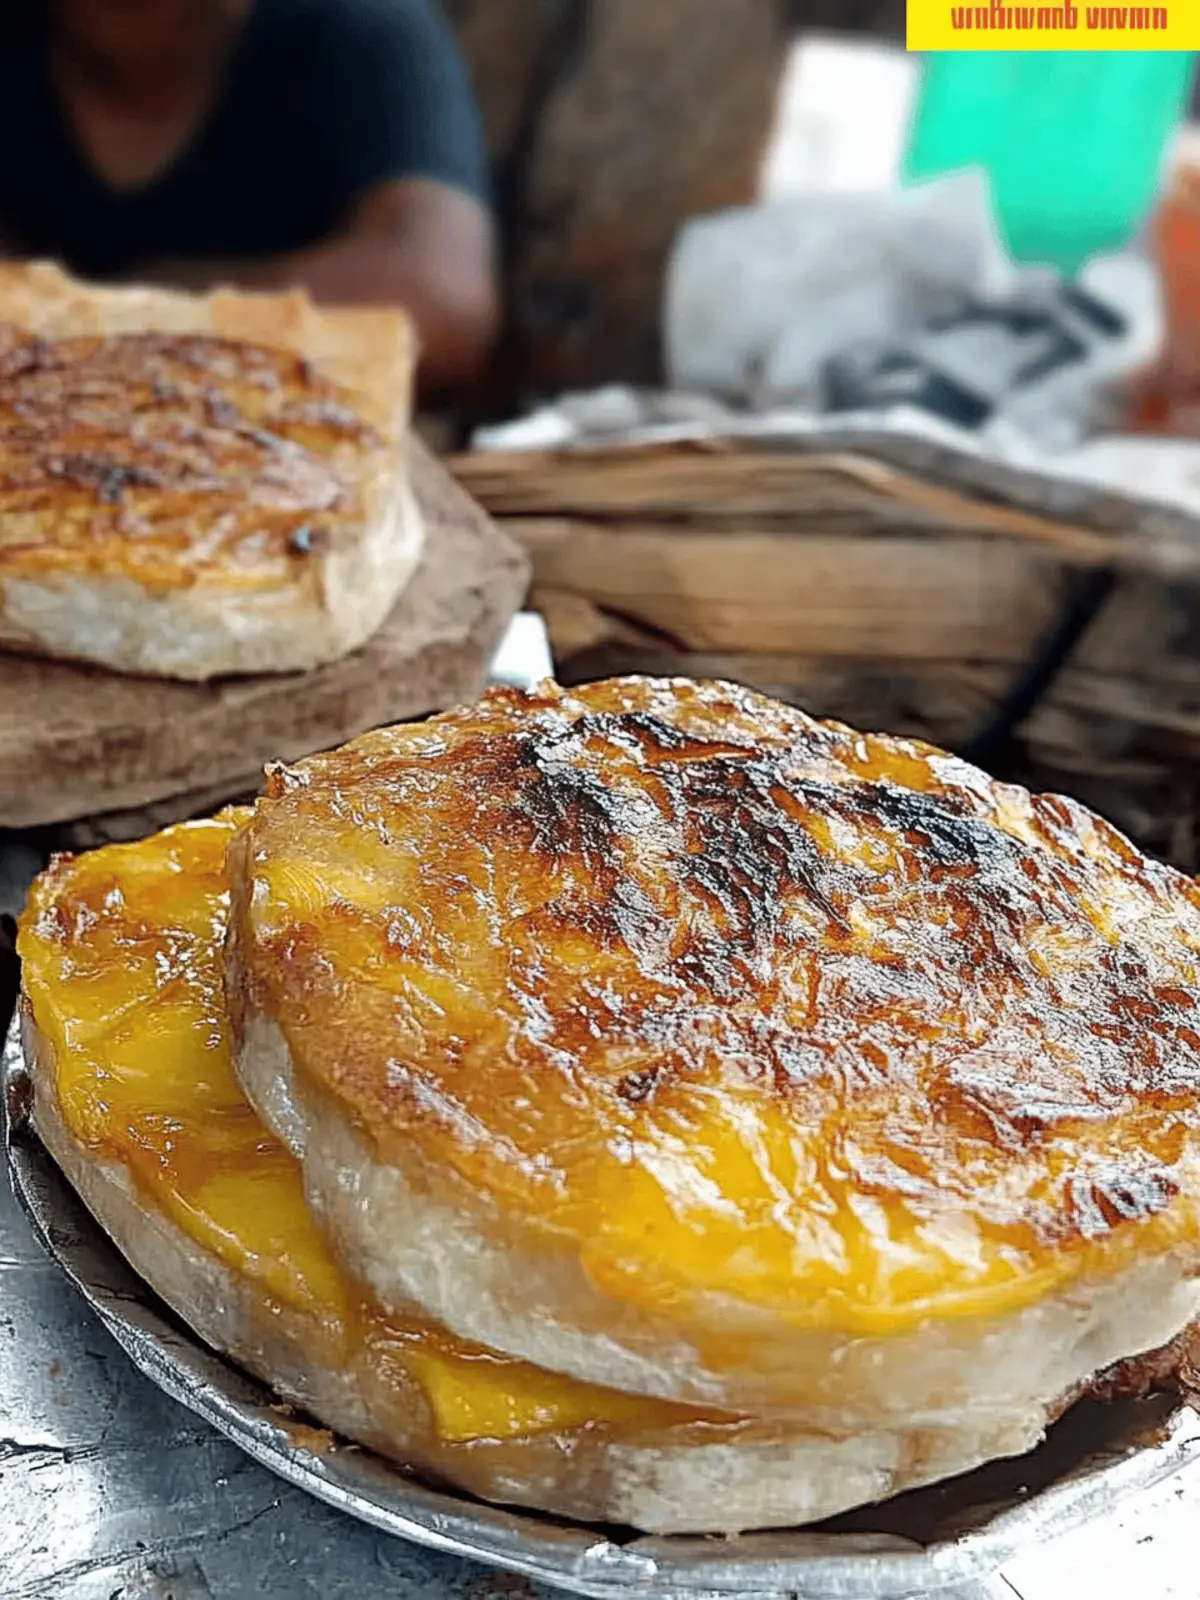
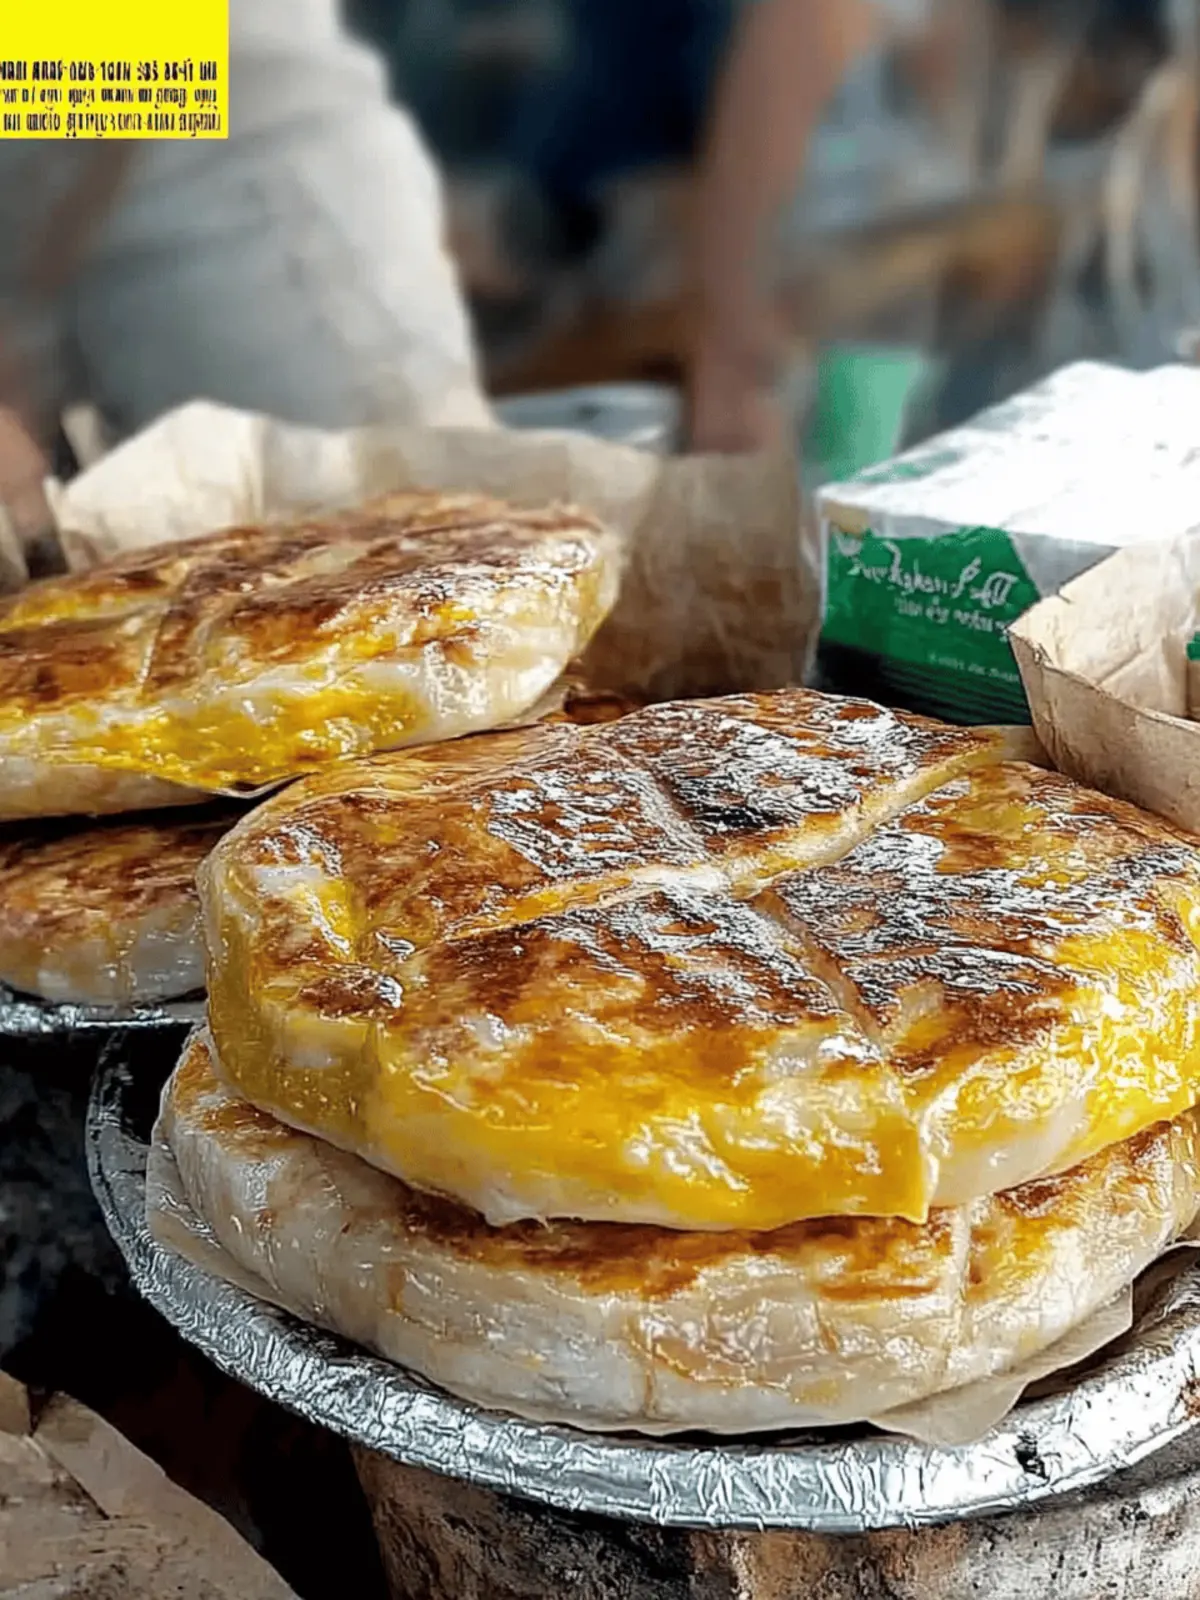
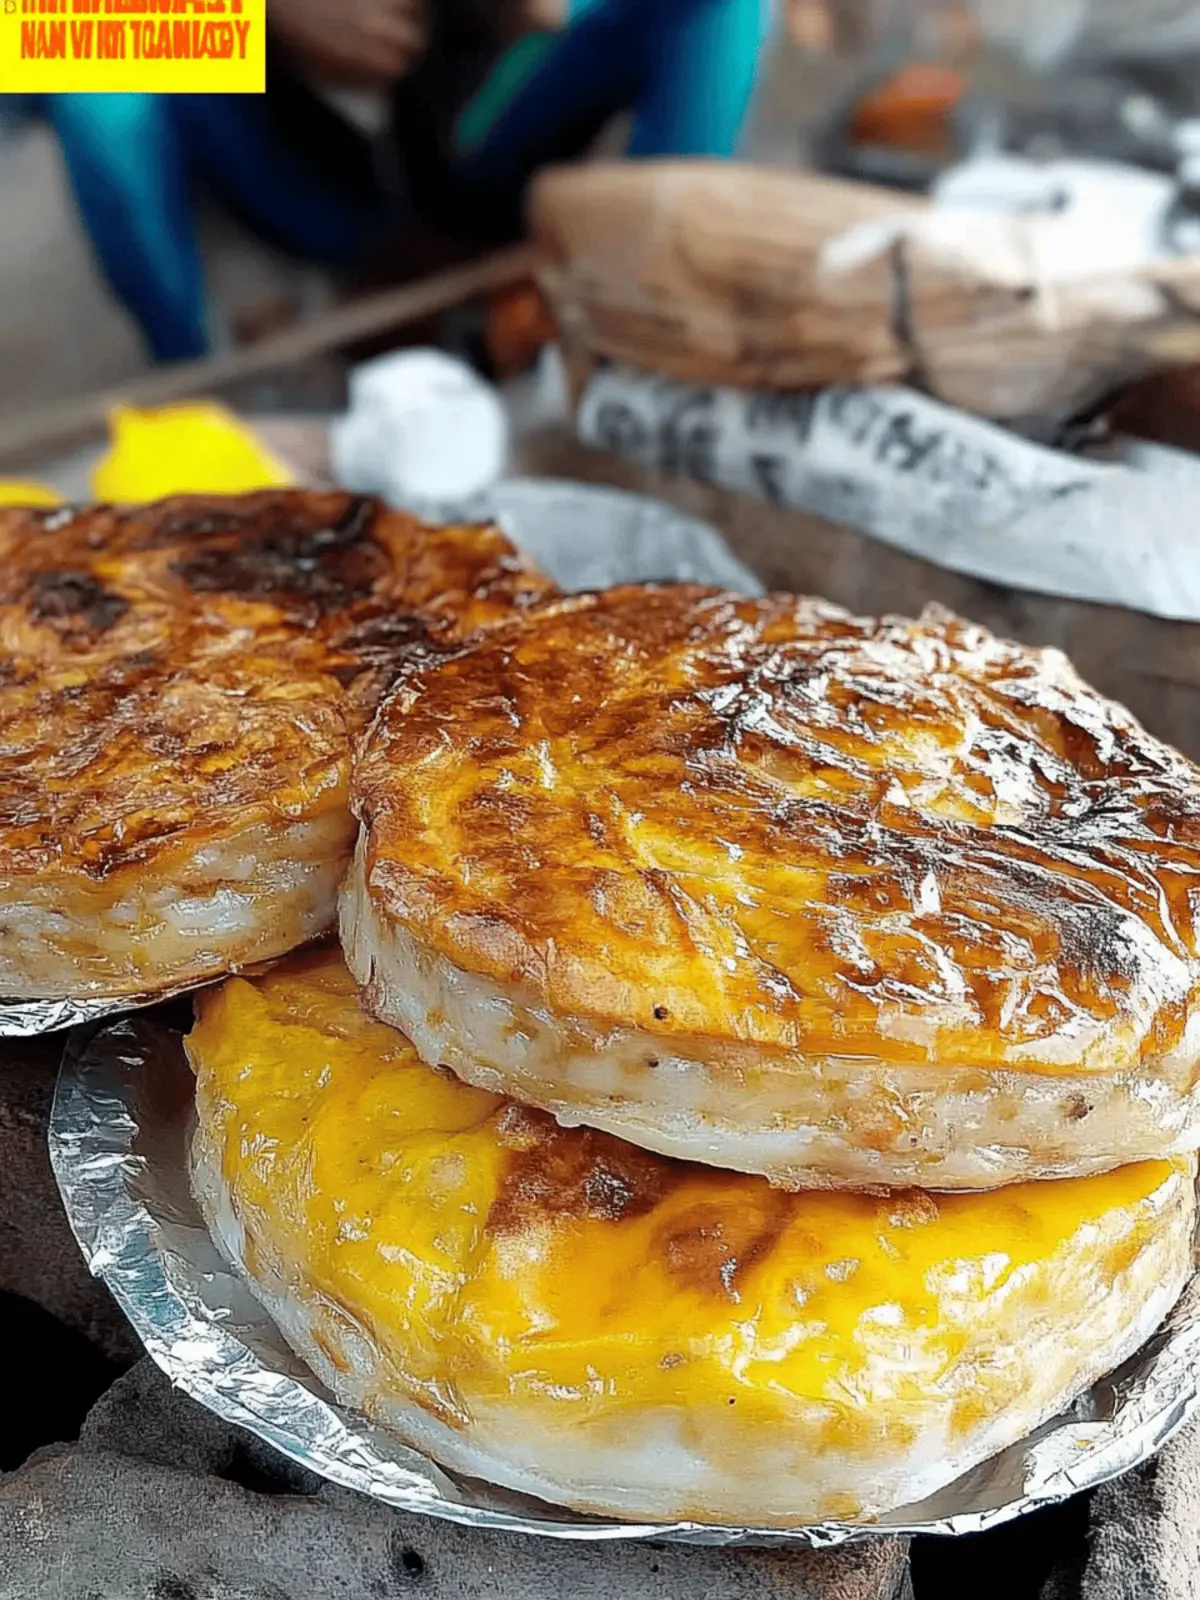
There’s a special kind of warmth that fills the kitchen when the holiday season approaches, and nothing embodies that feeling quite like a freshly baked Bibingka. This beloved Filipino rice cake, often enjoyed during Christmas, transports me back to vibrant Simbang Gabi celebrations, where the delightful aroma of coconut and sweet spices waft through the air. It’s a dish that celebrates tradition, yet offers a unique canvas for creativity—whether you stick with the classic version or indulge in the Special Bibingka, which features decadent salted eggs and cheese.
What sets this Bibingka recipe apart is its versatility and simple preparation, making it an irresistible choice for both seasoned chefs and home cooks eager to bring a taste of the Philippines to their holiday table. Join me as we explore this festive delight that’s sure to impress your friends and family while satisfying your cravings for authentic homemade goodness. Let’s create some holiday magic together!
Why is this Bibingka Recipe a Must-Try?
Comforting Nostalgia: Each bite of this Bibingka evokes memories of festive gatherings, making it a perfect holiday treat.
Versatile Options: Whether you prefer the classic or the rich Special Bibingka, there’s a version for everyone!
Easy to Make: With simple ingredients and straightforward steps, this recipe suits both novice cooks and experienced chefs alike.
Unique Flavor Profile: The combination of coconut and savory toppings creates a delightful contrast that tantalizes the taste buds.
Crowd-Pleasing Delight: Bring people together around the table with this authentic Filipino dish that guarantees smiles and satisfaction.
Festive Spirit: Embrace the holiday magic while creating an aromatic masterpiece that fills your home with warmth and love.
Bibingka Recipe Ingredients
• Get ready to create the ultimate Filipino rice cake!
For the Batter
- Rice Flour – Provides structure and is a gluten-free alternative for traditional cakes.
- Coconut Milk – Adds a rich flavor and moisture to the cake; substitute with regular milk for a different taste.
- Whole Egg – Binds the ingredients together; for a lighter Regular Bibingka, feel free to omit it.
- Fresh Milk – Enhances creaminess; can be switched with almond or soy milk for a dairy-free option.
- Butter – Adds flavor and moisture; can be replaced with vegetable oil if you’re looking for a lighter option.
- Baking Powder – Acts as a leavening agent for a light, fluffy texture; ensure it’s fresh for best results.
- Sugar – Sweetens the cake; adjust to taste or consider healthier alternatives like honey or maple syrup.
- Banana Leaves – Used to line the pots for added flavor and ease of removal; parchment paper can be used if unavailable.
For Special Bibingka
- Salted Egg – Enhances flavor and richness; optional but highly recommended for a festive touch.
- Cheese – Provides a savory contrast that complements the sweetness; omit for the Regular Bibingka or use alternatives based on your preference.
For Topping
- Grated Coconut – Adds texture and visual appeal; optional but truly enhances the flavor of your Bibingka!
This Bibingka recipe brings the spirit of the holidays right to your kitchen!
How to Make Bibingka
-
Combine Ingredients: In a large bowl, whisk together rice flour, sugar, and baking powder. Gradually stir in coconut milk, fresh milk, whole egg (if using), and melted butter until thoroughly blended and smooth.
-
Prepare Pots: Line traditional clay pots with banana leaves, brushing the insides with a bit of melted butter to prevent sticking and enhance flavor.
-
Pour and Bake: Pour the smooth batter into the lined pots, filling each about three-quarters full. Cover with additional banana leaves and bake in a preheated oven at 350°F for 30-35 minutes or until the top is set and slightly golden brown.
-
Add Toppings: For the Special Bibingka, carefully remove the cover and add salted egg slices and cheese on top. Return to the oven and bake for a further 5-10 minutes until the toppings are melted and lightly browned.
-
Serve Warm: Once baked, remove from the oven and allow to cool slightly. Serve warm with generous helpings of grated coconut and, if desired, a sprinkle of sugar or a pat of butter on top.
Optional: Serve with a side of Tsokolate (hot chocolate) for a delightful pairing!
Exact quantities are listed in the recipe card below.
Make Ahead Options
These Bibingka are perfect for meal prep enthusiasts! You can prepare the batter up to 24 hours in advance by mixing the rice flour, sugar, baking powder, coconut milk, fresh milk, whole egg, and melted butter. Store the batter in an airtight container in the refrigerator to maintain its freshness. Additionally, you can line your pots with banana leaves (or parchment paper) ahead of time for quicker assembly. When you’re ready to bake, simply pour the batter into the prepared pots, cover, and bake until gently browned. This way, you’ll enjoy delicious, homemade Bibingka with minimal effort on busy weeknights!
Storage Tips for Bibingka Recipe
Fridge: Store leftover Bibingka in an airtight container in the refrigerator for up to 1 week to maintain its moisture and freshness.
Freezer: For longer storage, wrap Bibingka tightly in plastic wrap and foil, placing it in the freezer for up to 2 months. Thaw in the fridge overnight before reheating.
Reheating: To enjoy your Bibingka warm again, microwave individual portions for about 15-20 seconds or reheat in an oven at 350°F for 10-15 minutes until warmed through.
Room Temperature: If serving right away, allow the Bibingka to cool slightly before enjoying, but it’s best eaten warm for optimal flavor and texture.
What to Serve with Bibingka?
Enhance your festive feast with delightful pairings that bring out the best in this beloved Filipino rice cake.
-
Tsokolate: A rich and velvety hot chocolate that’s perfect for dipping or sipping alongside warm Bibingka; it embraces the holiday spirit.
-
Salabat: This fragrant ginger tea offers a sweet and spicy balance, enhancing the comforting warmth of your homemade rice cake and soothing the palate.
-
Fresh Fruit Salad: A colorful mix of tropical fruits like mango, pineapple, and bananas adds brightness and refreshing contrast to the rich flavors of Bibingka.
-
Ube Halaya: This smooth purple yam dessert is sweet and creamy, making it a luscious companion to Bibingka, especially for those who enjoy a variety of textures.
-
Buko Pandan Salad: The creamy coconut and pandan flavor in this chilled dessert creates a light, refreshing note that complements the warm, spongy Bibingka beautifully.
-
Kalamay: A sticky rice cake with a sweet coconut flavor, Kalamay adds a delightful chewiness that pairs well with Bibingka’s fluffy texture.
-
Sago’t Gulaman: This sweet drink made from tapioca pearls and gelatin provides a fun, chewy experience that’s both refreshing and indulgent alongside your festive Bibingka.
-
Mango Float: This no-bake dessert combines layers of cream, graham crackers, and ripe mangoes, making it a sweet and satisfying end to your holiday meal.
Tips for the Best Bibingka
- Smooth Batter: Ensure the batter is completely smooth and lump-free. Using room temperature ingredients helps achieve better mixing for your Bibingka.
- Oven Preheating: Always preheat your oven adequately to prevent under-baking or burning, ensuring your Bibingka comes out perfectly cooked every time.
- Ingredient Substitutions: Feel free to experiment with coconut milk substitutes, but if using regular milk, remember it may alter the flavor profile.
- Flavor Variations: Add unique elements like pandan or ube for a twist on this traditional Bibingka recipe, making it even more special for your gatherings.
- Cooking Time Check: Monitor your Bibingka closely during the last few minutes of baking, especially if adding cheese or salted eggs, to avoid overcooking.
- Enjoy Fresh: Bibingka is best enjoyed warm, but you can store any leftovers in an airtight container for up to a week—just reheat gently!
Bibingka Recipe Variations
Let your creativity shine by customizing this delightful rice cake with these tasty twists and substitutions!
- Dairy-Free: Substitute coconut milk and fresh milk with almond or oat milk for a creamy dairy-free version.
- Gluten-Free: Use glutinous rice flour instead of the regular rice flour for a denser, chewy texture that’s still gluten-free.
- Flavor Boost: Incorporate mashed bananas or grated ube (purple yam) into the batter for a delightful twist on traditional flavors.
- Nuts For Crunch: Add crushed nuts such as cashews or almonds into the batter or as a topping for extra crunch and richness.
- Sweetener Swap: Use honey or maple syrup instead of sugar to add a unique flavor profile and reduce refined sugar intake.
- Spicy Kick: Enhance your Bibingka with a sprinkle of chili flakes or finely sliced jalapeños for a spicy contrast to the sweetness.
- Caramelized Topping: Brush the top with caramelized sugar or coconut syrup before baking for a sweet, crunchy finish.
- Savory Spin: Omit the sweeteners and toppings entirely to create a savory version, adding in herbs or spices like paprika or black pepper for a different meal option.
Embrace these variations to make this Bibingka recipe truly your own and indulge in the festive flavors of the Philippines!
Bibingka Recipe Recipe FAQs
What type of rice flour is best for Bibingka?
Absolutely! I recommend using glutinous rice flour for a slightly denser and chewier texture. However, if you’re looking for a lighter option, regular rice flour works perfectly. Just be sure it’s gluten-free if you’re accommodating dietary restrictions.
How should I store leftover Bibingka?
You can store leftover Bibingka in an airtight container in the refrigerator for up to one week. This helps maintain its moisture and flavors. When ready to enjoy again, simply reheat it in the microwave for about 15-20 seconds or pop it in a preheated oven at 350°F for 10-15 minutes until warmed through.
Can I freeze Bibingka?
Very! To freeze your Bibingka, wrap it tightly in plastic wrap and then in aluminum foil to prevent freezer burn. It can last in the freezer for up to 2 months. When you’re ready to eat, thaw it in the fridge overnight and reheat as mentioned above.
What are some common troubleshooting tips for making Bibingka?
Great question! If your Bibingka is too dense, make sure your baking powder is fresh, as it helps the cake rise. If it turns out too dry, your ingredients might have been overmixed or baked too long—aim for a golden-brown top and a slight jiggle in the center. Lastly, be cautious with moisture; ensure your batter is smooth, and avoid adding too much liquid.
Can I make Bibingka dairy-free or vegan?
Definitely! To make a dairy-free version, substitute coconut milk with almond or soy milk. You can also omit the whole egg for a vegan option. Just remember that if you skip the egg, the texture will be a bit lighter, resembling the Regular Bibingka but equally delicious!
How can I tell if my Bibingka is fully baked?
To check if your Bibingka is fully baked, gently insert a toothpick in the center. If it comes out clean or with a few moist crumbs, it’s done! Additionally, the top should have a lovely golden color, and it should feel firm to the touch but still slightly springy. Enjoy your cooking adventure!

Bibingka Recipe: Holiday Magic in Every Delicious Bite
Ingredients
Equipment
Method
- In a large bowl, whisk together rice flour, sugar, and baking powder. Gradually stir in coconut milk, fresh milk, whole egg (if using), and melted butter until thoroughly blended and smooth.
- Line traditional clay pots with banana leaves, brushing the insides with melted butter to prevent sticking.
- Pour the smooth batter into the lined pots, filling each about three-quarters full. Cover with banana leaves and bake at 350°F for 30-35 minutes or until the top is set and slightly golden.
- For Special Bibingka, remove the cover, add salted egg slices and cheese on top. Return to the oven and bake for another 5-10 minutes until melted.
- Remove from oven, allow to cool slightly, and serve warm with grated coconut on top.


