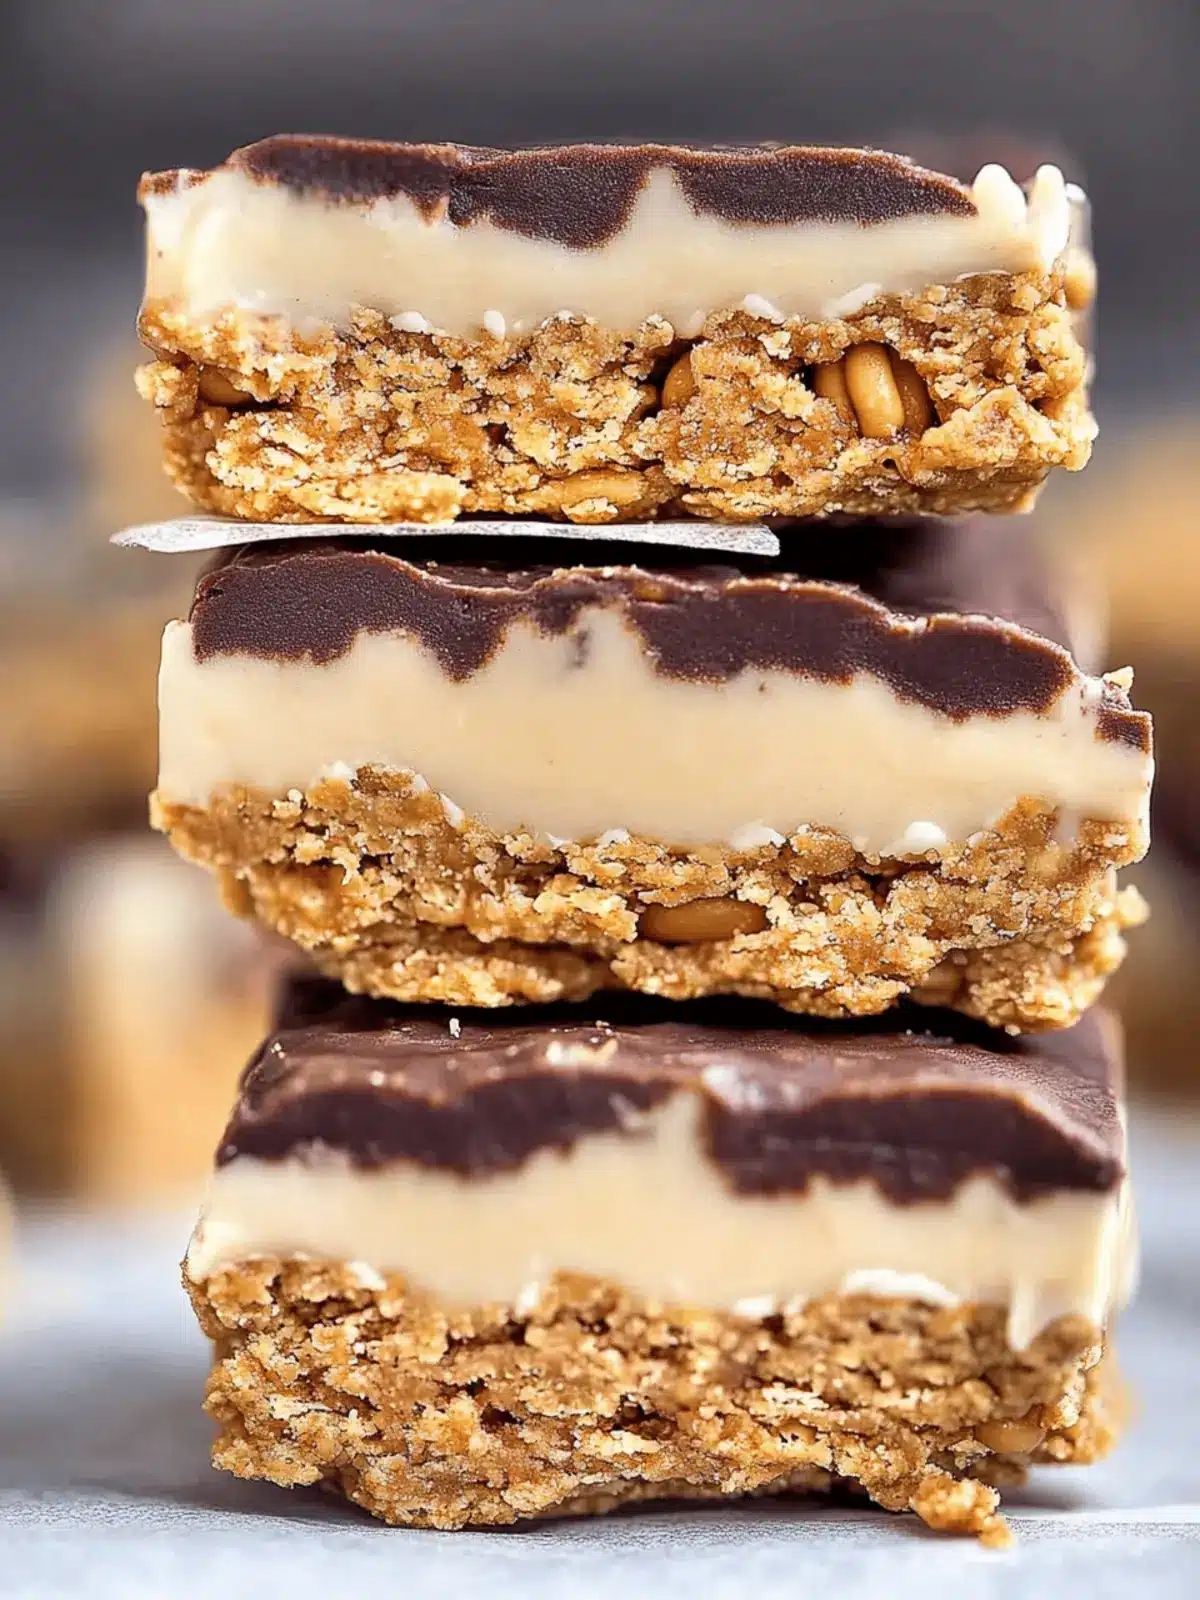
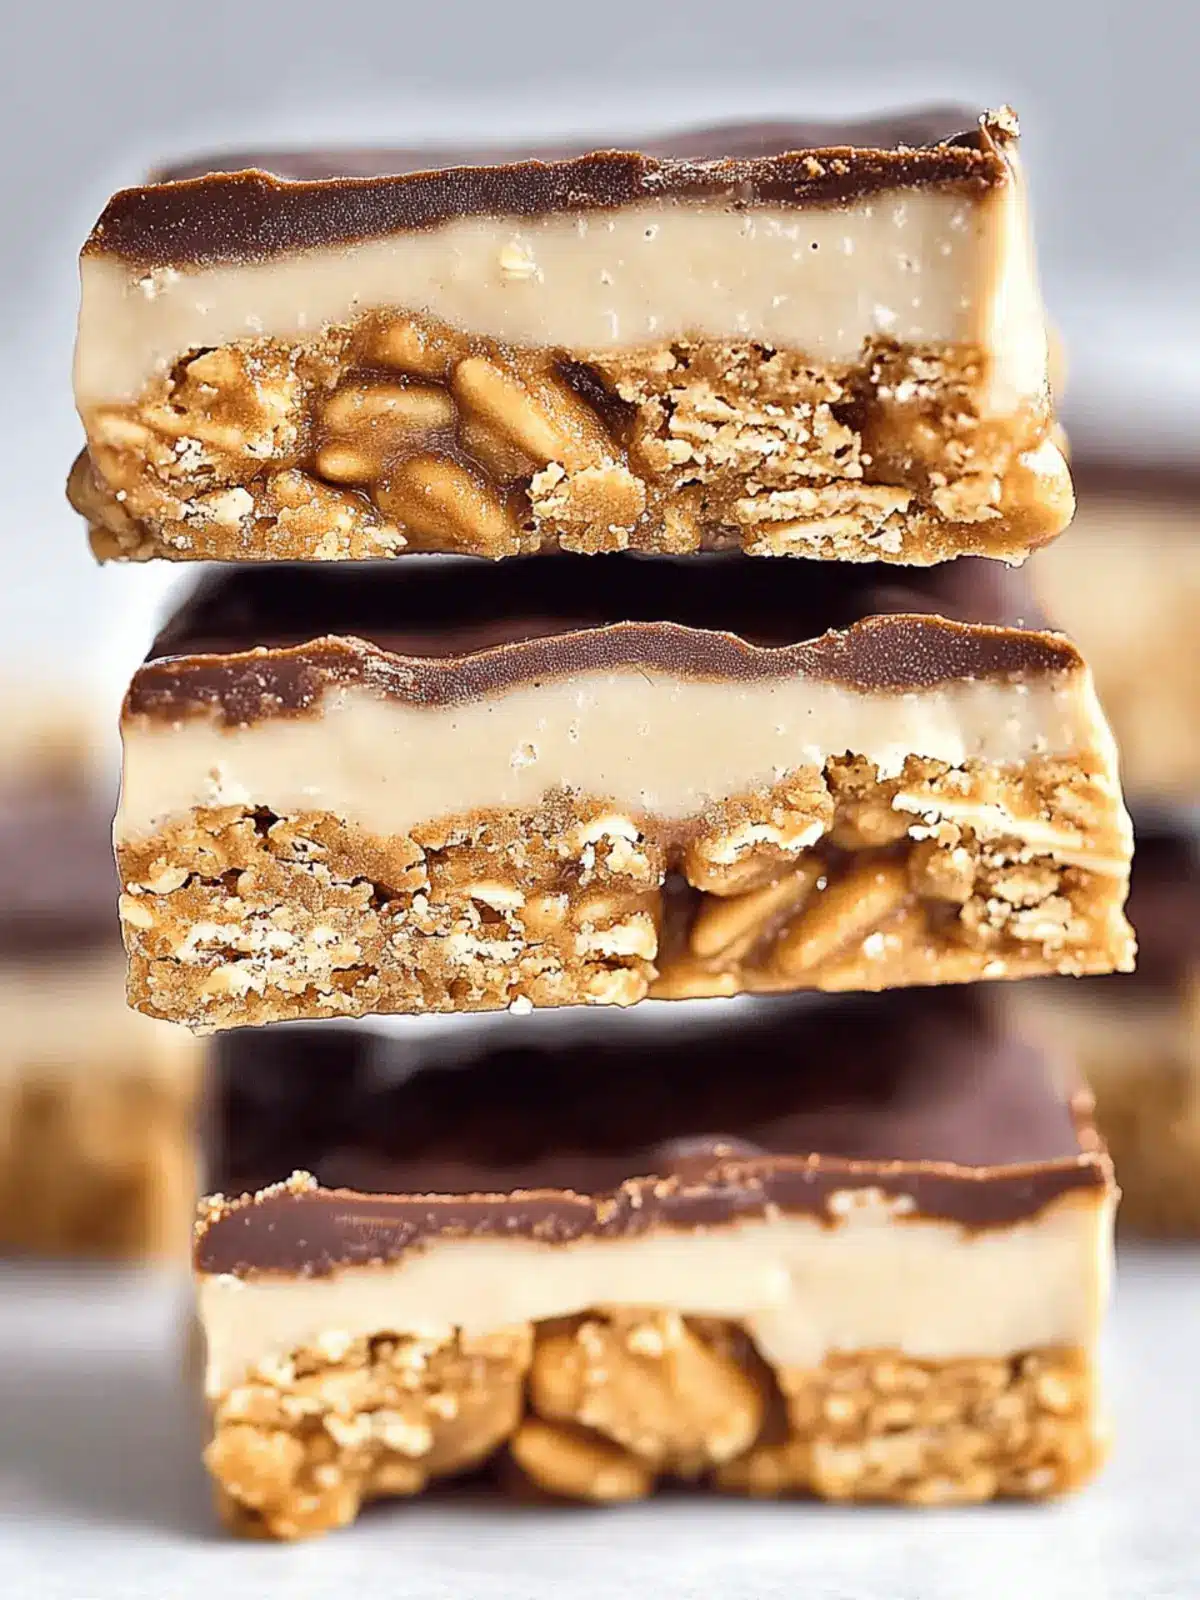
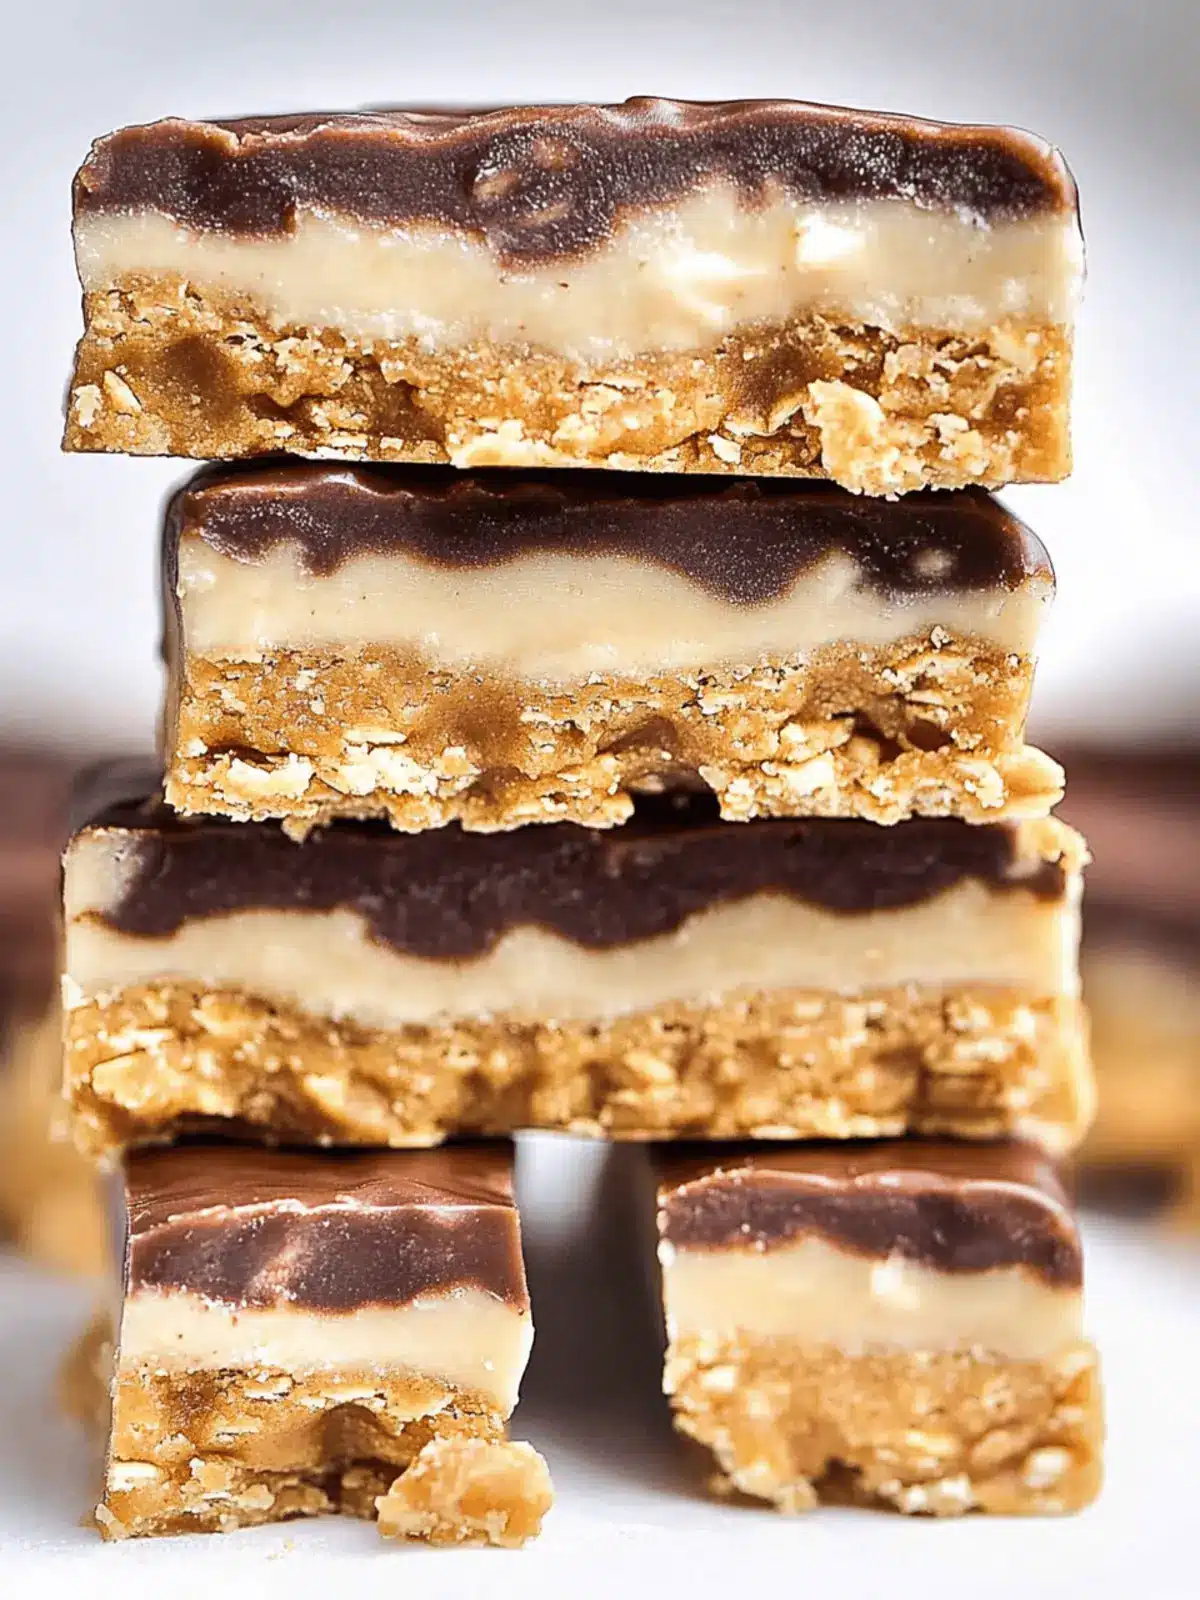
When the afternoon slump hits and you’re searching for a quick pick-me-up, nothing beats the satisfaction of homemade protein bars. I stumbled upon this recipe during a frantic week of meal prepping, and I can confidently say it’s a game changer. Just four simple ingredients combine to create a delicious snack that mimics the rich, satisfying flavor of a peanut butter cup, but with over 21 grams of protein per serving! Whether you’re gearing up for a workout, need a healthy breakfast option, or simply want a guilt-free treat, these bars fit the bill perfectly.
What’s more, they’re incredibly versatile; swap ingredients to suit your dietary preferences—be it gluten-free or low-carb without sacrificing taste. In just six minutes, you can whip up a batch that will not only keep you full but will also curb those cravings for sugary snacks. Join me as we dive into this easy-to-make recipe that transforms snack time into a nutritious celebration!
Why are these Homemade Protein Bars a Must-Try?
Perfectly Simple: This recipe boasts just four ingredients, meaning you can whip them up with minimal fuss.
Rich, Decadent Flavor: With a nod to peanut butter cups, these bars satisfy your sweet tooth without guilt.
Fully Customizable: Change nut butters or add-ins to fit your dietary needs—gluten-free, low-carb, you name it!
Quick and Convenient: In only six minutes, create a nutritious snack ideal for busy schedules.
Crowd-Pleasing Appeal: Packed with over 21 grams of protein, they’re perfect for everyone from fitness enthusiasts to snack lovers.
Homemade Protein Bars Ingredients
• Make these protein bars even more exciting with my simple ingredient list!
For the Base
- Coconut Flour – Provides structure and a slightly nutty flavor; substitute with almond flour for variation.
- Protein Powder – The main source of protein; casein, brown rice, or paleo protein works best, avoiding whey for optimal results.
For the Binding and Flavor
- Peanut Butter – Adds a rich creaminess and flavor; feel free to swap with almond or sunflower seed butter for different taste profiles.
- Maple Syrup – Delivers natural sweetness and binds the ingredients together; honey is an excellent alternative for a unique flavor twist.
Optional Ingredients for Extra Enjoyment
- Chocolate Chips – Enhances sweetness and offers a delightful chocolaty flavor; go for dark chocolate or dairy-free varieties for a healthier option.
These homemade protein bars are not just easy to make; they’re a delicious way to enjoy over 21 grams of protein per serving!
How to Make Homemade Protein Bars
- Prepare the Pan: Line an 8 x 8-inch pan with parchment paper for thicker bars. If you prefer thinner bars, use a larger pan instead!
- Mix Dry Ingredients: In a large bowl, combine coconut flour and protein powder. Stir until evenly mixed for a consistent texture throughout.
- Melt Wet Ingredients: In a smaller bowl, gently melt peanut butter and maple syrup together. Mix until they’re fully combined and smooth.
- Combine Mixtures: Pour the melted mixture into the bowl with the dry ingredients. Stir until no clumps remain; the mixture should be thick but cohesive.
- Form Bars: Press the mixture firmly into the prepared pan, smoothing the top with a spatula. Make sure it’s evenly packed for consistent bars.
- Chill: Refrigerate the pan for about an hour or until the mixture is firm. Once chilled, slice into bars of your preferred size.
- Optional Coating: For an indulgent touch, dip the bars in melted chocolate before serving!
Optional: Drizzle melted dark chocolate over bars for an extra flavor boost!
Exact quantities are listed in the recipe card below.
Storage Tips for Homemade Protein Bars
- Room Temperature: Store your homemade protein bars in an airtight container at room temperature for up to one week to maintain their delightful texture and flavor.
- Fridge: For extended freshness, refrigerate the bars in an airtight container, where they can last for up to two weeks without losing their delicious appeal.
- Freezer: If you’d like to keep them even longer, freeze the bars in a sealable bag for up to six months. Just remember to thaw them before enjoying!
- Reheating: Simply let them sit at room temperature for a few minutes or pop them in the microwave for a few seconds to enjoy a warm, satisfying treat.
What to Serve with Homemade Protein Bars?
These delightful snacks are perfect for creating a well-rounded meal or snack time experience that everyone in the family will love.
- Fresh Fruit Salad: A colorful mix of seasonal fruits adds refreshing sweetness, balancing the rich, nutty flavors of the protein bars.
Sliced strawberries, kiwi, and bananas provide bright colors and vital nutrients that complement your protein-packed snack beautifully. - Greek Yogurt Parfait: Creamy Greek yogurt layered with granola and berries offers a delicious contrast in texture.
The probiotics in yogurt also promote digestive health, making this combination both tasty and nourishing. - Homemade Smoothie: Blend up a fruity smoothie with spinach, bananas, and almond milk for a nutritious drink.
It’s a quick, energizing companion that will keep you fueled throughout the day! - Nut Butter Dip: Pair your bars with a side of almond or cashew butter for an extra punch of protein and creaminess.
This adds a delightful dip option that enhances both flavor and texture with each bite. - Trail Mix: A mix of nuts, seeds, and dried fruits makes for a crunchy contrast to your soft protein bars.
This snack also provides a satisfying blend of healthy fats and a touch of sweetness. - Iced Coffee: A refreshing glass of iced coffee or mocha for your afternoon pick-me-up can enhance your snack game.
It offers a delightful caffeine boost while complementing the sweet, nutty dessert. - Coconut Water: Hydrate with a glass of natural coconut water, which adds a tropical twist and replenishes electrolytes post-workout!
Its light sweetness pairs perfectly with the homemade protein bars without overwhelming the palate.
Make Ahead Options
These Homemade Protein Bars are perfect for meal prep enthusiasts looking to save time during busy weeks! You can mix and prepare the batter up to 24 hours in advance by following the first five steps—just be sure to store it in the refrigerator to keep the ingredients fresh. When you’re ready to enjoy your bars, simply transfer the mixture into the prepared pan, press it down, and refrigerate until firm. This not only ensures that your protein bars remain just as delicious but also allows you to have a nutritious snack ready to go whenever you need it. Make those hectic days a little easier by prepping your homemade protein bars in advance!
Expert Tips for Homemade Protein Bars
- Ingredient Flexibility: Choose your nut or seed butter based on taste and dietary needs—each will alter the flavor profile deliciously.
- Texture Check: If the mixture feels too dry, add a splash of water or milk gradually to reach the desired consistency for your homemade protein bars.
- Chill for Best Results: Be patient! Allowing the bars to chill properly ensures they firm up nicely, making them easier to slice and enjoy.
- Slicing Technique: Use a slightly wet knife to cut through the bars for a cleaner edge and prevent sticking, enhancing the presentation.
- Storage Strategy: Keep your bars fresh by storing them in an airtight container; they last up to two weeks in the fridge or can be frozen for longer enjoyment.
Homemade Protein Bars Variations
Feel free to get creative and personalize your protein bars to match your taste buds and dietary needs!
- Nut-Free: Substitute the peanut butter with sunflower seed butter for a nut-free option that’s just as creamy and delicious.
- Low-Carb: Replace maple syrup with a low-carb sweetener like erythritol or stevia to keep sugar levels down.
- Higher Fiber: Add chia seeds or flaxseeds into the mixture for a nutritious boost and added texture, creating a delightful crunch.
- Dairy-Free: Choose a dairy-free protein powder and use dairy-free chocolate chips to cater to lactose sensitivities.
- Sweet and Savory: Mix in a pinch of sea salt or a dash of cinnamon to provide a tantalizing depth and complexity to the sweetness.
- Fruit-Infused: Fold in dried fruits, such as cranberries or coconut flakes, to introduce an element of chewiness and extra flavor.
- Chocolate-Dipped: For chocolate lovers, submerge each bar in melted dark chocolate before chilling for an indulgent treat that satisfies cravings.
- Spicy Kick: Add a sprinkle of cayenne pepper or a few drops of cayenne oil for a surprising heat that contrasts beautifully with the sweet flavors.
Embrace these variations and make these bars perfectly yours!
Homemade Protein Bars Recipe FAQs
What kind of coconut flour should I use?
Opt for finely ground coconut flour for the best texture. Check for packaging that specifies gluten-free if needed. Coconut flour can vary widely in absorbency, so I recommend starting with a recipe using a trusted brand to ensure consistency.
How long can I store these homemade protein bars?
You can keep your homemade protein bars in an airtight container at room temperature for about one week. However, for extended freshness, refrigerate them where they can last up to two weeks. Don’t forget that they are also freezer-friendly! Store them in a sealable bag for up to six months.
Can I freeze homemade protein bars?
Absolutely! To freeze, slice the protein bars into your desired sizes, then wrap each bar tightly in plastic wrap before placing them in a sealable bag. This prevents freezer burn. Just let them thaw for a few minutes at room temperature before enjoying, or pop them in the microwave for a quick warm-up!
What should I do if my mixture is too dry?
If your mixture feels too dry, don’t despair! Gradually add a small amount of water or almond milk, mixing thoroughly until you achieve a thicker but cohesive consistency. Remember, adding too much liquid can impact the final texture, so go slow!
Are these protein bars suitable for those with nut allergies?
For those with nut allergies, you can substitute peanut butter with sunflower seed butter or tahini. Both options maintain the creamy texture while being nut-free. Just be mindful of your specific allergy needs and check that all ingredients are compliant.
Do I have to use protein powder in the recipe?
While protein powder is the main source of protein in the bars, you can consider other options if you prefer! Alternatives like chia seeds, hemp seeds, or ground flaxseeds can be mixed in to boost the protein content, but the texture will differ, so be prepared for a chewy bar rather than a firm one.
These are the essential Homemade Protein Bars Recipe FAQs to guide your cooking adventure and make your experience smoother!
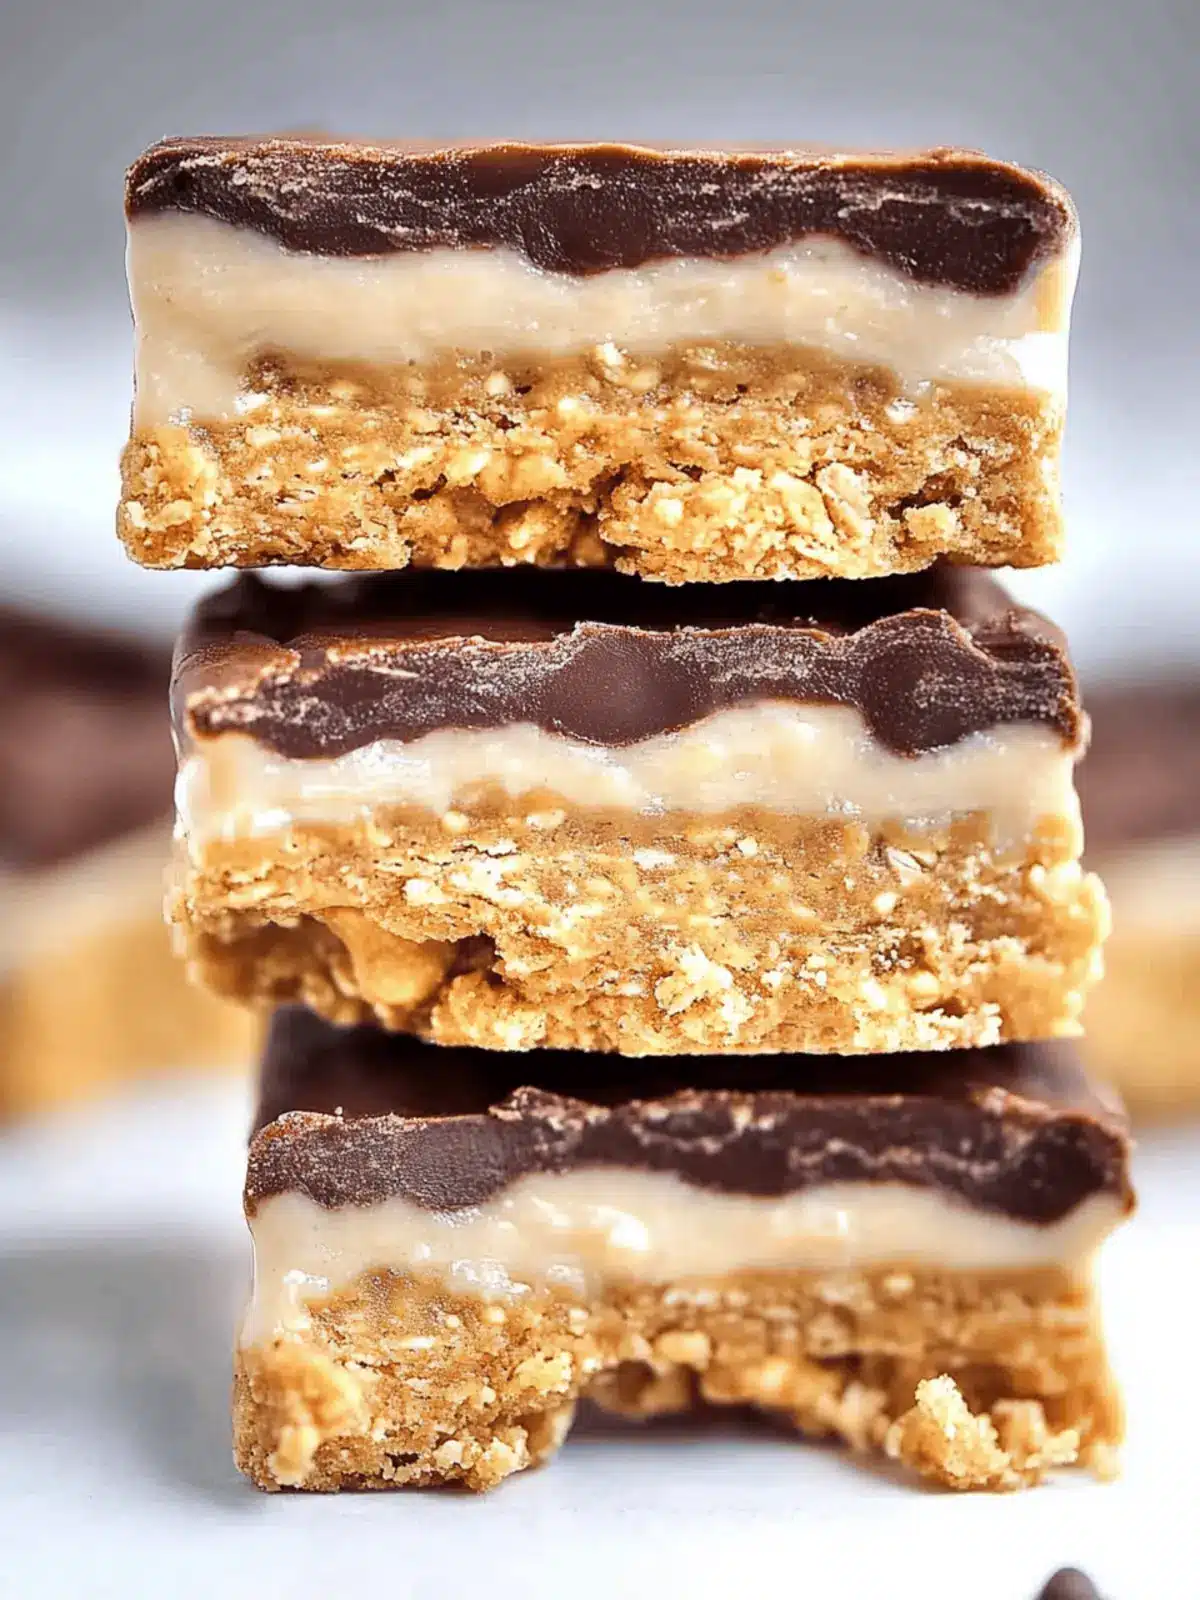
Deliciously Simple Homemade Protein Bars in Just 6 Minutes
Ingredients
Equipment
Method
- Prepare the Pan: Line an 8 x 8-inch pan with parchment paper for thicker bars. If you prefer thinner bars, use a larger pan instead!
- Mix Dry Ingredients: In a large bowl, combine coconut flour and protein powder. Stir until evenly mixed.
- Melt Wet Ingredients: In a smaller bowl, gently melt peanut butter and maple syrup together until smooth.
- Combine Mixtures: Pour the melted mixture into the bowl with dry ingredients. Stir until no clumps remain.
- Form Bars: Press the mixture into the prepared pan, smoothing the top with a spatula.
- Chill: Refrigerate for about an hour or until firm. Slice into bars.
- Optional Coating: Dip the bars in melted chocolate before serving.

