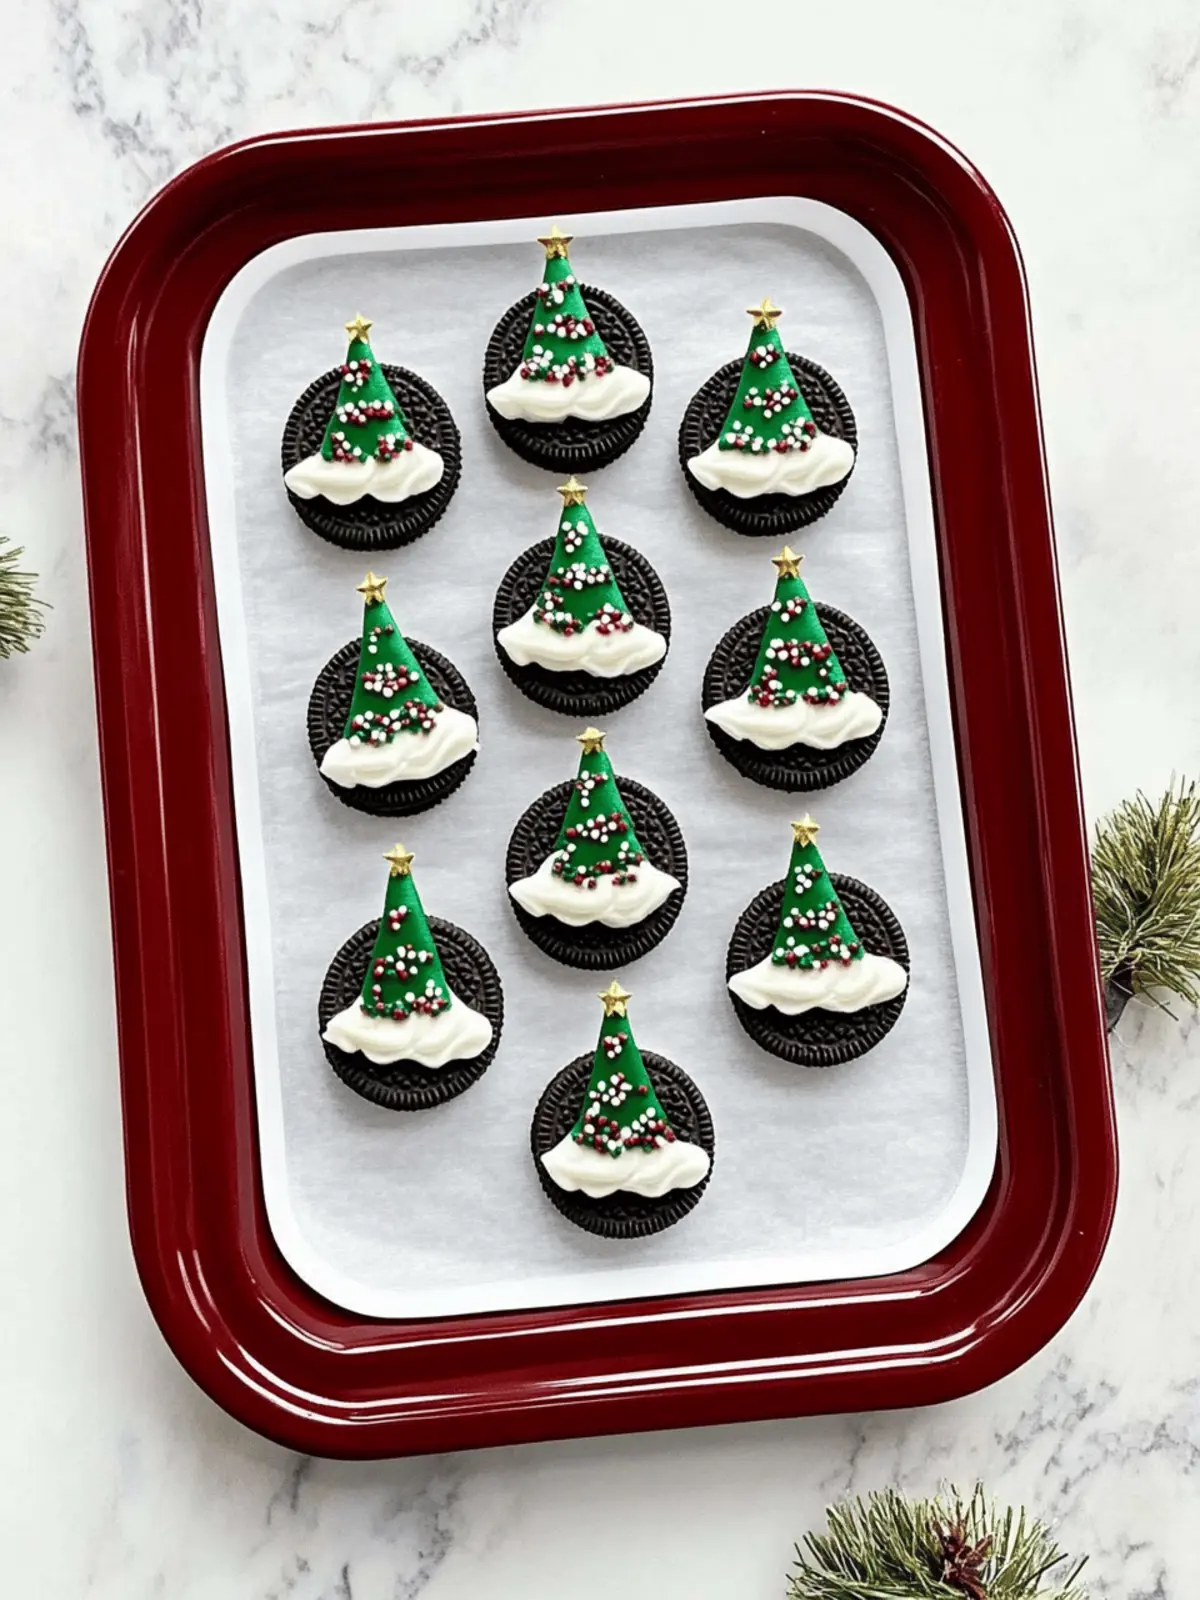
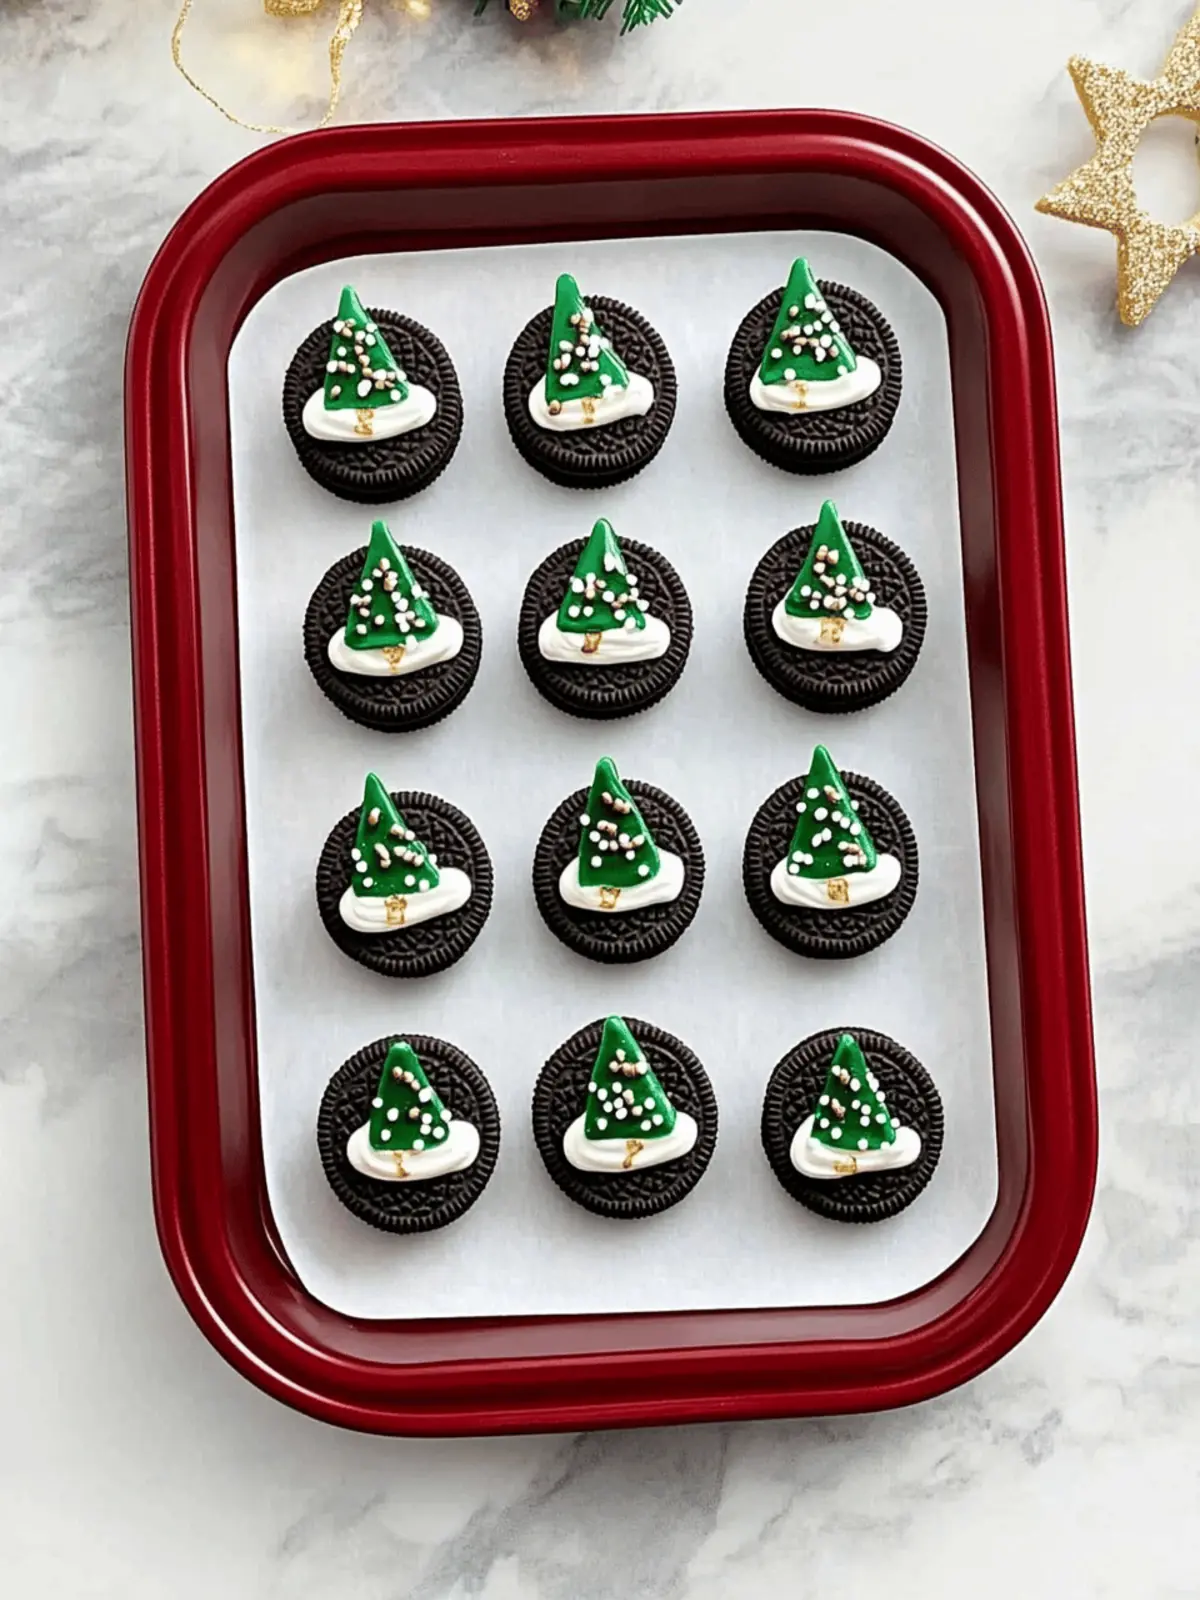
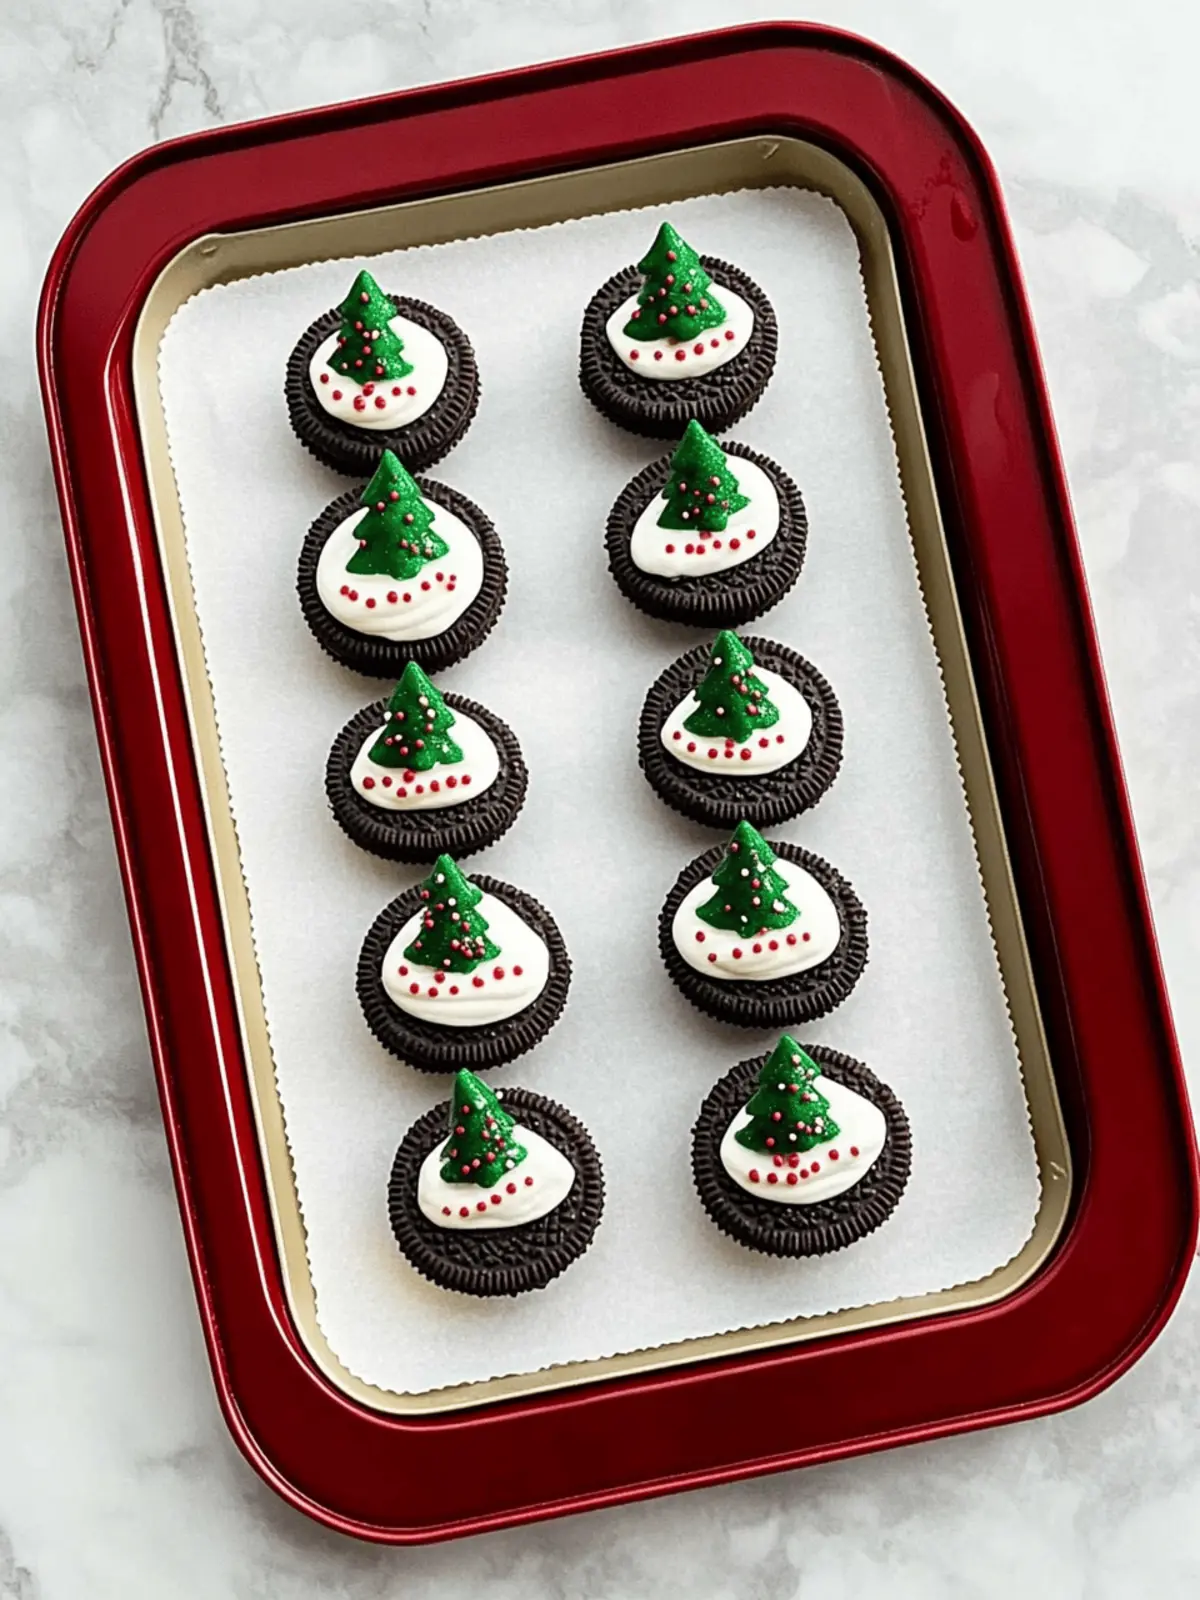
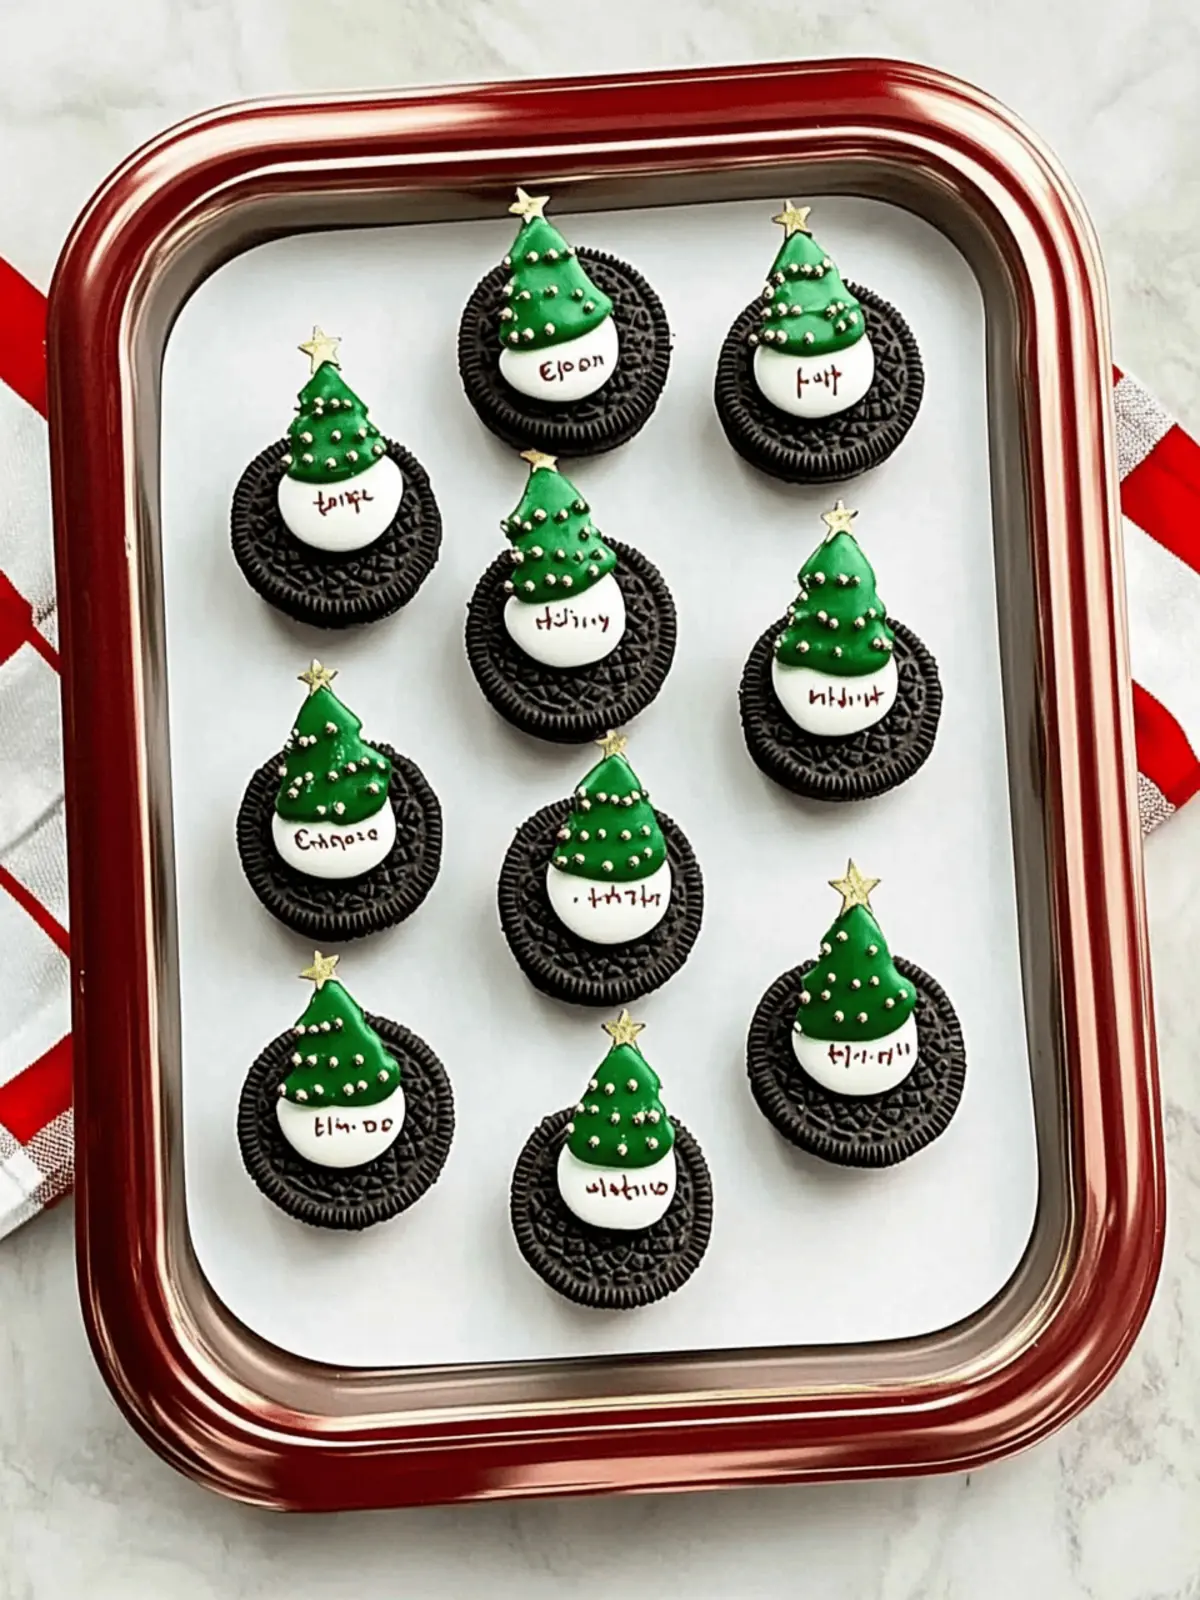
There’s something truly enchanting about transforming a simple Oreo cookie into a festive masterpiece that captures the spirit of the holidays. Picture this: the rich aroma of melting candy fills your kitchen, and a burst of color brightens your countertop as you create these delightful Oreo Christmas Trees. This easy recipe invites everyone, from seasoned bakers to curious kids, to join in the fun of holiday decorating. Not only do they look fabulous, but their irresistible crunch and creamy sweetness make them a crowd-pleaser at any gathering!
As the year draws to a close, there’s no better time to share a treat that sparks joy and creativity with loved ones. Whether you’re surprising neighbors with homemade gifts or looking for a fun family activity, these Oreo Christmas Trees will certainly bring smiles all around. Let’s dive into this delightful recipe and make your festive season a bit sweeter!
Why make Oreo Christmas Trees this season?
Simplicity and Fun: This recipe is so easy that even kids can join in on the fun, making it a perfect holiday activity for the whole family.
Vibrant and Festive: The colorful candy coating and sprinkles transform ordinary Oreos into dazzling treats that delight both kids and adults.
Endless Creativity: With simple ingredient swaps, each person can personalize their trees, ensuring everyone gets a unique and delicious cookie.
Perfect for Gifting: These charming creations make for fantastic homemade gifts, sure to impress friends and neighbors alike.
Quick to Prepare: Ready in under 30 minutes, keep the holiday spirit alive without spending all day in the kitchen!
Oreo Christmas Trees Ingredients
• Whip up these fun treats in no time with these simple ingredients.
For the Cookies
- Oreo Cookies – The foundation of your tree, offering a delightful crunch; feel free to use classic, Double Stuff, or even seasonal flavors like peppermint.
For the Coating
- White Candy Melts – Offers a sweet, creamy coating for the Oreo; almond bark can be a tasty alternative if you prefer.
- Green Candy Melts – Ideal for piping your Christmas tree design, adding a festive touch and vibrant color; no substitutions necessary.
For Decoration
- Star Sprinkles – A cute addition on top to make your trees shine; any small star-shaped candy can work wonderfully.
- Chocolate Jimmie Sprinkles – Represent the trunk of the tree while adding a delightful texture; these are a must-have for authenticity.
- Rainbow Nonpareils – Splash of color that enhances the festive appeal; feel free to mix in your favorite colored sprinkles for variety.
How to Make Oreo Christmas Trees
- Prepare the Baking Sheet: Start by lining a baking sheet with parchment paper, which will be the perfect surface for your trees to set. This easy step prevents sticking and ensures a smooth cleanup.
- Melt the White Candy Melts: In a microwave-safe bowl, melt the white candy melts according to the package directions until smooth. Stir often, as you want a creamy consistency for dipping.
- Dip the Oreos: Take each Oreo cookie and dip the bottom half into the melted white candy melts. Let any excess drip off, then place them bottom-side down on the prepared parchment paper. Allow to harden for about 5-10 minutes.
- Melt the Green Candy Melts: While the white coating sets, melt the green candy melts following package instructions. Once melted, fill a piping bag fitted with a small round tip to create your festive designs.
- Pipe the Christmas Tree Design: On each dipped Oreo, pipe a zig-zag pattern that resembles a Christmas tree, leaving space at the top for a star and at the bottom for the trunk. Create a nice point for the peak.
- Add Decorations: Quickly place a star sprinkle at the top of the tree, a chocolate sprinkle at the bottom for the trunk, and sprinkle nonpareils over the design while the green candy melts are still soft. Let sit at room temperature for about 15 minutes to harden completely.
Optional: Drizzle extra melted chocolate over the trees for added flavor and decoration.
Exact quantities are listed in the recipe card below.
Make Ahead Options
These delightful Oreo Christmas Trees are perfect for meal prep enthusiasts! You can prepare the dipped Oreos up to 24 hours in advance by following the initial steps of melting and dipping them in white candy melts and then letting them harden completely. Store them in an airtight container at room temperature to keep them fresh and prevent stickiness. As you get closer to serving, simply pipe the green candy design and add your decorations—this way, your festive treats will be just as delicious and visually appealing as if you made them all at once! Enjoy a stress-free holiday season knowing you have these fun treats ready to go!
What to Serve with Oreo Christmas Trees?
Elevate your festive gatherings with delightful accompaniments that perfectly harmonize with these fun treats.
- Hot Chocolate Bar: Warm, rich hot chocolate topped with whipped cream creates a cozy atmosphere and pairs beautifully with the sweetness of the cookies.
- Christmas Cookie Platter: Serve your Oreo Christmas Trees alongside an assortment of traditional holiday cookies for a colorful and delicious dessert spread that guests will love.
- Milk: A classic pairing, chilled or warm milk enhances the indulgent flavors of the Oreos while providing a nostalgic treat for all ages.
- Fruit Salad: Fresh, juicy fruits add a refreshing contrast to the sweetness of the cookies, balancing the flavors and adding vibrant colors to your festive table.
- Festive Punch: A light, bubbly fruit punch complements the sweet profile of the cookies while adding a fun, celebratory twist to your holiday gatherings.
- Gingerbread Cookies: Enhanced with warm spices, gingerbread provides a flavorful counterpart to the creamy Oreo Christmas Trees, creating a delightful mix of textures and tastes.
Oreo Christmas Trees Variations
Embrace the festive spirit by customizing your Oreo Christmas Trees and making them your very own!
- Colorful Coating: Swap the green candy melts for red or blue for a playful twist on the classic design. Bright colors will surely capture attention!
- All-Dipped Delight: Dip the entire Oreo cookie in chocolate instead of just the bottom for a richer, more decadent treat. This will amplify the chocolate flavor, making each bite even more indulgent.
- Nutty Surprise: Add chopped nuts or crushed candy canes to the melted candy coating for an extra crunch. This delightful surprise will enhance the texture and flavor.
- Flavorful Oreos: Use different flavors of Oreos, like mint, peanut butter, or pumpkin spice, to create unique flavor profiles that suit everyone’s taste. It’s a fun way to mix things up during the holidays!
- Fruity Festivity: Incorporate freeze-dried fruit powder into the candy melts for added color and flavor. Raspberry or strawberry powder can elevate the sweet experience with a fruity kick.
- Spicy Touch: Consider adding a sprinkle of cinnamon or nutmeg to your melted candy melts for a holiday-spiced flair. This subtle spice will make your treats feel especially festive.
- Layered Fun: Stack two Oreos together to create a taller tree! Secure the two cookies with some melted candy before dipping for a grander treat that stands out.
- Gluten-Free Option: Use gluten-free Oreos to make these joyful trees accessible for everyone. You’ll ensure that all your friends and family can join in the festivities without worry.
Storage Tips for Oreo Christmas Trees
- Room Temperature: Store Oreo Christmas Trees in an airtight container at room temperature for up to 1 week. This keeps them fresh while maintaining their delightful crunch.
- Freezer: For longer storage, freeze decorated Oreo Christmas Trees in a single layer, separated by parchment paper, for up to 2 months. Thaw in the fridge before serving.
- Avoid Refrigeration: Refrigerating can cause the candy coating to become sticky, so it’s best to keep them at room temperature for optimal texture.
- Reheating: If decorations have softened, briefly place them in the refrigerator for 15-30 minutes to help maintain their shape before serving.
Tips for the Best Oreo Christmas Trees
- Quick Coating: Work swiftly when dipping the Oreos in candy melts; they set fast, and a quick dip ensures an even coating that sticks well.
- Room Temperature Cookies: Use Oreos at room temperature to help the candy coating adhere better, preventing slips and uneven decoration.
- Piping Easy: Consider using a piping bottle instead of a piping bag for easier handling; this is especially helpful for kids who want to join in!
- Experiment with Colors: Don’t be afraid to swap green candy melts for other colors for a unique twist; your Oreo Christmas Trees will shine with creativity!
- Proper Storage: Store your Oreo Christmas Trees in an airtight container at room temperature to maintain their crunch; refrigeration can make the candy coating sticky.
Oreo Christmas Trees Recipe FAQs
How do I choose the best Oreos for this recipe?
Absolutely! When selecting Oreos, opt for ones that are fresh and evenly packaged, avoiding any with broken cookies. You can use classic, Double Stuff, or even seasonal flavors like peppermint for a fun twist. Just ensure they’re not past their expiration date, as stale cookies can affect the texture of your Christmas Trees.
How should I store Oreo Christmas Trees for maximum freshness?
Great question! Store your Oreo Christmas Trees in an airtight container at room temperature for up to 1 week. This helps maintain their delightful crunch, while refrigeration can cause the candy coating to become sticky. Ensure the container is kept in a cool, dry place away from direct sunlight for best results.
Can I freeze Oreo Christmas Trees, and what’s the best method?
Absolutely! To freeze your decorated Oreo Christmas Trees, arrange them in a single layer on a baking sheet, with parchment paper to prevent sticking. Once frozen solid, transfer them to an airtight container, separating layers with parchment. They can be frozen for up to 2 months. When ready to enjoy, thaw them in the refrigerator for a few hours before serving.
What should I do if my candy melts set too quickly while decorating?
Very! If you find your candy melts setting too fast, try warming them gently in the microwave for 10-15 seconds at a time, stirring in between. This will help regain their smooth consistency. Also, working in smaller batches can give you ample time to pipe and decorate each Oreo before it firms up.
Are there any dietary considerations I should be aware of for my Oreo Christmas Trees?
Yes! While Oreos are generally vegan, it’s important to check the ingredient labels for allergens, especially if serving to children or those with food sensitivities. If making for pets, remember chocolate can be harmful, so keep these goodies out of their reach. Additionally, if someone has nut allergies, ensure the candy melts are nut-free, as cross-contamination can occur.
Can I customize my Oreo Christmas Trees or add different decorations?
Absolutely! The more the merrier! This recipe is versatile; you can swap the green candy melts for red or blue for a unique look. Experiment with different sprinkles like coconut flakes or edible glitter for an added festive touch. Each tree can truly be a reflection of your holiday spirit and creativity!

Deliciously Fun Oreo Christmas Trees for Holiday Cheer
Ingredients
Equipment
Method
- Prepare the Baking Sheet: Line a baking sheet with parchment paper to prevent sticking.
- Melt the White Candy Melts: In a microwave-safe bowl, melt the white candy melts according to package directions until smooth.
- Dip the Oreos: Dip the bottom half of each Oreo into the melted white candy melts and place them bottom-side down on the parchment paper.
- Melt the Green Candy Melts: While the white coating sets, melt the green candy melts and fill a piping bag with them.
- Pipe the Christmas Tree Design: On each dipped Oreo, pipe a zig-zag pattern resembling a tree.
- Add Decorations: Place a star sprinkle on top, chocolate sprinkle for the trunk, and sprinkle nonpareils while the green melts are soft. Let harden.
- Optional: Drizzle melted chocolate over the trees for added decoration.


