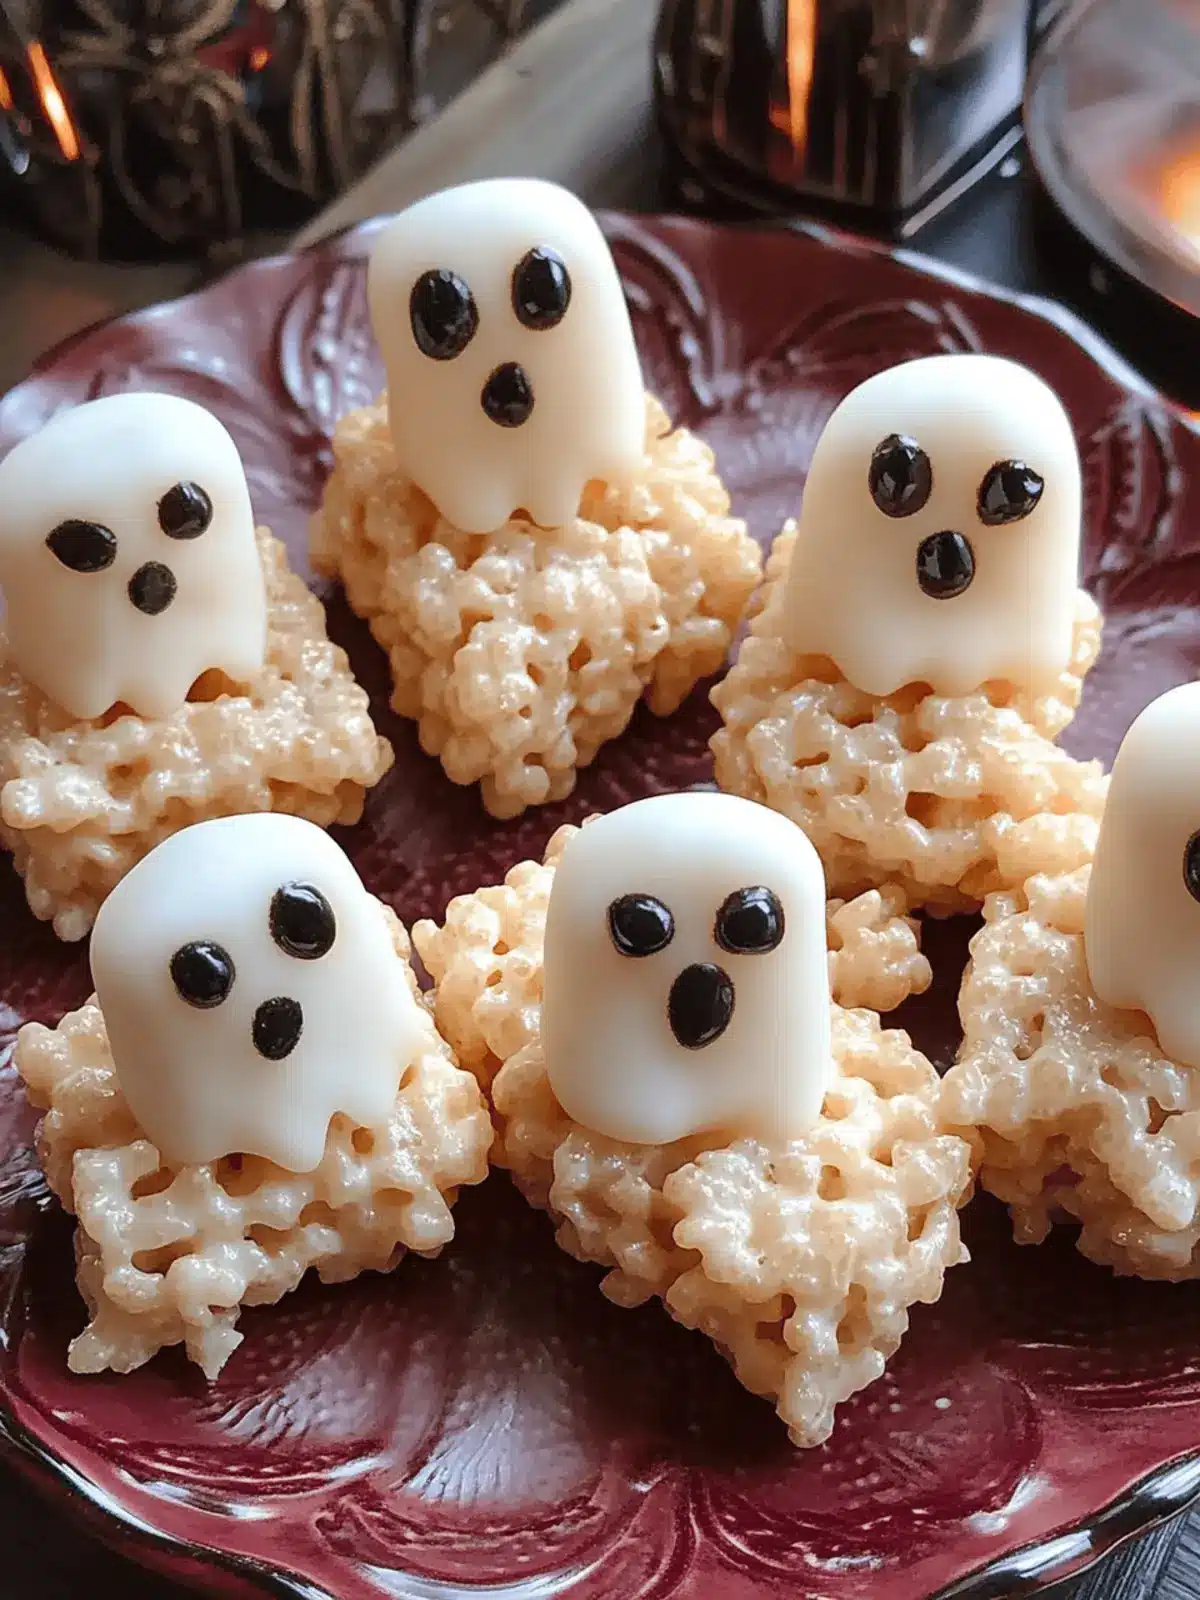
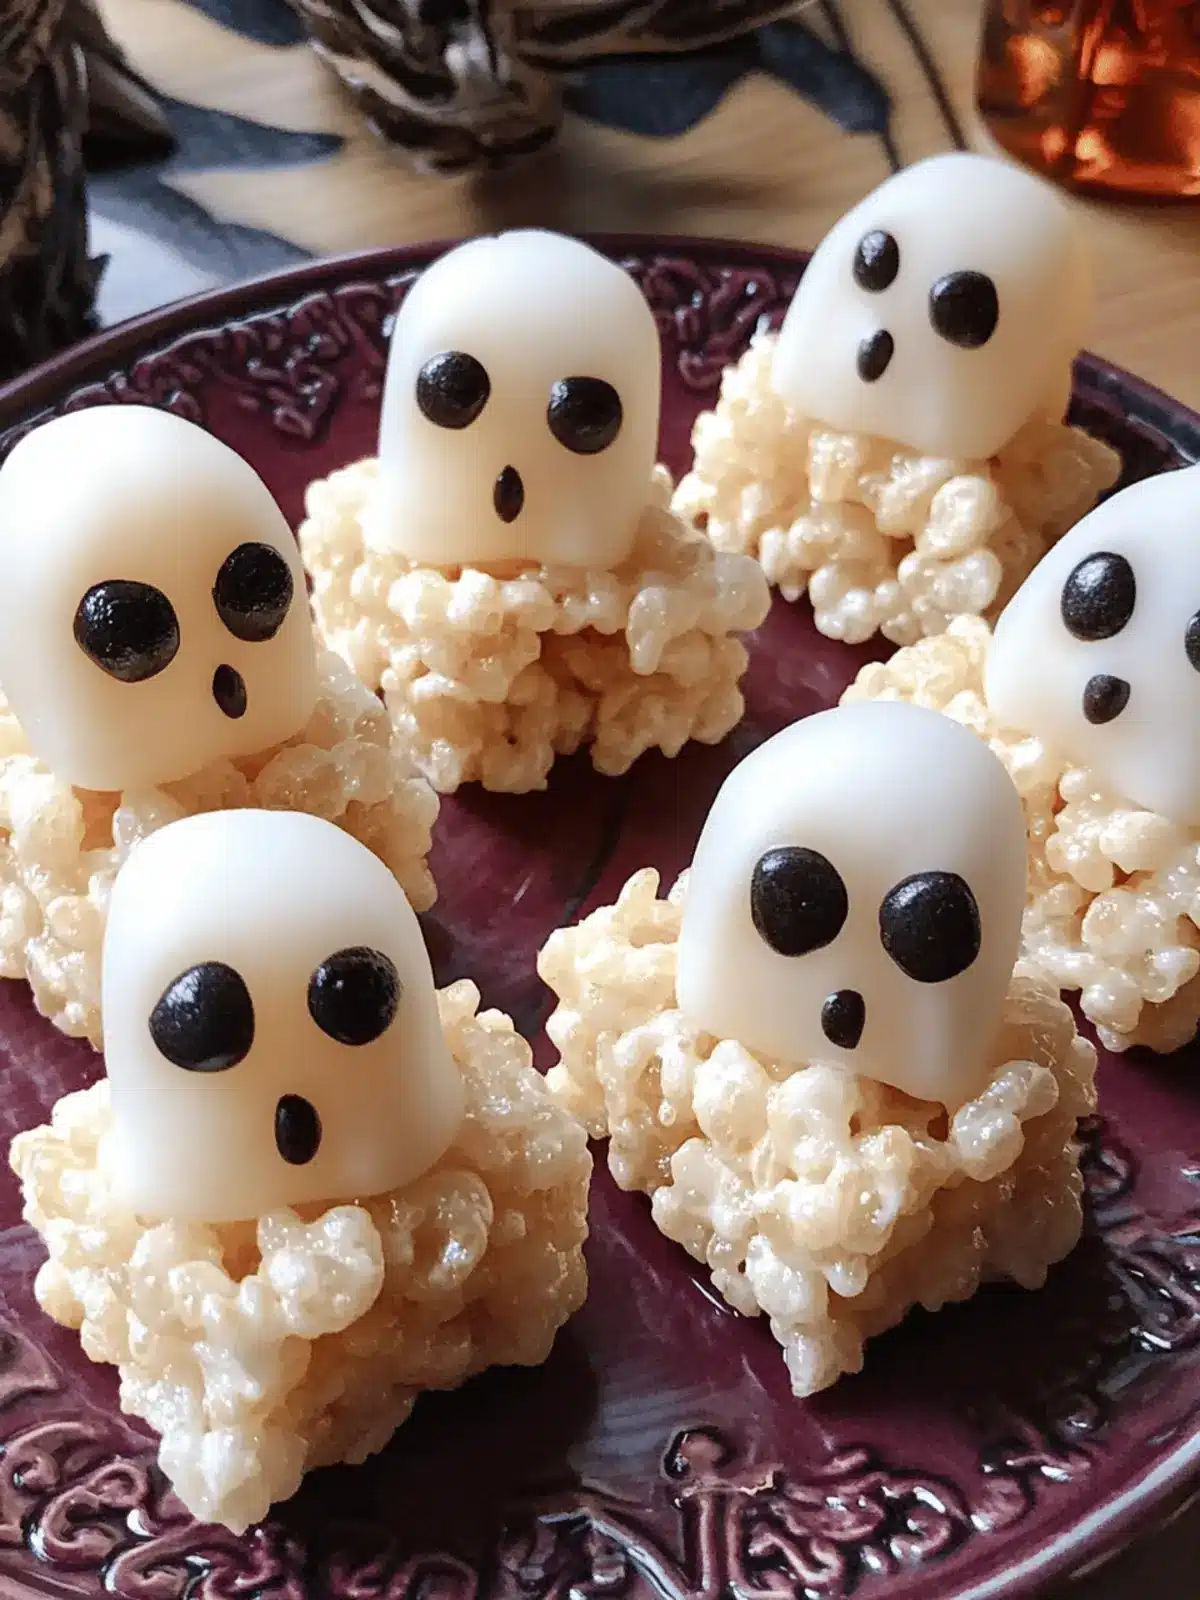
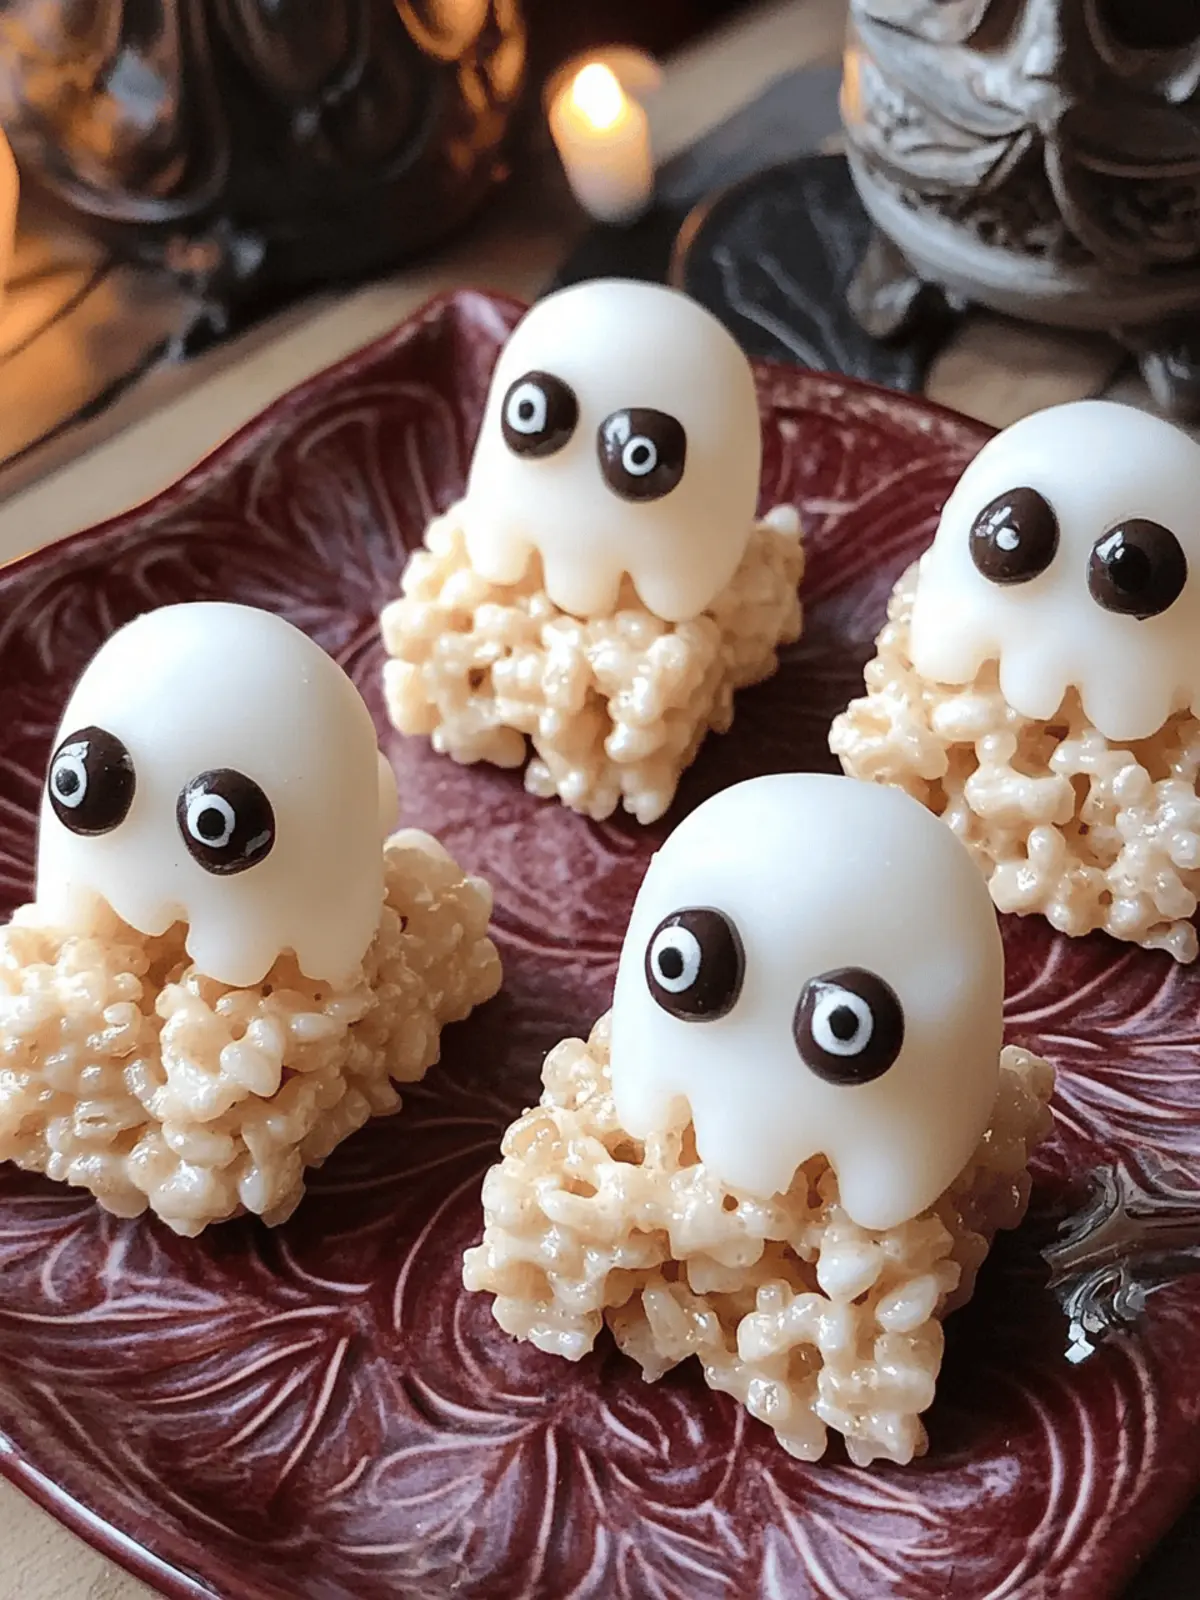
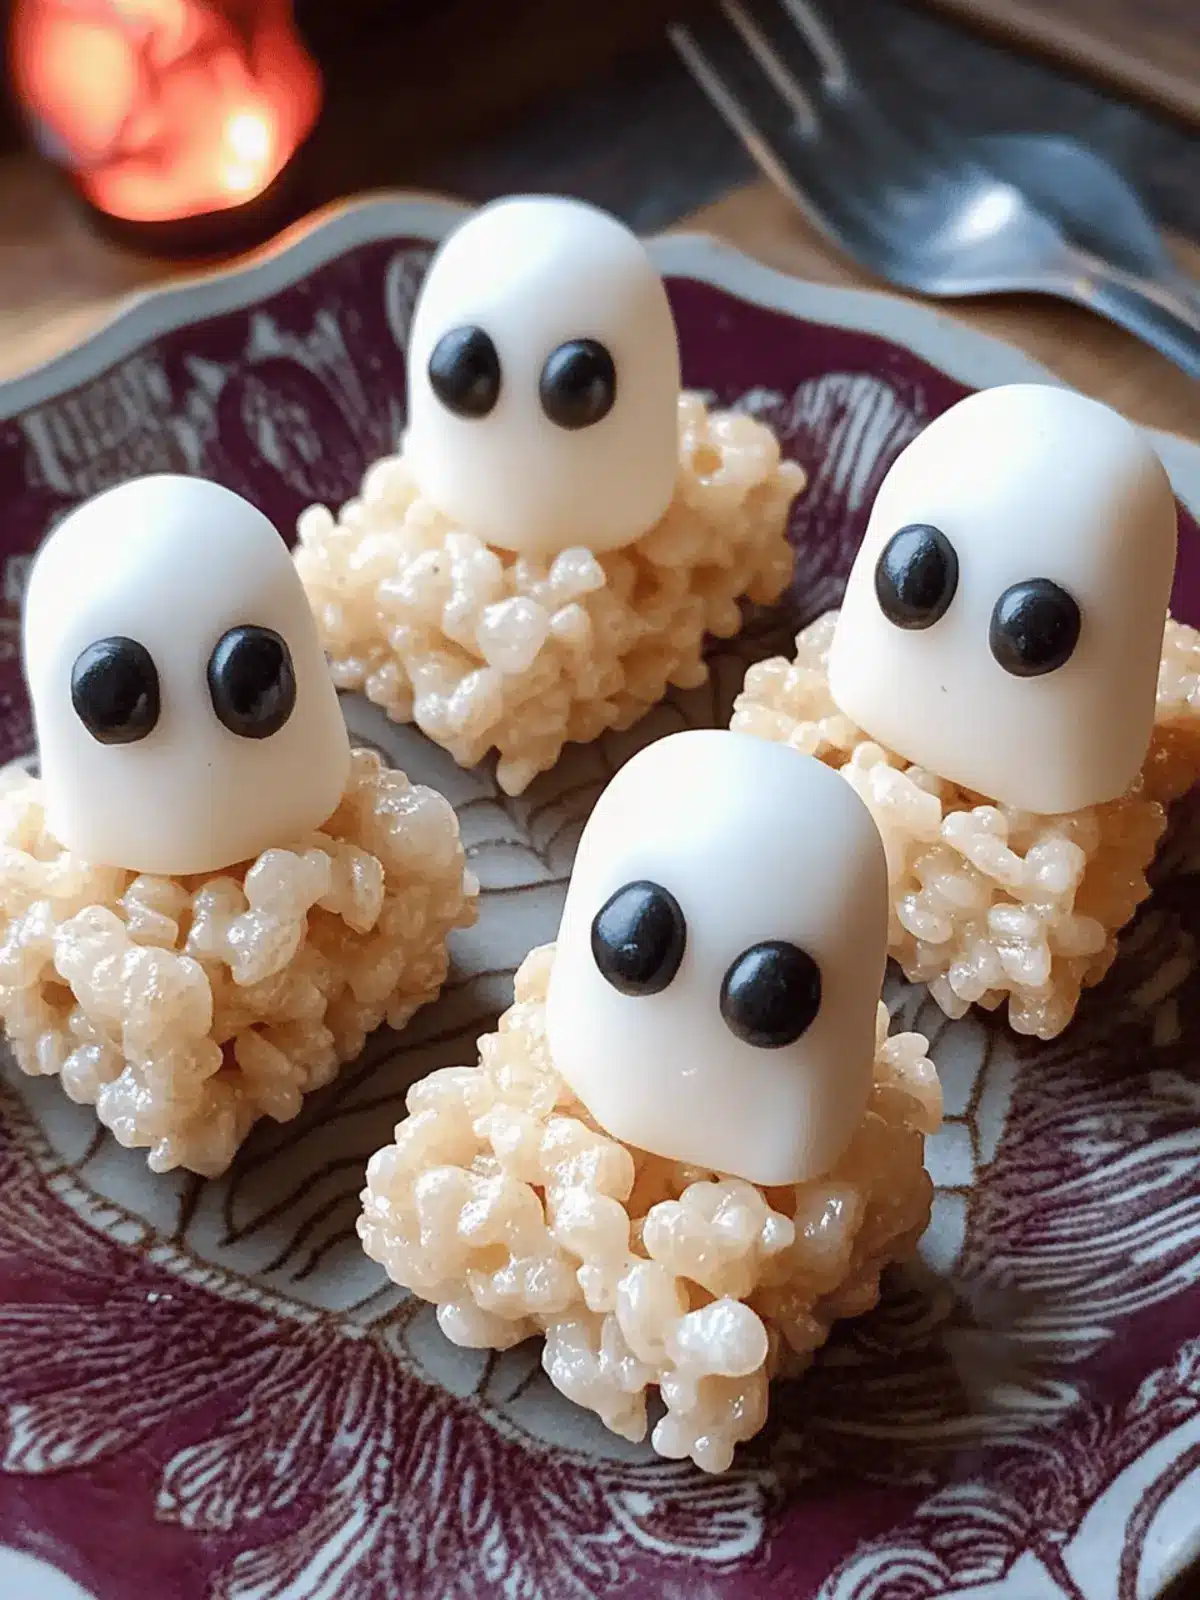
As the leaves turn crisp and the nights grow longer, I find myself excitedly planning for Halloween—one of my favorite times of the year! This season, I stumbled across the perfect treat that brings both nostalgia and joy: No-Bake Rice Krispie Ghosts. Imagine the enchanting aroma of melted marshmallows mingling with the sweetness of white chocolate, all while creating a whimsical crafting experience right in your own kitchen.
These delightful ghosts are not only a hit with kids but are also a charming way to elevate your Halloween gatherings—no oven required! With just a handful of simple ingredients, you can create these adorable treats in various shapes, allowing for a fun-filled cooking session with family or friends. Whether you’re setting up for a festive party or looking for a sweet snack to share, these Rice Krispie ghosts are sure to impress. Get ready for some spook-tacular fun!
Why love No-Bake Rice Krispie Ghosts?
Simplicity: With no baking required, these ghosts are a breeze to make, even for beginners or kids.
Creativity: Customize shapes and designs! From ghosts to pumpkins, the possibilities spark fun family moments.
Quick Prep: Whip them up in no time, making them perfect for last-minute Halloween gatherings.
Crowd-Pleaser: Their cute appearance and delightful taste ensure everyone will adore these treats, making them a festive favorite.
Versatile Ingredients: Easily swap in different candies or flavors to personalize your spooky snacks, ensuring there’s a ghost for every palate!
These No-Bake Rice Krispie Ghosts promise to add both flair and flavor to your Halloween celebrations.
No-Bake Rice Krispie Ghosts Ingredients
For the Ghosts
- Rice Krispies Cereal – Provides structure and crunch; any brand will work beautifully.
- Mini Marshmallows – Act as the binder for a chewy texture; larger marshmallows cut into smaller pieces work too.
- Salted Butter – Adds richness to the ghosts; unsalted butter with a pinch of salt is a perfect substitute.
- White Candy Melts or White Chocolate Chips – Create the ghostly coating; you can use white chocolate if candy melts aren’t available.
For the Eyes
- Dark Cocoa Candy Melts – Perfect for piping spooky eyes; swap with regular chocolate chips for a chocolaty flavor.
For Shaping
- Baking Spray – Helps prevent sticking while shaping the ghosts, making the process much easier.
Get ready for fun in the kitchen as you craft these charming No-Bake Rice Krispie Ghosts!
How to Make No-Bake Rice Krispie Ghosts
-
Prepare the Sheet: Line a baking sheet with parchment paper to catch any drips and make cleanup easy. This is where your ghostly creations will rest before setting!
-
Melt Chocolate Eyes: In a microwave-safe bowl, melt dark cocoa candy melts in 30-second intervals, stirring until smooth. Pipe little eyes onto the parchment, and let them chill in the freezer until set—about 10 minutes.
-
Mix Cereal: In a large mixing bowl, spray the sides with baking spray, then add the Rice Krispies cereal. Gently stir to coat and set it aside while you mix the marshmallow concoction.
-
Combine Marshmallows & Butter: In a saucepan, melt the salted butter, mini marshmallows, and white candy melts over low heat. Stir until everything is about 75% melted and then remove from heat, continuing to stir until fully smooth.
-
Coat Cereal: Pour the melted mixture over the Rice Krispies and gently mix until the cereal is completely coated. Let this mixture cool for 5-10 minutes—don’t rush; you want it to be easy to handle!
-
Shape Ghosts: Once cool, coat your hands with baking spray. Scoop about 1/2 cup of the mixture and shape it into a ghost cone (think Halloween spirit!). Continue this process until all the mixture is formed into delightful ghost shapes.
-
Adorn with Eyes: Press the chocolate eyes onto the ghosts—if they’re not sticking, use a touch of melted chocolate as glue to secure them.
-
Set to Finish: Let your ghosts sit at room temperature for about 1 hour to set fully. After that, they’re ready to be served or stored!
Optional: Add a sprinkle of edible glitter for some extra Halloween magic!
Exact quantities are listed in the recipe card below.
What to Serve with No-Bake Rice Krispie Ghosts?
Create a delightful Halloween spread that pairs perfectly with these whimsical treats!
- Spooky Fruit Salad: A mix of orange and black fruits like clementines and blueberries adds a fresh contrast to your sweet ghosts.
- Monster S’mores: Combine graham crackers, chocolate, and marshmallows to satisfy the chocolate lovers, adding a fun twist to traditional s’mores.
- Witch’s Brew Punch: A refreshing citrus punch with floating gummy worms or eyeball candies for a festive touch, perfect for guests of all ages.
- Cheesy Ghost Toasts: Spread cream cheese on toast cut into ghost shapes for a savory bite that complements the sweet treats beautifully.
- Mummy Hot Dogs: Wrap crescent dough around hot dogs to create adorable mummies, a savory addition that will be a hit with guests.
- Chocolate-Covered Pretzels: Add crunchy, sweet and salty bites to the table—drizzle them with chocolate and sprinkles for an eye-catching detail.
- Graveyard Dirt Cups: Layer chocolate pudding and crushed Oreos in cups, topped with gummy worms for a spooky dessert that ties in the ghostly theme.
Storage Tips for No-Bake Rice Krispie Ghosts
- Room Temperature: Store the assembled ghosts in a cool, dry place in an airtight container for up to 3 days to keep them soft and chewy.
- Fridge: If you prefer a firmer texture, refrigerate the ghosts in an airtight container; they can last up to a week but may become a bit sticky.
- Freezer: For longer storage, freeze the ghosts in a single layer on a baking sheet before transferring them to a freezer-safe container. They can be stored for up to 2 months.
- Reheating: If frozen, let the No-Bake Rice Krispie Ghosts sit at room temperature for about 30 minutes before serving to soften slightly.
Make Ahead Options
These delightful No-Bake Rice Krispie Ghosts are perfect for busy home cooks looking to simplify Halloween preparations! You can prepare the base mixture and shape the ghosts up to 24 hours in advance. Simply follow the recipe through shaping, then store the shaped ghosts in an airtight container at room temperature. To maintain their soft texture and avoid drying out, ensure they are sealed properly. When you’re ready to serve, just pipe on the chocolate eyes as instructed and let them sit for about 10 minutes for the eyes to set. This way, you can enjoy the festive fun without the last-minute rush!
No-Bake Rice Krispie Ghosts Variations
Feel free to let your creativity shine and customize these charming treats in delightful ways!
-
Pumpkin Shape: Use orange candy melts instead of white to create adorable pumpkin ghosts—perfect for a festive twist!
-
Flavored Marshmallows: Swap mini marshmallows with flavored varieties like strawberry or blueberry for a fun burst of taste with each bite.
-
Crispy Add-ins: Mix in some crushed graham crackers or nuts to the marshmallow blend for an added crunch that’ll surprise your taste buds.
-
Colorful Eyes: Instead of dark cocoa melts, pipe the eyes with colored candy melts for a vibrant pop that’ll make your ghosts even spookier.
-
Chocolate Coating: Dip the entire ghost in melted dark chocolate after shaping for a rich, chocolaty flavor that complements the sweetness.
-
Add Spices: Sprinkle a touch of cinnamon or nutmeg into the marshmallow mixture for a warm, spiced flavor that’s perfect for fall.
-
Nut-Free Option: Use sunflower seed butter instead of traditional butter for a nut-free treat that’s still delicious and festive.
-
Extra Sweetness: Drizzle caramel or fudge sauce over the shaped ghosts before adding the eyes for a decadent treat that will delight sweet lovers!
These variations ensure that each batch of No-Bake Rice Krispie Ghosts can be a unique spooky treat, perfect for sharing at your Halloween festivities!
Expert Tips for No-Bake Rice Krispie Ghosts
- Spray Generously: Use plenty of baking spray on your hands and utensils to prevent sticking and make shaping the ghosts a breeze.
- Cooling Time: Allow the marshmallow mixture to cool adequately before shaping; this prevents burns and ensures a smoother handling experience.
- Chill the Eyes: Make sure the chocolate eyes are fully set in the freezer before removing them from the parchment for a clean finish.
- Customize Shapes: Get creative! Use different shapes and colors to craft not only ghosts but also pumpkins or bats for variety in your No-Bake Rice Krispie Ghosts.
- Mix It Up: Feel free to add flavored extracts like vanilla to the marshmallow mixture or substitute candies to tailor the flavors to your family’s preferences.
No-Bake Rice Krispie Ghosts Recipe FAQs
How do I select the best ingredients for No-Bake Rice Krispie Ghosts?
Absolutely! For the best results, look for fresh, plump mini marshmallows without any dark spots; this indicates they may have dried out. When choosing Rice Krispies cereal, any brand works well, but make sure the packaging is intact. If using white candy melts, ensure they are stored in a cool, dry place to maintain their quality.
How should I store No-Bake Rice Krispie Ghosts?
Very! You can store these adorable treats in an airtight container at room temperature for up to 3 days. If you want them to last longer, refrigerate them for up to a week, though they might become a bit sticky. For longer-term storage, freeze the ghosts in a single layer on a baking sheet, then transfer to a freezer-safe container. They can stay good for up to 2 months!
What’s the best way to freeze No-Bake Rice Krispie Ghosts?
Definitely! First, allow your ghosts to cool completely. Arrange them in a single layer on a parchment-lined baking sheet, making sure they don’t touch. Freeze for about 1-2 hours until they are solid. After that, transfer them to a freezer-safe container, layering with parchment paper if needed. They can be frozen for up to 2 months, and when you’re ready to enjoy, let them sit at room temperature for about 30 minutes to soften.
Can No-Bake Rice Krispie Ghosts be made vegan or allergy-friendly?
Absolutely! To make these treats vegan, use plant-based butter and marshmallows—there are brands that now create vegan marshmallows. Check the labels on your white candy melts as well, as some may contain dairy. For gluten-free options, ensure your Rice Krispies are gluten-free certified. It’s always important to read labels for any potential allergens based on your dietary needs.
What can I do if the marshmallow mixture is too sticky when shaping the ghosts?
No worries! If you find the mixture sticking to your hands, simply apply a bit more baking spray to your palms. If it’s still too sticky, let the marshmallow mixture cool for a few more minutes; this will make it easier to handle. Once it cools, you should be able to shape it into adorable ghost forms without hassle!
What can I do with leftover Rice Krispie mixture?
Very! If you have leftover mixture, consider shaping it into different festive forms like pumpkins or bats. You can also spread it into a greased pan, let it set, and then cut it into bars for a chewy treat. This way, nothing goes to waste, and you still get to enjoy those delightful flavors in various forms!

No-Bake Rice Krispie Ghosts: Easy Halloween Fun for Everyone
Ingredients
Equipment
Method
- Line a baking sheet with parchment paper to catch any drips.
- Melt dark cocoa candy melts in a microwave-safe bowl in 30-second intervals, stirring until smooth.
- Spray the sides of a large mixing bowl with baking spray, then add the Rice Krispies cereal.
- Melt the salted butter, mini marshmallows, and white candy melts over low heat in a saucepan, stirring until about 75% melted.
- Pour the melted mixture over the Rice Krispies and gently mix until completely coated. Let it cool for 5-10 minutes.
- Coat your hands with baking spray, scoop about 1/2 cup of the mixture, and shape it into a ghost cone.
- Press the chocolate eyes onto the ghosts, using melted chocolate as glue if needed.
- Let the ghosts sit at room temperature for about 1 hour to set fully.


