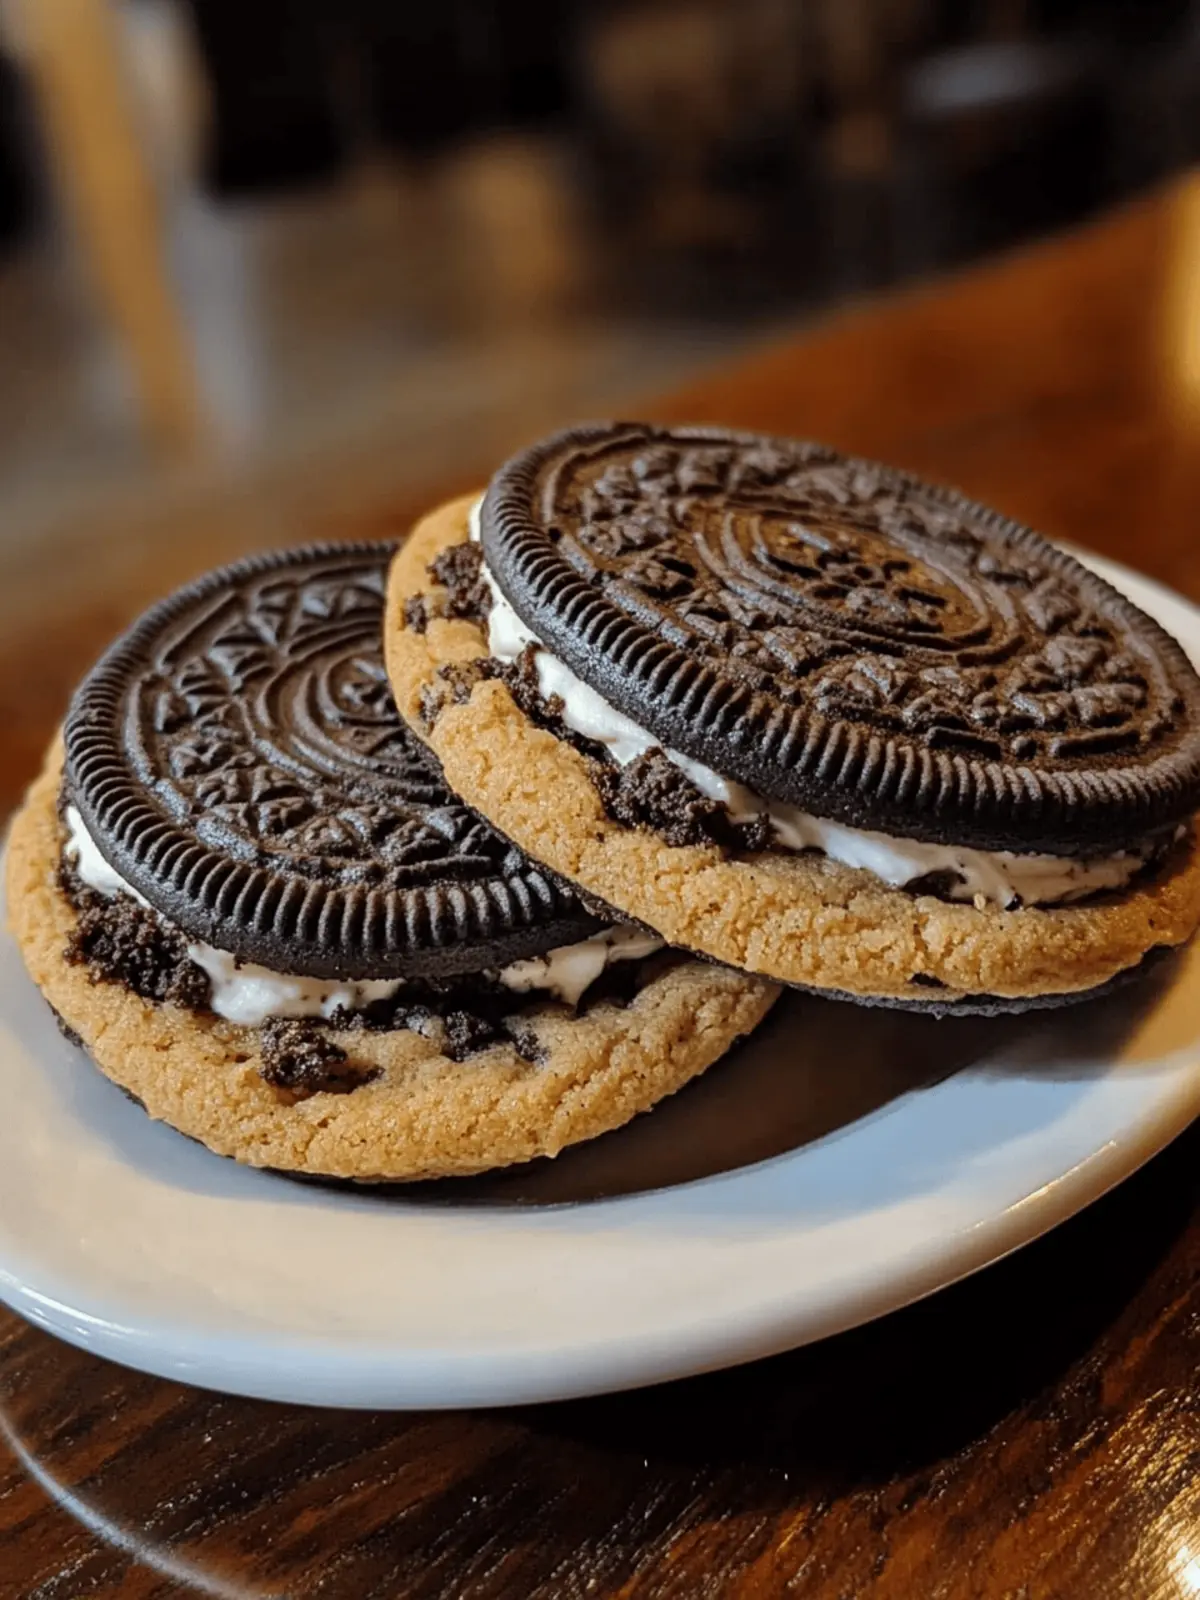
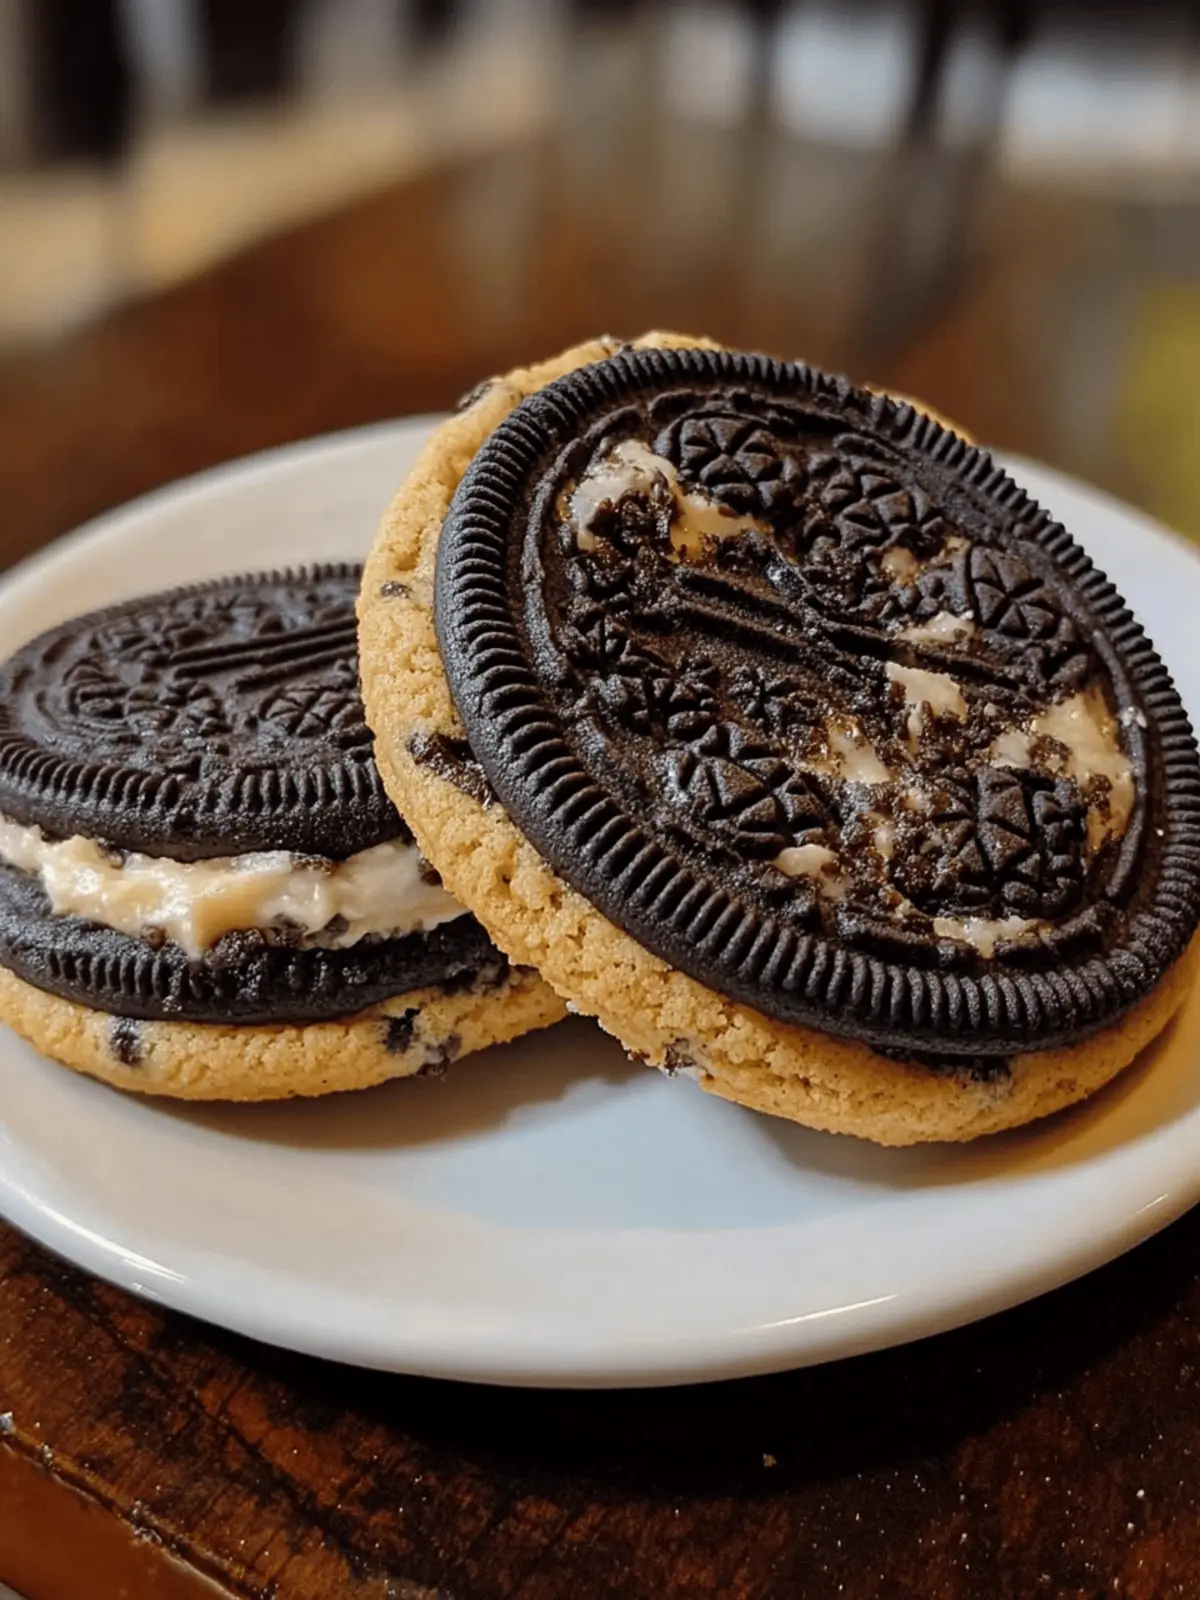
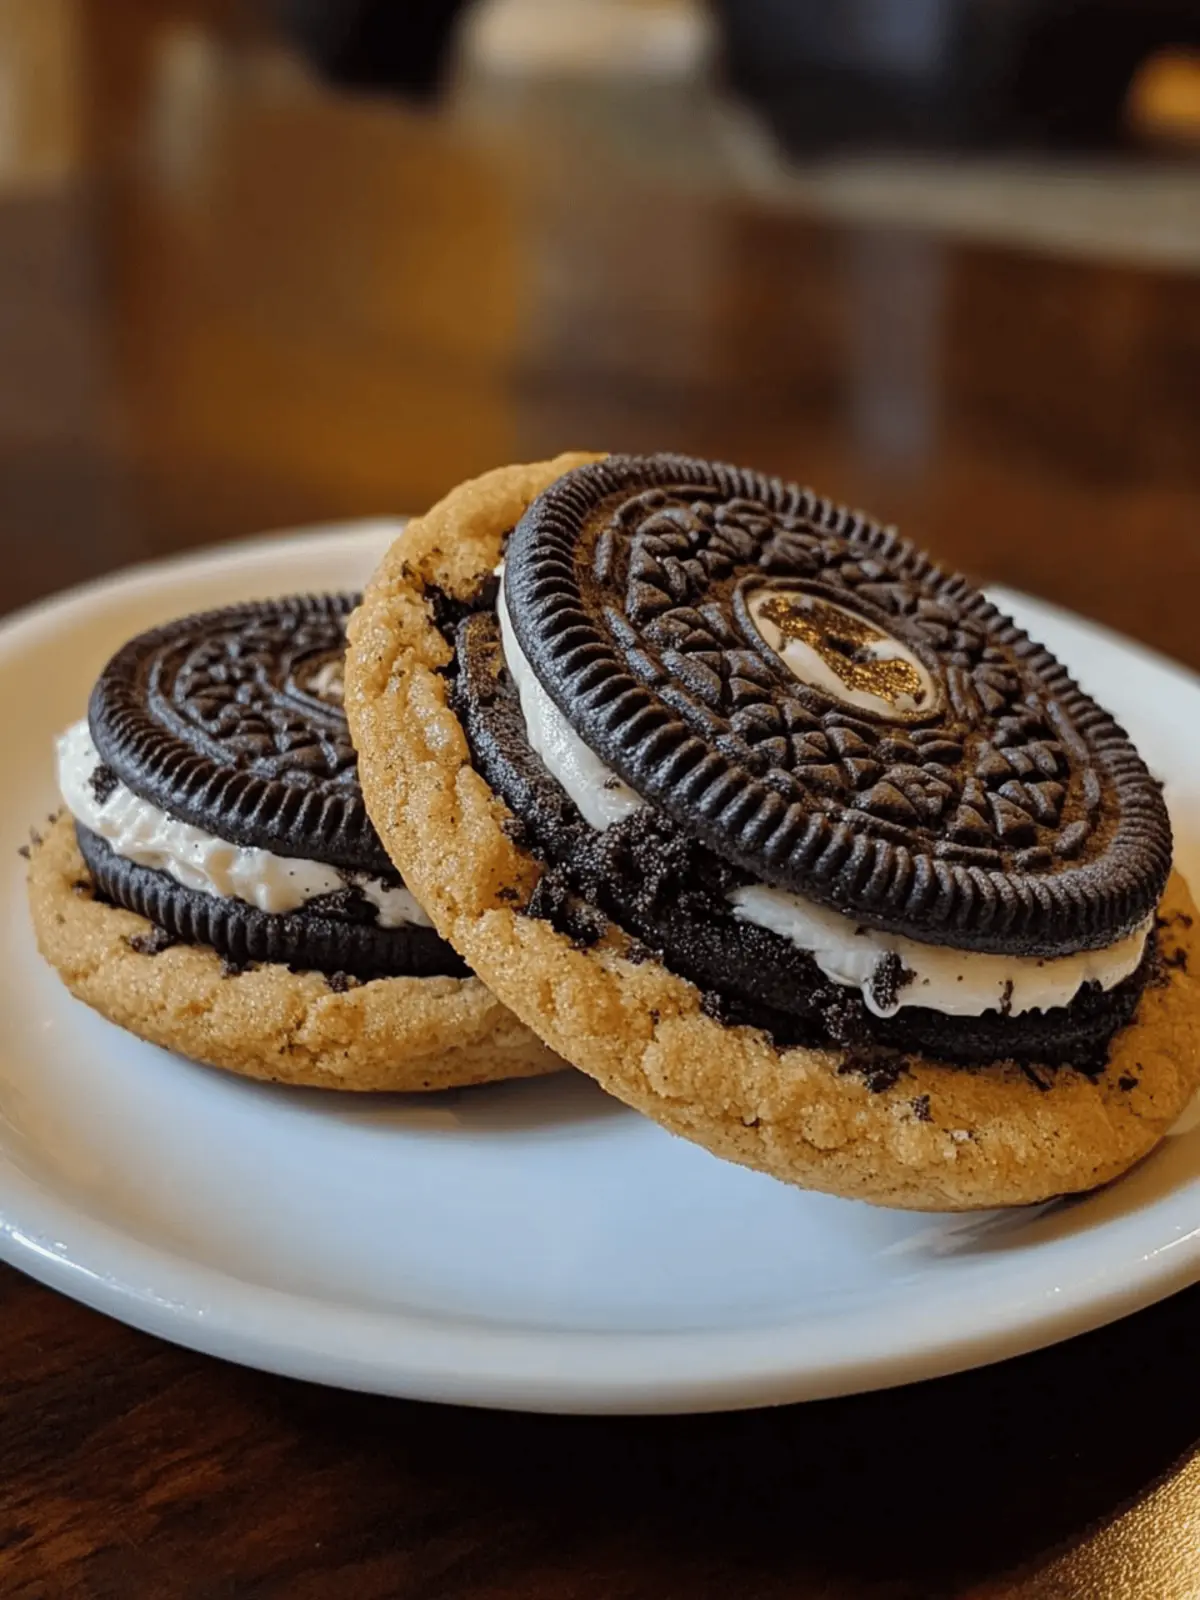
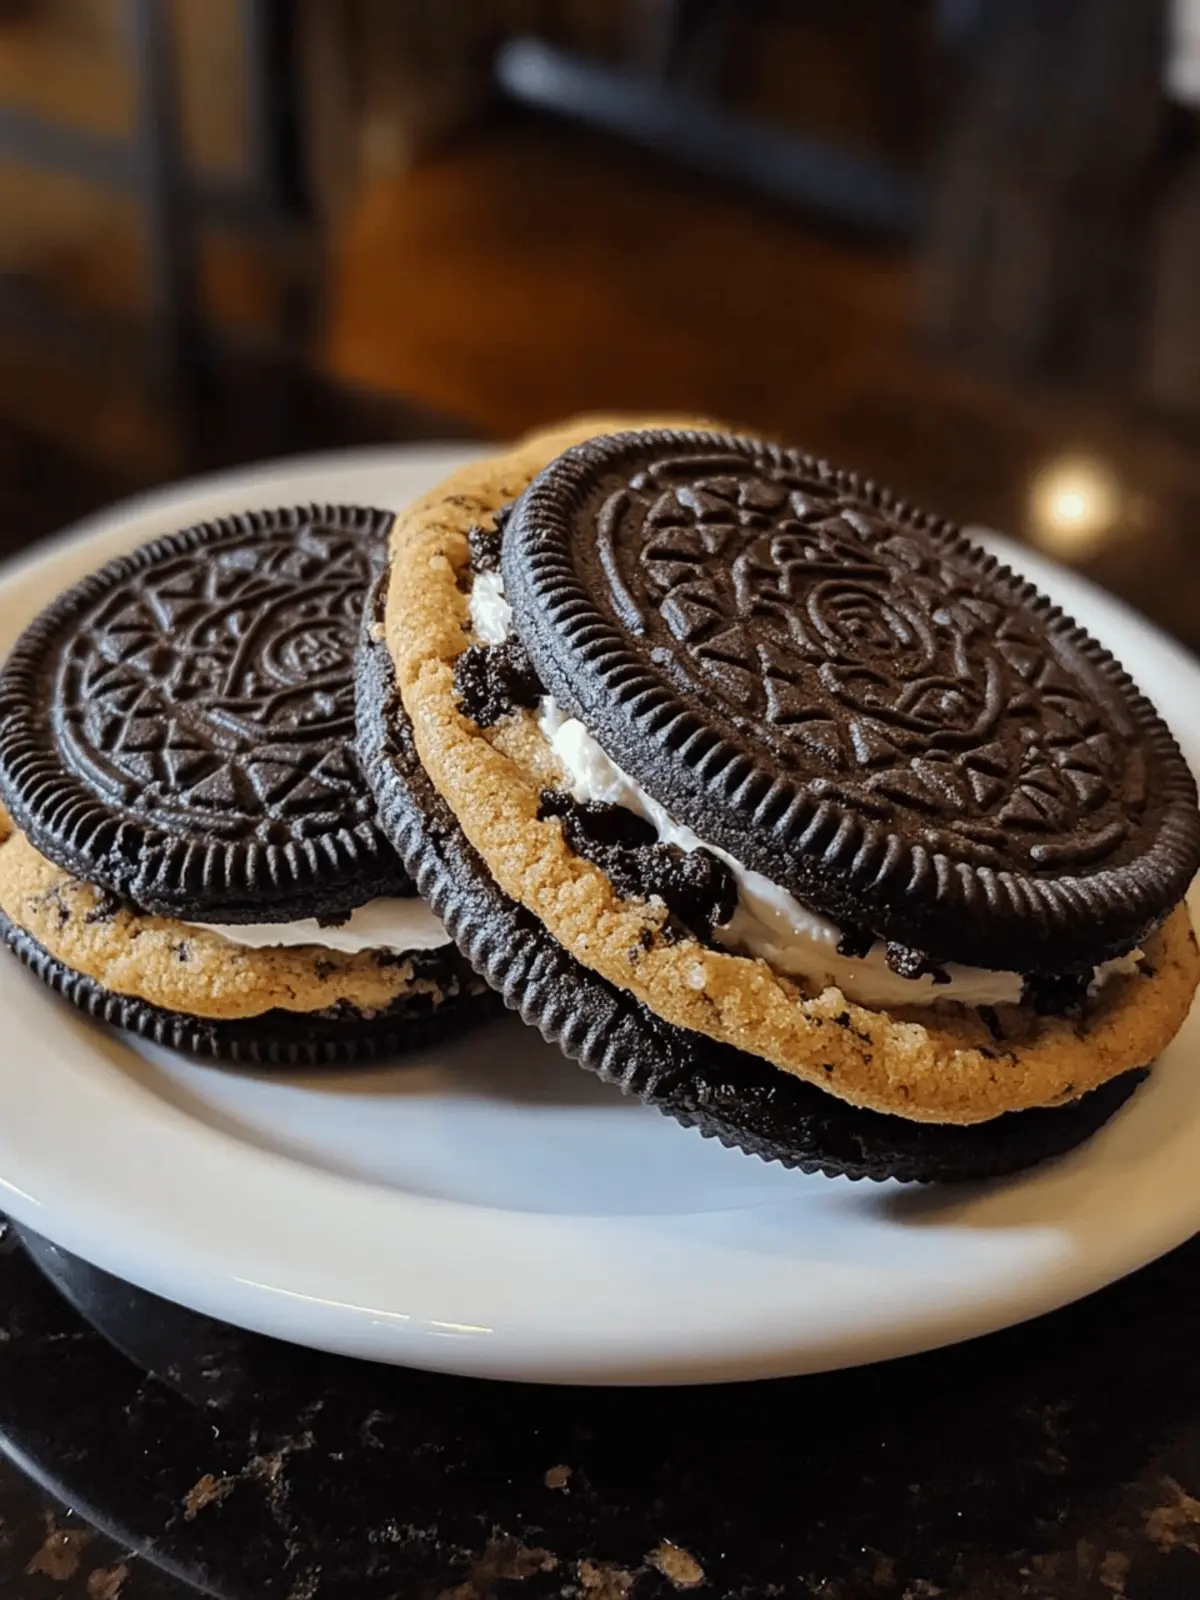
As the air turns crisp and the leaves begin to crunch underfoot, there’s an undeniable excitement that fills the kitchen. It’s the perfect time for a little Halloween magic! This year, I wanted to create a treat that combines the fun of the holiday with the comfort of baking—enter my Spooky Stuffed Halloween Oreo Cookies! With a vibrant appearance and a delicious surprise at the center, these cookies are bound to thrill both kids and adults alike.
Imagine soft, chewy cookies studded with gooey chocolate chips, enveloping a hidden Oreo that adds a delightful crunch in every bite. Whether you’re hosting a Halloween party or simply looking for a fun weekend baking project, these cookies are a festive way to bring a little joy to your gatherings. Plus, the best part? They’re incredibly versatile—swap in your favorite Oreo flavors and sprinkles to match any occasion! So gather your little monsters in the kitchen and get ready to whip up some enchanting treats that will leave everyone spellbound.
Why are Spooky Stuffed Halloween Oreo Cookies a Must-Try?
Irresistible Surprise: Each cookie hides a tempting Oreo, making every bite a delightful adventure.
Vibrant Festivity: With colorful sprinkles and spooky designs, these treats are the perfect eye-catchers at any Halloween celebration.
Family Fun: Ideal for baking with kids, this recipe fosters creativity while teaching essential baking skills.
Endless Variations: Customize with different Oreo flavors and toppings to keep the surprises coming for every occasion.
Quick & Easy: From mixing to baking in under an hour, satisfy your Halloween craving without spending all day in the kitchen!
Crowd Favorite: These cookies are sure to impress guests and become the star of your spooky season festivities.
Spooky Stuffed Halloween Oreo Cookies Ingredients
• Get ready to bake up some Halloween magic!
For the Cookie Dough
- Unsalted Butter (1/2 cup) – Provides richness and moisture; margarine can work in a pinch.
- Brown Sugar (1/2 cup, packed) – Adds sweetness with a hint of caramel flavor; try coconut sugar for a deeper twist.
- Granulated Sugar (1/3 cup) – Sweetens the dough; consider using honey or agave syrup (adjust liquids) for a different sweetness.
- Large Egg (1) – Binds ingredients together and adds moisture; for a vegan twist, use an egg replacer.
- Vanilla Extract (1 teaspoon) – Enhances the flavors; almond extract offers a delightful alternative.
- All-Purpose Flour (1 and 3/4 cups) – Builds the cookie structure; swap with a gluten-free blend if needed.
- Cornstarch (3 tablespoons) – Softens texture; optional, but great for that chewy goodness.
- Baking Soda (1/2 teaspoon) – Provides lift and puffiness; ensure it’s fresh for the best rise.
- Salt (1/4 teaspoon) – Balances sweetness and elevates flavor.
For the Filling & Toppings
- Semi-Sweet Chocolate Chips (2/3 cup + extra for topping) – Adds rich chocolate flavor; dark chocolate or dairy-free chips are fantastic substitutes.
- Halloween-Themed Sprinkles (1/4 cup) – For a festive touch; feel free to get creative with your favorite colors and designs.
- Halloween Oreo Sandwich Cookies (9) – The star of the recipe, adding a fun surprise; try different flavors like golden or red velvet for variety.
With these Spooky Stuffed Halloween Oreo Cookies ingredients in your kitchen, you’re all set to create a hauntingly delicious treat that will delight everyone at your gathering! Happy baking!
How to Make Spooky Stuffed Halloween Oreo Cookies
-
Preheat your oven to 350°F (175°C) and line a baking sheet with parchment paper. This ensures your cookies bake evenly and don’t stick!
-
Cream together softened butter, brown sugar, and granulated sugar in a medium bowl until the mixture is light and fluffy. This should take about 2-3 minutes.
-
Beat in the large egg and vanilla extract, mixing until well combined. The dough will start to come together beautifully here!
-
Whisk together all-purpose flour, cornstarch, baking soda, and salt in a separate bowl. This dry mixture will give our cookies their perfect structure.
-
Add the dry ingredients to the wet ingredients gradually. Mix until just combined—be careful not to overmix to keep your cookies tender.
-
Fold in the semi-sweet chocolate chips and Halloween-themed sprinkles gently until evenly distributed throughout the dough. You want those colorful bits to be sprinkled throughout!
-
Scoop about 1/4 cup of dough, flatten it slightly, and completely encase a Halloween Oreo within, making sure to seal the edges tightly. This is where the magic happens!
-
Place the dough-wrapped cookies on your lined baking sheet, spacing them apart to allow for spreading.
-
Bake for approximately 10 minutes, or until the edges are golden, and the centers remain slightly soft. The cookies will continue to set after removing from the oven.
-
Press a few extra chocolate chips onto the tops of the cookies just after they come out of the oven. Let them cool on the baking sheet for 5 minutes before transferring to a wire rack to cool completely.
Optional: Top with more sprinkles before they cool for an extra pop of color.
Exact quantities are listed in the recipe card below.
Tips for the Best Spooky Stuffed Halloween Oreo Cookies
- Seal Well: Ensure the Oreo is fully encased in dough to prevent leakage during baking, ensuring a delightful gooey center in your Spooky Stuffed Halloween Oreo Cookies.
- Chill Dough: If you’re in a warmer kitchen, chill the prepared dough for 15 minutes to combat spreading while baking.
- Fresh Ingredients: Always use fresh baking soda for optimal rise and fluffy cookies; expired baking soda can lead to dense results.
- Creative Fillings: Feel free to experiment with different Oreo flavors and sprinkles to tailor your Spooky Stuffed Halloween Oreo Cookies for every occasion and preference.
- Freezing Dough: Extra cookie dough can be frozen for up to three months; bake straight from frozen, adjusting the time accordingly for perfect cookies every time.
What to Serve with Spooky Stuffed Halloween Oreo Cookies?
Looking to elevate your Halloween festivities? Pair these delightful cookies with treats and drinks that bring out their playful spirit!
- Milk: A classic match that enhances the chocolatey richness and complements the cookie’s gooey center. Perfect for dipping!
- Pumpkin Spice Latte: This cozy fall drink adds a seasonal twist, with warm spices that meld beautifully with the cookie’s sweet flavors.
- Ghostly Fruit Salad: A mix of bright fruits like oranges, bananas, and grapes, this refreshing side is a cheerful contrast to the cookies’ sweetness. It gives a healthy option for balance!
- Chocolate Dipped Pretzels: Salty and sweet, these crunchy snacks pair wonderfully with the soft texture of the cookies, creating a symphony of flavors.
- Candy Corn: A colorful nod to Halloween traditions, these treats add a playful element to any dessert platter, enchanting kids and adults alike.
- Hot Apple Cider: Warm and spiced, this drink wraps you in comfort while the sweet flavors of cider beautifully harmonize with the cookies.
- Spooky Cheesecake Bites: Small, decadent, and festive, these treats can add a creamy touch that contrasts nicely with the cookie’s chewy texture.
- Decorative Cupcakes: Whimsical Halloween-themed cupcakes decorate your dessert table and offer diverse textures that make for a fun sampling experience.
Embrace the spirit of the season, and watch smiles appear as you serve these delightful pairings alongside your Spooky Stuffed Halloween Oreo Cookies!
Make Ahead Options
These Spooky Stuffed Halloween Oreo Cookies are a fantastic choice for meal prep enthusiasts! You can prepare the cookie dough up to 24 hours in advance by mixing all the ingredients and storing it in an airtight container in the refrigerator to maintain that fresh flavor. Additionally, you can also encase the Oreo cookies in the dough and refrigerate them for up to 3 days before baking. When you’re ready to enjoy these delightful treats, simply preheat your oven and bake them from the fridge without needing to bring the dough to room temperature. This ensures they’ll turn out just as delicious and fresh, making baking a breeze on busy weeknights!
Storage Tips for Spooky Stuffed Halloween Oreo Cookies
- Room Temperature: Keep cookies in an airtight container at room temperature for up to 3 days to maintain their soft texture and delightful flavor.
- Fridge: For longer freshness, store cookies in the fridge, where they can last up to a week. Just remember to bring them back to room temperature before enjoying!
- Freezer: You can freeze unbaked dough for up to 3 months. Portion the dough and wrap it tightly; bake from frozen with a few extra minutes added to the baking time.
- Reheating: Warm leftover cookies in the microwave for about 10-15 seconds for a fresh-out-of-the-oven taste. Enjoy your Spooky Stuffed Halloween Oreo Cookies warm for the best experience!
Spooky Stuffed Halloween Oreo Cookies Variations
Get ready to unleash your creativity with these fun and festive twists on the classic recipe!
- Flavor Swap: Substitute different Oreo flavors like pumpkin spice or mint for exciting seasonal variations that keep things fresh and lively.
- White Chocolate: Replace semi-sweet chocolate chips with white chocolate chips for a sweet, creamy complement to the dark cookies. This sweeter version can be heavenly alongside a warm cup of cider.
- Candy Coated: Use candy-coated chocolate pieces instead of chocolate chips for a colorful crunch that adds texture and sweetness to every bite. It’s a delightful surprise just waiting to be devoured!
- Spice It Up: Add a pinch of cinnamon or nutmeg to the dough for a warm, cozy flavor that perfectly captures the essence of fall baking. Your kitchen will smell like a pumpkin patch!
- Gluten-Free: Swap the all-purpose flour with a gluten-free flour blend for a delicious treat that caters to gluten-sensitive friends without compromising on taste. Everyone deserves a spooky cookie!
- Dairy-Free Delight: Use dairy-free butter and chocolate chips for a vegan-friendly version that’s just as mouthwatering and perfect for sharing with all your friends.
- Peppermint Twist: For an unexpected holiday twist, mix in crushed peppermint candies alongside the chocolate chips. This charming flavor combo will make your treats stand out even more!
- Decorate Differently: Experiment with various themed sprinkles, such as ghost shapes or festive pumpkins, for unique decorations that add a personal touch to your spooky creations. The kids will love this personalization!
By mixing and matching these variations, you can create a unique batch of Spooky Stuffed Halloween Oreo Cookies perfect for any occasion!
Spooky Stuffed Halloween Oreo Cookies Recipe FAQs
How do I select the right Oreos for my cookies?
Absolutely! For a spooky surprise in your Spooky Stuffed Halloween Oreo Cookies, opt for classic Halloween Oreo flavors like the orange creme or even the festive golden Oreo for a twist. Look for cookies that are fresh; those without cracks or broken packaging are likely the best in flavor and texture.
How should I store my Spooky Stuffed Halloween Oreo Cookies?
Keep your cookies in an airtight container at room temperature for up to 3 days for optimal freshness. If you want to prolong their life, you can refrigerate them for up to a week. Just make sure to let them come to room temperature before enjoying, as that will bring back their delicious chewy texture!
Can I freeze extra cookie dough for my Spooky Stuffed Halloween Oreo Cookies?
Yes! In fact, I often freeze the dough for up to 3 months. To do this, scoop your dough portions onto a baking sheet and freeze them until solid. Then, transfer the frozen dough balls into an airtight freezer bag. When you’re ready to bake, simply preheat your oven and bake the frozen dough straight from the freezer, adding a couple of extra minutes to the baking time.
What should I do if my cookies spread too much during baking?
Very! If your cookies spread more than desired, try chilling the dough for at least 15 minutes before baking or check that you’re using fresh baking soda. This will help maintain their structure. If it’s particularly warm in your kitchen, that can also cause cookies to spread, so a little chill goes a long way.
Are these cookies safe for pets?
No, it’s important to note that any chocolate, including the chocolate chips used in your Spooky Stuffed Halloween Oreo Cookies, is toxic to dogs. Be cautious and keep these tasty treats out of reach of your furry friends.
Can I make a vegan version of Spooky Stuffed Halloween Oreo Cookies?
Definitely! You can replace the egg in the recipe with a flax egg (1 tablespoon flaxseed meal mixed with 2.5 tablespoons water, set to thicken for about 5 minutes) or a store-bought egg replacer. For the butter, substitute with a plant-based margarine. Choose vegan chocolate chips to keep your cookies entirely plant-based!

Spooky Stuffed Halloween Oreo Cookies That Wow Every Bite!
Ingredients
Equipment
Method
- Preheat your oven to 350°F (175°C) and line a baking sheet with parchment paper.
- Cream together the softened butter, brown sugar, and granulated sugar in a medium bowl until light and fluffy.
- Beat in the large egg and vanilla extract, mixing until well combined.
- Whisk together all-purpose flour, cornstarch, baking soda, and salt in a separate bowl.
- Gradually add the dry ingredients to the wet ingredients and mix until just combined.
- Fold in the semi-sweet chocolate chips and Halloween-themed sprinkles gently until evenly distributed.
- Scoop about 1/4 cup of dough, flatten it slightly, and completely encase a Halloween Oreo, sealing the edges tightly.
- Place the dough-wrapped cookies on the lined baking sheet, spacing them apart.
- Bake for approximately 10 minutes, or until the edges are golden.
- Press a few extra chocolate chips onto the tops just after removing from the oven, then let cool for 5 minutes.


